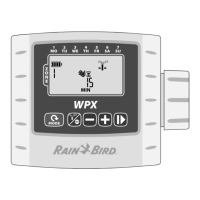
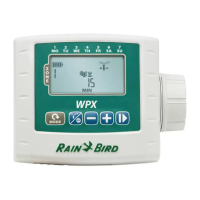
WPX Battery-Operated Controller
6
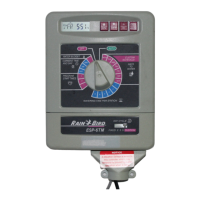
NOTE: The WPX can be mounted on a DC latching
solenoid using the included solenoid bracket,
or on a wall using the optional wall-mount bracket
(Model: 9VMOUNT).
Batteries
The Rain Bird WPX uses two alkaline 9-Volt batteries to operate. Your
controller will function using either one or two 9-Volt batteries. Under
normal conditions, the expected life is 1 year for a single battery and
two years when using two 9-Volt batteries.
Replacing Batteries
1. Remove the battery compartment cap.
2. Install one or two 9-Volt alkaline batteries on the battery clips pro-
vided.
3. Re-install the battery compartment cap.
NOTE: Do not mix new batteries with old ones. Doing so could
reduce the battery life and cause the controller to stop working
prematurely.
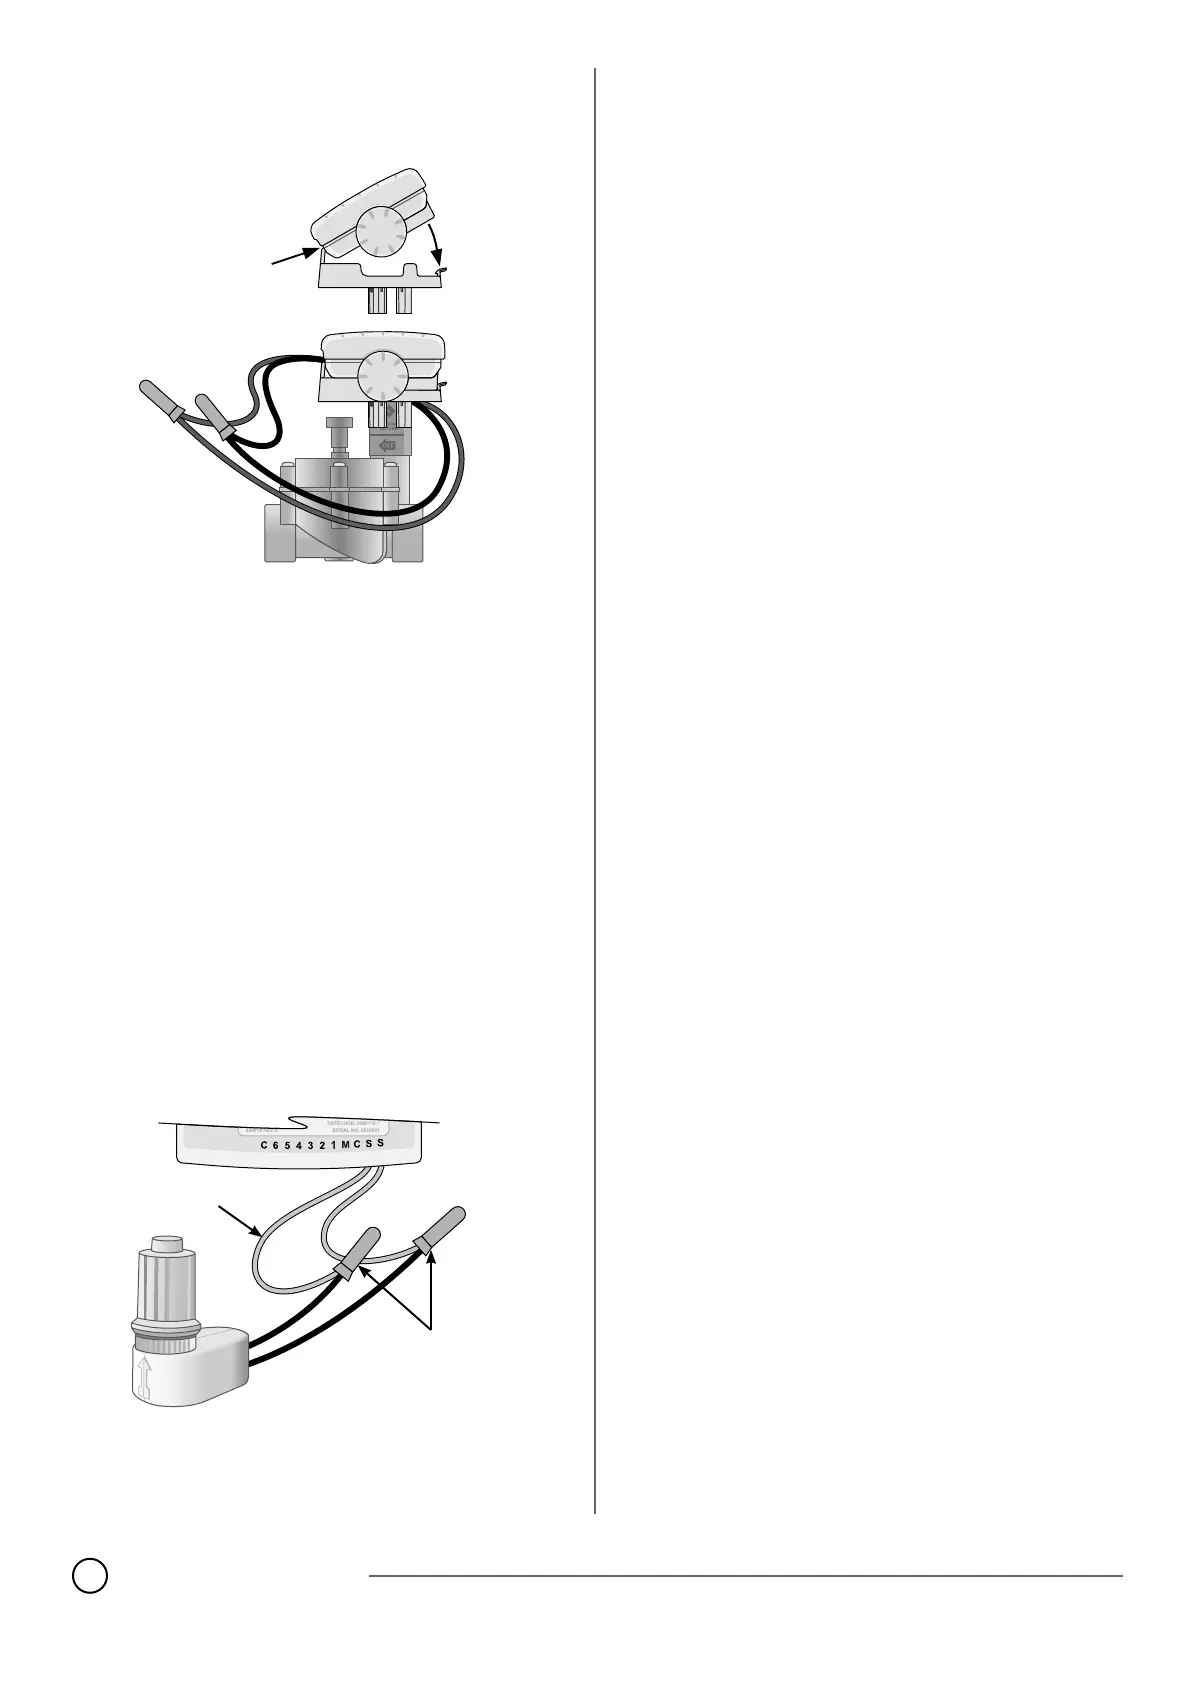
Optional Rain Sensor
Cut the yellow loop in half and remove about 1/2” of insulation
NOTE: Cut the yellow wire loop only when installing a rain sensor.
Connect the sensor to the terminals with waterproof connectors.
BACK OF CONTROLLER
JUMPER
WIRE
WATERPROOF
CONNECTORS