R
amsond
Instruction Manual for CT 416 and 518 D & DX Series
© Copyright RAMSOND Corporation 2007 – All rights protected. Unauthorized reproduction, in part or whole prohibited.
®
TIG FUNCTION OPERATION
1. Ensure proper connection before you begin. See Diagram 2.
2. Turn on the power Switch.
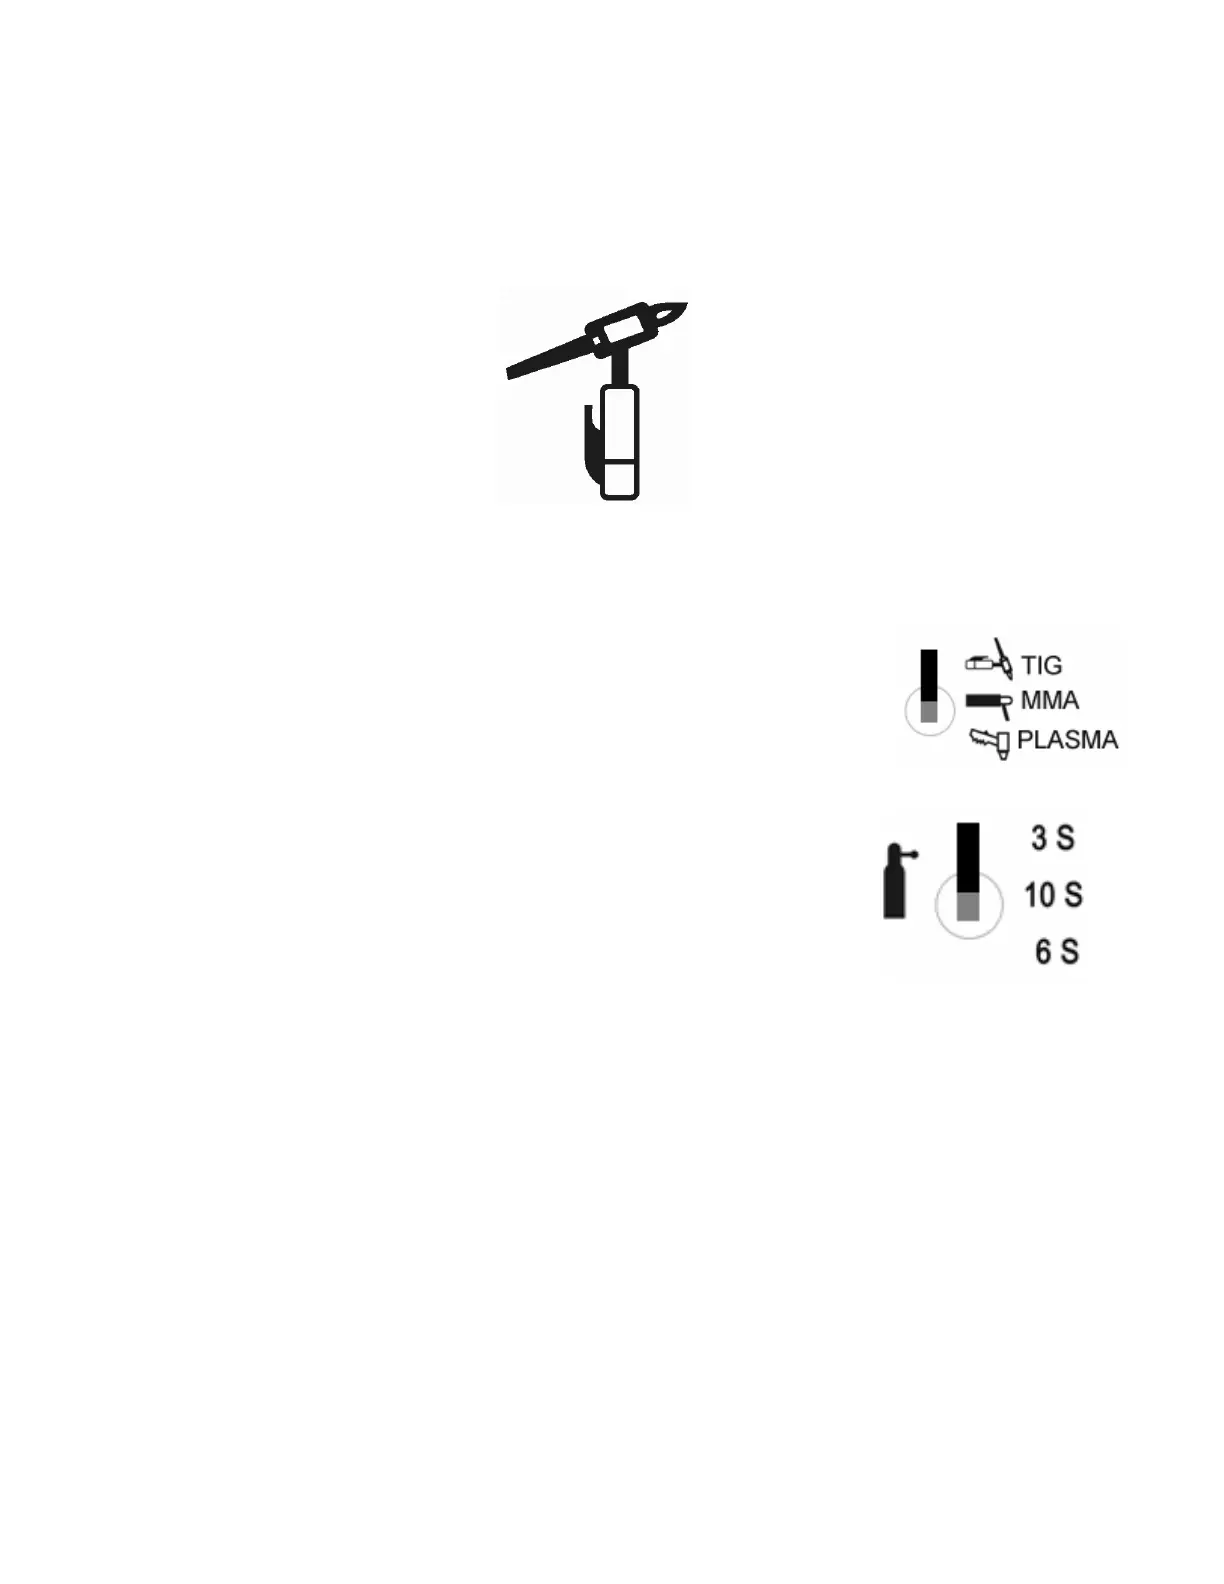
3. Move the toggle switch of the function selector to the TIG Position
4. Select an appropriate AFTER-FLOW Time. After-flow is a
function that maintains a flow of argon for a period of (3, 6 or 10
seconds) after you stop welding. So, even after you let go of the
torch switch argon will flow from the torch for the designated
period. This function serves to protect the welding spot prior to
cooling. So, it is important to keep torch at the welding spot for
the designated time after the welding has finished.
5. Set a desired welding current according to the thickness of the work piece and the
technical requirements.
6. Push down the torch button. At this time you should hear the HF arc. The argon
gas will also begin to flow at this time. Please let the argon flow through the torch
for a few seconds to allow the air to exit the torch pipe and system.
7. Bring the tungsten to a distance of 1-4mm from the work piece. Push the control
button of the torch which will generate HF arc between the electrode and the work
piece. This arc will disappear soon after it appears, then you can begin TIG welding.
Page 10