Chapter 4. Load a Project
The VS Code extension can create projects based on the examples provided by Pico Examples. For an example, we’ll
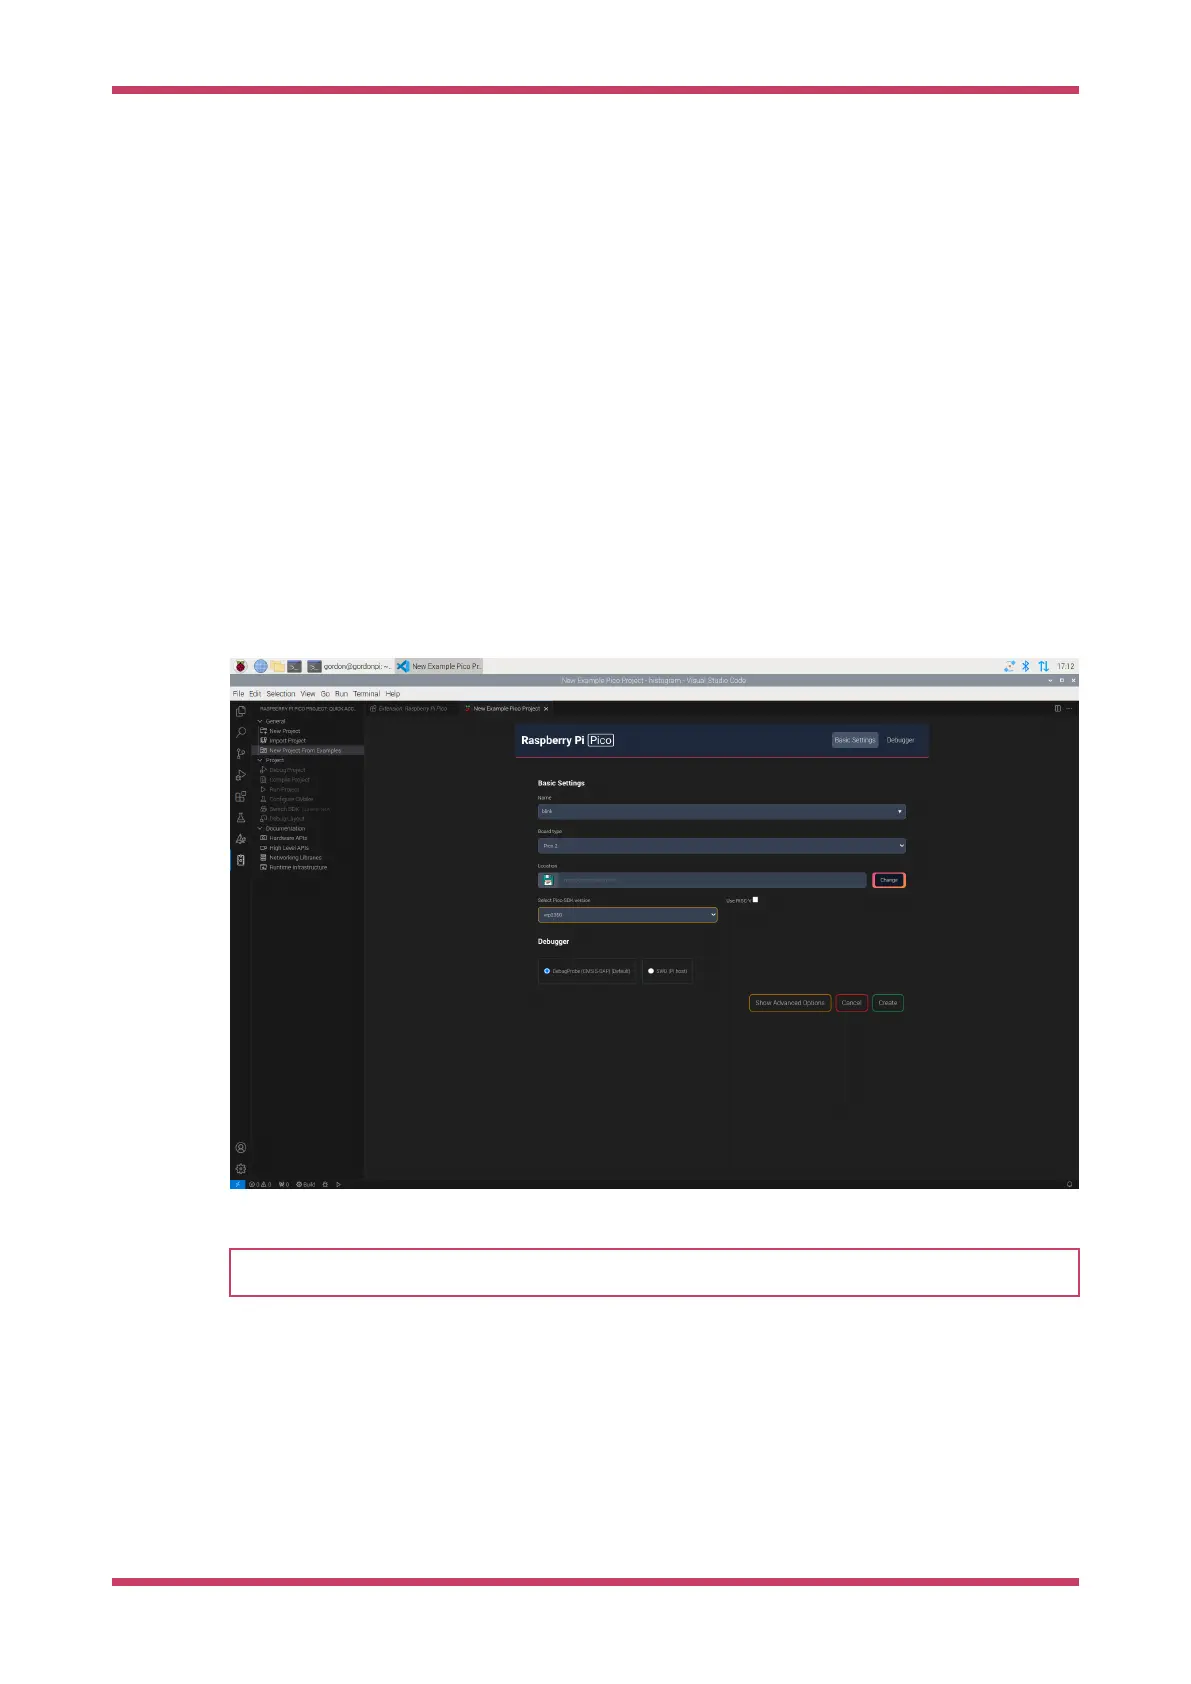
walk you through how to create a project that blinks the LED on your Pico-series device:
1. In the VSCode left sidebar, select the Raspberry Pi Pico icon, labelled "Raspberry Pi Pico Project".
2. Select New Project from Examples.
3. In the Name field, select the blink example.
4. Choose the board type that matches your device.
5. Specify a folder where the extension can generate files. VS Code will create the new project in a sub-folder of the
selected folder.
6. Click Create to create the project.
The extension will now download the SDK and the toolchain, install them locally, and generate the new project. The first
project may take 5-10 minutes to install the toolchain. VSCode will ask you whether you trust the authors because we’ve
automatically generated the .vscode directory for you. Select yes.
Figure 2. Debugging in
VS Code.
NOTE
The CMake Tools extension may display some notifications at this point. Ignore and close them.
On the left Explorer sidebar in VS Code, you should now see a list of files.
Open blink.c to view the blink example source code in the main window.
The Raspberry Pi Pico extension adds some capabilities to the status bar at the bottom right of the screen.
Compile
Compiles the sources and builds the target UF2 file. You can copy this binary onto your device to program it.
Run
Finds a connected device, flashes the code into it, and runs that code.
Getting started with Raspberry Pi Pico-series
Chapter 4. Load a Project 8