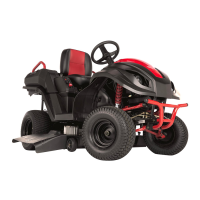
Remove Drive Motor Control
Work Instructions
8.
Use the 13mm wrench to remove both caps - (1) red
plastic cap and (1) black plastic cap (Fig. I).
9.
Locate and remove the (2) 13mm nuts that are
to black and red terminal posts (Fig. J).
10.
Locate the red wire with a white heat sleeve
remove the wire from the red terminal post (Fig. K).
Repeat for black wire with sleeve.
IMPORTANT: Ensure that all non-DMC wiring is
replaced back onto their respective terminal posts.
11. Carefully remove the drive motor control by lifting it
and pulling the bottom out (Fig. L).
IMPORTANT: The DMC must be supported for Steps
12 - 14. Do not let DMC hang by the wiring.
12. Locate the white and gray plugs - the gray plug
partially covered by a black rubber cover (Fig. M).
13. Push the black rubber cover away from the gray
then disconnect the gray plug by pressing tab on
of male end and carefully pulling the gray plug
(Fig. N).
14. Disconnect the white plug by pressing tab on top of
male end and carefully pulling the white plug apart (Fig.
P).
15. Completely remove Drive Motor Control from MPV.
Denver Global Products 1000 East Powell Dr. | Lincolnton, NC 28092 U.S.A
© 2013 Denver Global Products | RATO All rights reserved.
N
w/Black
Rubber Cover
White
Plug
M
Drive
Motor
#1 - Lift
Control
L
DMC Wiring
w/White
Sleeves
K
DMC Wiring
w/White
Sleeves
13mm
J
Red Terminal
Post
Red Plastic
Cap
I
 Loading...