PCB Board Replacement
Work Instructions
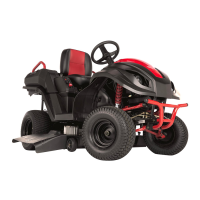
Lever
Service Hatch
A
Seat Switch
Console
Remove
C
New PCB
Board
Replace
H
Tools Needed for Installation:
• 8 mm or 10 mm wrench
• 5 mm Allen or T-Handle Wrench
• Phillips Screwdriver
• 1/4” Nut Driver
• Impact Drill
Replacing the PCB Board
1.
Pull the release levers and open the service hatch (Fig.
A).
2.
Remove the fender extension on the discharge (right)
side of the MPV using the 5 mm Allen wrench (Fig. B).
3.
Remove the seat switch console using a Phillips
screwdriver (Fig. C).
4.
Lift the seat switch console and locate the PCB board
(Fig. D).
5.
Locate the bottom bolt (Fig. E). Depending on your
model this may be an 8 mm or 10 mm bolt. Remove both
bolts on the top and bottom of the PCB board.
6.
Rotate the PCB board up to locate and remove the two
¼" screws (Fig. F). Detach old PCB board.
7.
Locate new PCB board and ensure that a label, verifying
the new Program is has been installed, is located on the
bottom (Fig. G).
8.
Install the new PCB board using the 1/4” Nut Driver. (Fig.
H). Exercise care when connecting the new PCB board.
9.
Mark the OLD PCB with an “X” using a grease pen and
immediately place in quarantine.
10.
Replace the ¼" screws.
Bolt
PCB Board
Screws
E
Remove Bolt
B
D
F
Bottom
of PCB
Board
Program
Label
G
Denver Global Products 1000 East Powell Dr. | Lincolnton, NC 28092 U.S.A
© 2014 Denver Global Products | RATO All rights reserved.
 Loading...