3.3Mounting
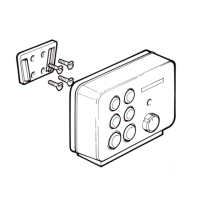
Bulkheadmounting
Thesuppliedmountingbrack
etscanbeusedtomountyourproducthorizontallyonabulkhead.
Ensurethatthechosenlocationmeetstheproduct’slocationrequirements,see3.2Selecting
alocationfordetails.
1.UsethesuppliedBrack etmountingtemplate(87170)todrill3pilotholesintheverticalmounting
surface.Securethemountingbrackettothesurfaceusingthesuppliedscrews.
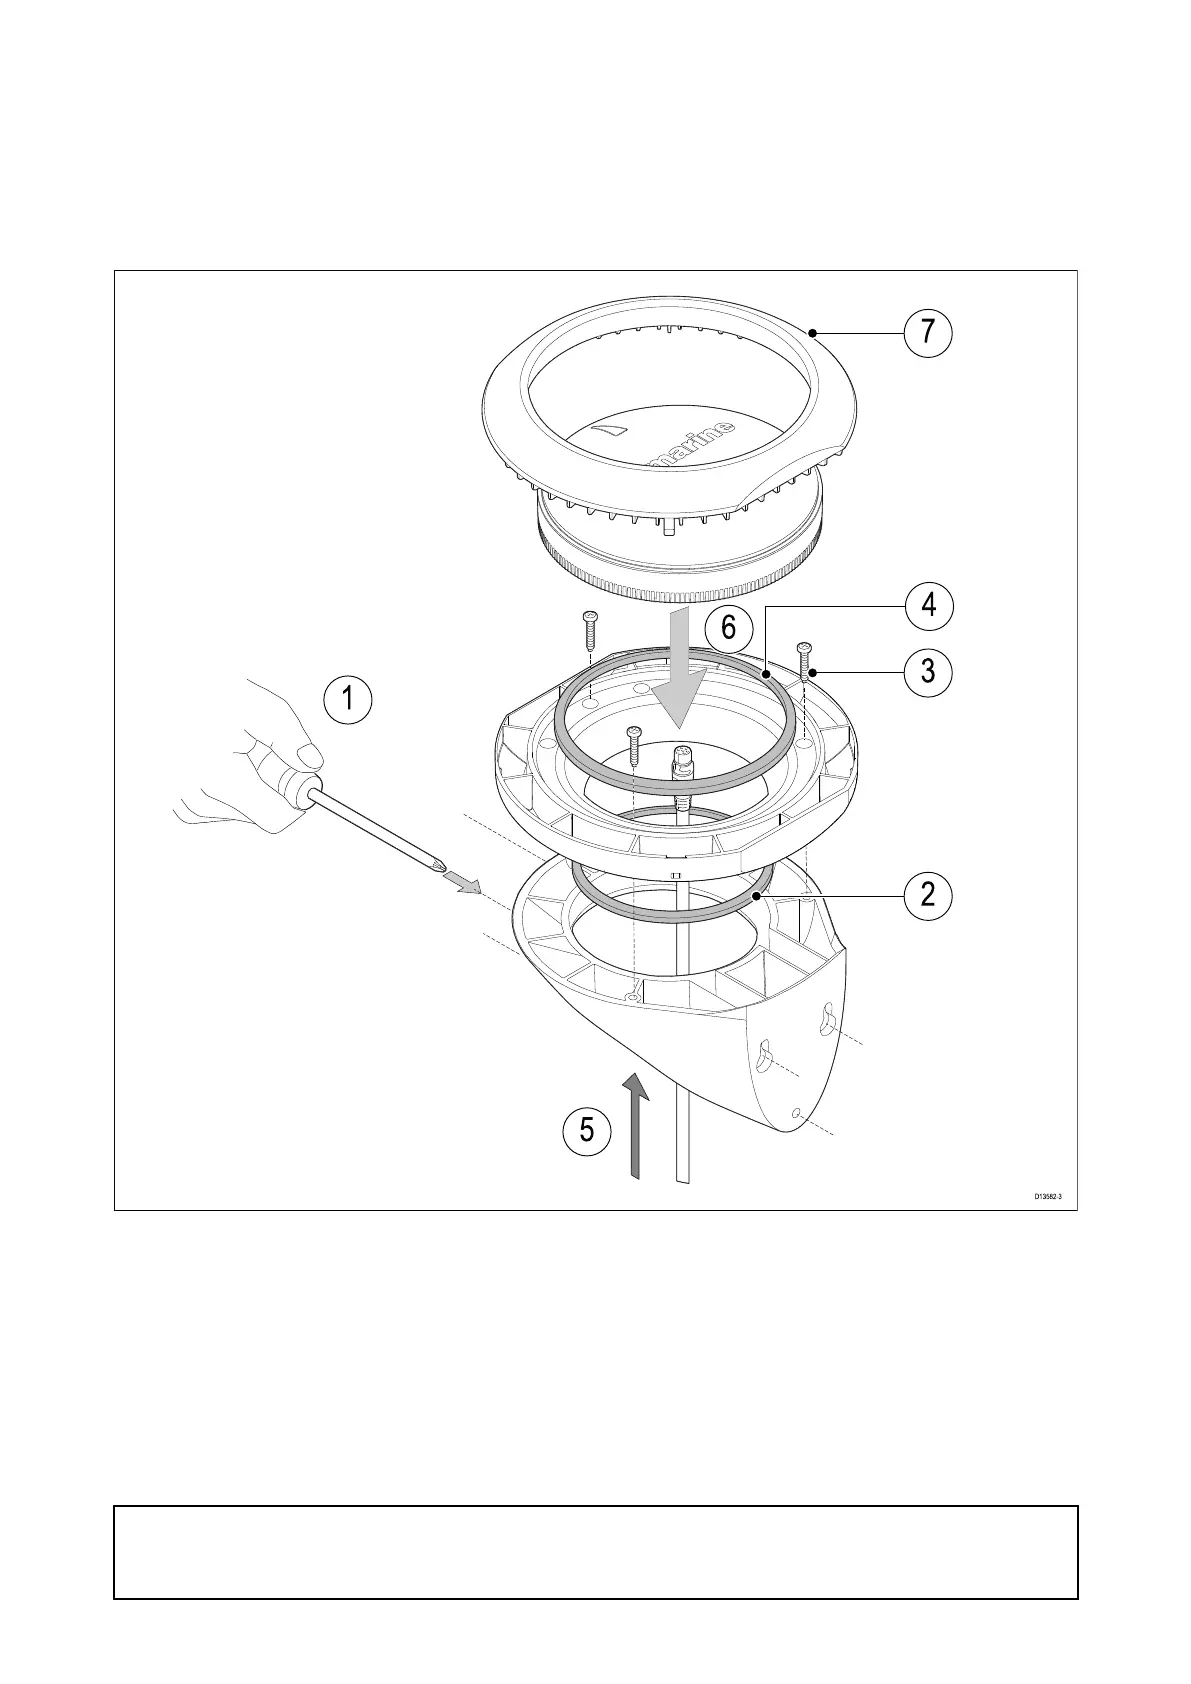
2.PlacethesmallsealingringinthegroovelocatedonthebottomoftheMountingtray.
3.Securethetraytothebracketusing3ofthesuppliedscrews,inthepositionsindicatedinthe
illustrationabove.
4.PlacethelargesealingringintothegrooveontheuppersideoftheMountingtray.
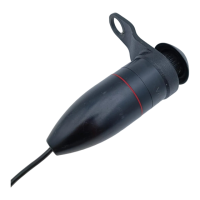
5.PulltheSea Talkng®cablethroughthecenterofthebracketandtray.Pluginthecableconnector
ontheundersideoftheunitandsecurebyrotatingthelockingcollarclockwise2clicks.
6.Inserttheunitintothemountingtray,ensuringthetabsintheMountingtrayareslottedintothe
groovesaroundtheedgeoftheunit.
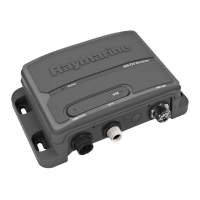
Important:
TheunitmustbemountedwiththeLED‘arrow’onthetopoftheunitpointingforwards,inparallel
alignmentwiththelongitudinalaxis(centerline)ofyourvessel.
Installation
27

 Loading...