Chapter 3: Installation
21
2. Ensure that:
• The panel on which you intend to mount the instrument is
between 3 mm and 20 mm thickness.
• The selected location is clean, smooth and flat.
• There is sufficient space behind the location to accommodate
the rear of the instrument and connectors.
3. Apply the flush mount template (supplied at the rear of this
handbook) to the selected location and mark out the aperture into
which the assembled instrument and bezel will sit.
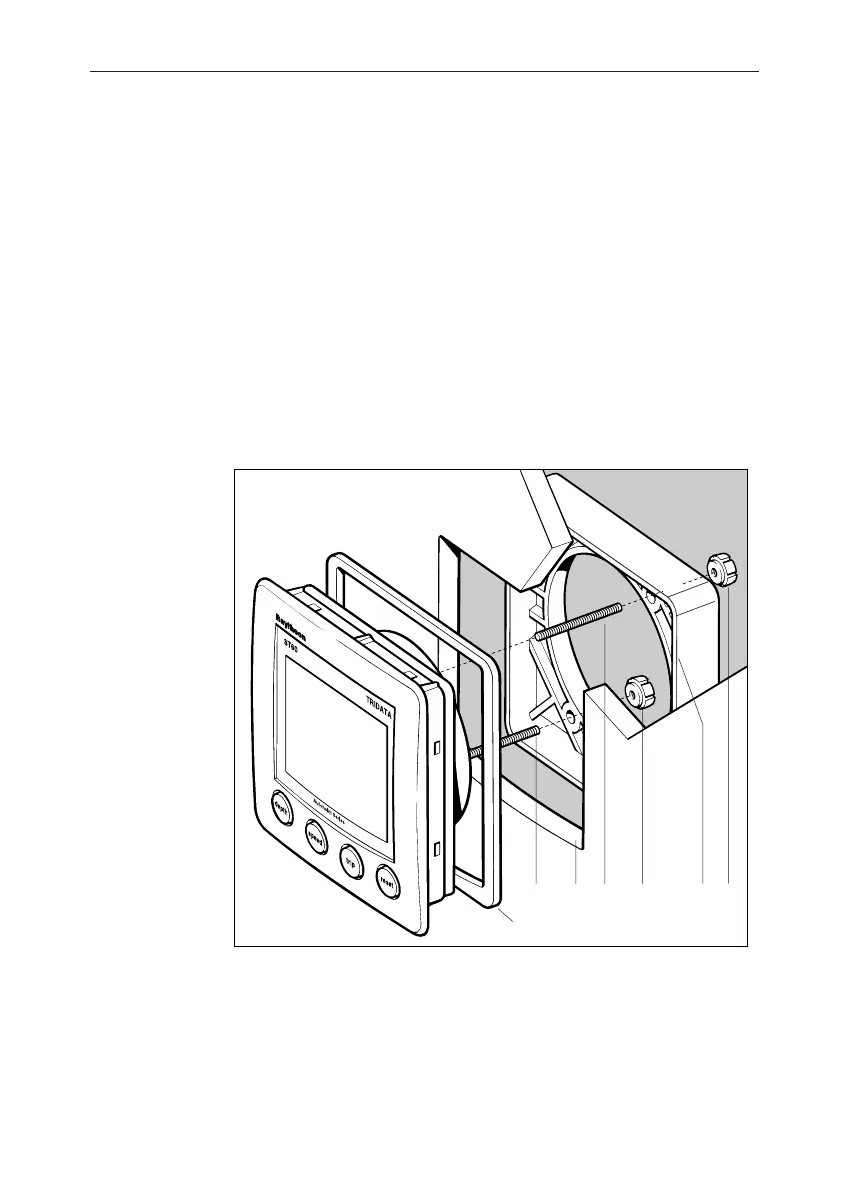
4. Cut out the aperture (3) for the assembled instrument and bezel
and remove the template.
5. Peel off the protective sheet from the self-adhesive gasket (4) then
stick the gasket into position on the rear of the bezel.
Flush mounting
D4344-1
113
4
556
6. Screw the two fixing studs (1) into the threaded sockets on the rear
of the instrument.
7. Mount the assembled instrument, studs, bezel and gasket into the
panel.
8. Locate the flush mount bracket (6) onto the fixing studs and
secure the assembly to the panel with the thumb-nuts (5).