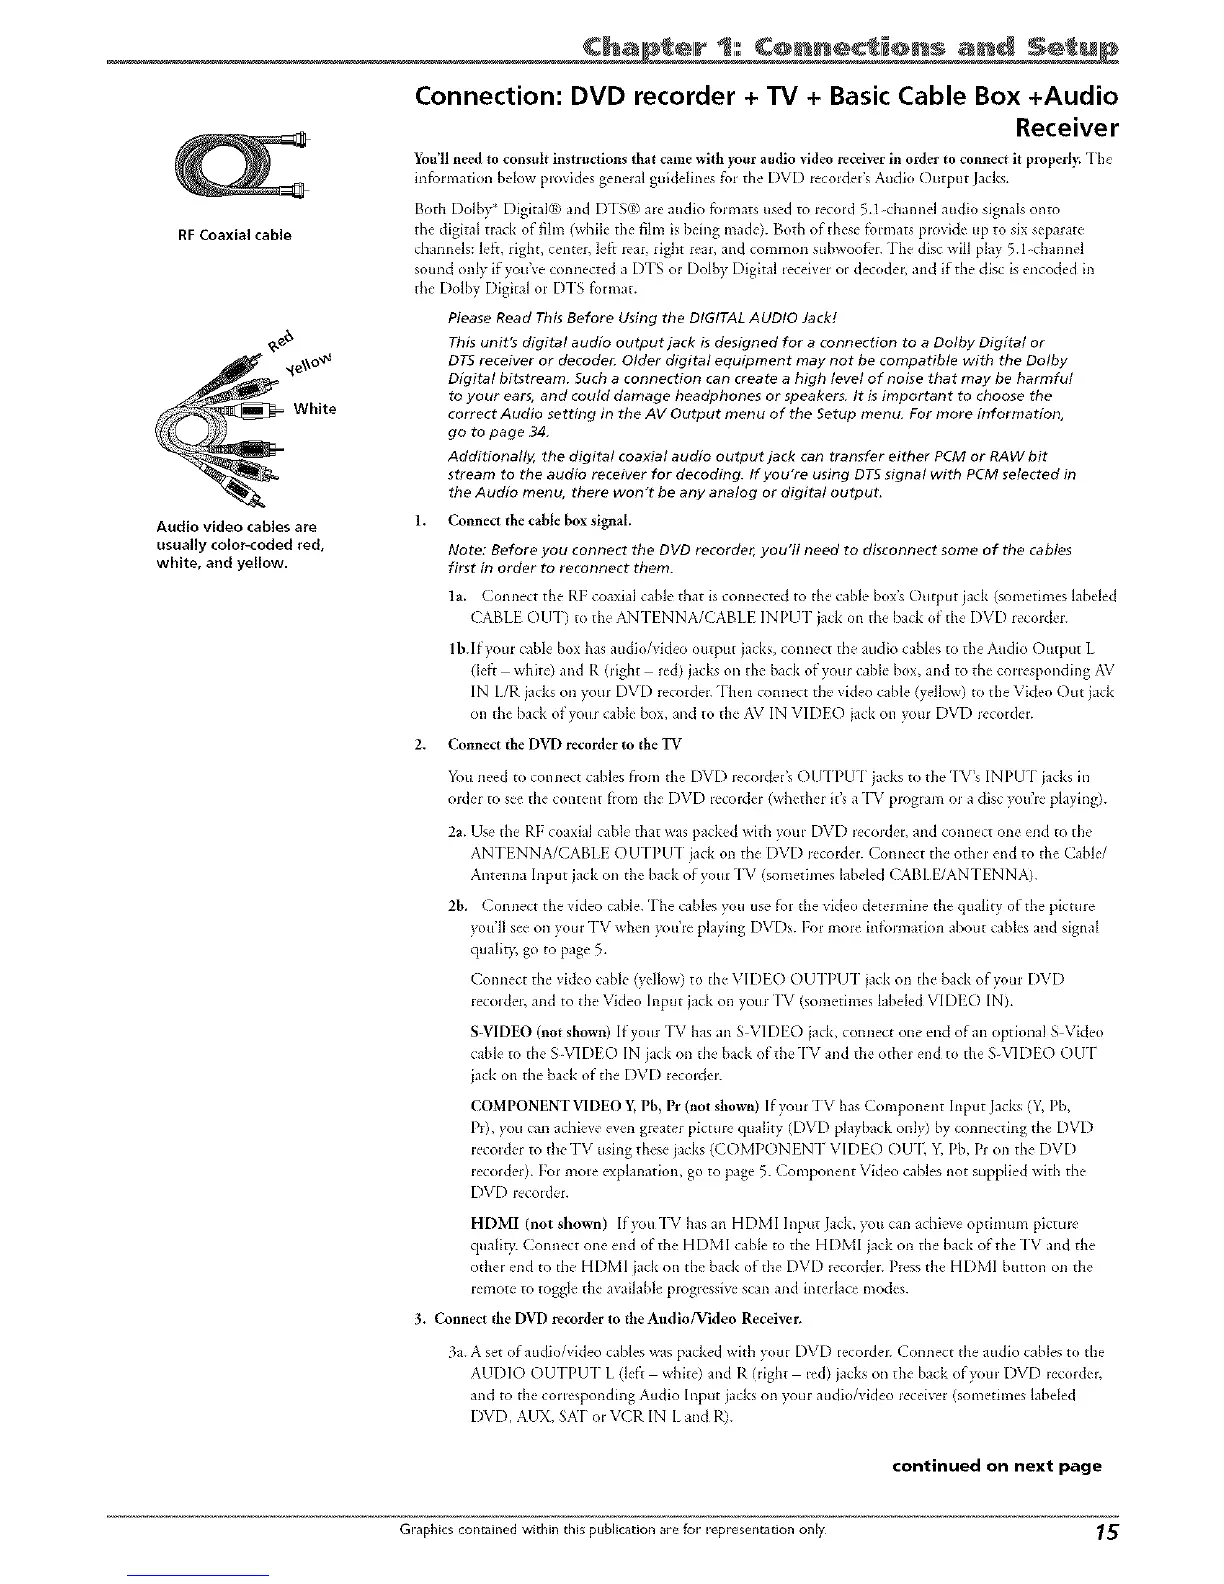
RFCoaxial cable
White
Audio video cables are
usually color-coded red,
white, and yellow.
Chap el 1: and
Connection: DVD recorder + TV + Basic Cable Box +Audio
Receiver
You'll need to consult instructions that came with your audio video receiver in order to connect it properl); "Ihe
information below provides genelal guidelh>'s fm the' DVD recmdet's Audio Otltput Jacks.
Botb Dolhy* Digital@ and D'IS(_) aJe audio formats used to _ecord 5.1 cbannel audio signals onto
the digital track offihn (while tile film is being made). Both of these folmats plovide up to six separate
channels: left, right, center, left rear, iight real, and common subwoofcr. The disc will play 5.1 channel
sound only if you've connected a DTS or Dolby Digital ieceiver or decoder, and if the disc is encoded in
tile Doiliy Digital or DTS format.
Please Read This Before Using the DIGITAL AUDIO Jack!
This unit's digital audio output jack is designed for a connection to a Dolby Digital or
DTS receiver or decode_ Older digital equipment may not be compatible with the Dolby
Digital bitstream. Such a connection can create a high level of noise that may be harmful
to your ears, and could damage headphones or speakers. It is important to choose the
correct Audio setting in the AV Output menu of the Setup menu. For more information,
go to page 34.
Additionally, the digital coaxial audio output jack can transfer either PCM or RAW bit
stream to the audio receiver for decoding. If you're using DTS signal with PCM selected in
the Audio menu, there won't be any analog or digital output,
1. Connect the cable box signal.
Note: Before you connect the DVD recorder, you'll need to disconnect some of the cables
first in order to reconnect them.
la. Connect the RE coaxial cable that is connected to the cable box'_ Output jack (sometimes labeled
CABLE OUT) to tbe ANTENNA/CABLE IN PUT jack on the back of the DVD recorder.
lb.Ifyour cable box has audio/video output jacks, connect tile audio cables to the Audio Output I
(left white) and R (fight red3 jacks on the back of your cable hox, and to the collesponding AV
IN L/R jacks on yore DVD recorde_:Then connect the video cable (yellow) to the Video Out ja&
on the back of your cable box, and to the AV IN VIDEO jack on ?xlm DVD Jecorder.
2. Connect the DVD recorder to the "PC
You need to connect cables flora the DVD recol&'r's Ol FFPLI-[ jacks to tI/e'I_'s INPU-[ jacks ill
order to see the content born the DVD recordm (whether it's a'I_/program ol a disc youre playing).
2a. Use the RE coaxial cable tbat was packed with your DVD Jecorder, and torment one end to tile
ANT[ NNA/CABI E O U-[ PU-[ jack on tile DVD lecorder. Connect tbe othel end to the Cable/
Antenna Inp_lt jack oil the back of your TV (sometbnes laheled CABI FJAN-[ ENNA/.
2b. Connect tbe video cable. The cables you use for the video determine die quality of the picture
you'll see on youl TV when )_lu're playing DVDs. For more inf')relation about cables and signal
quality, go to page 5.
Connect the video cahle (ydlow) to the VIDEO OUTP[ FE jack on the back of your DVD
recolder, and to the Video Input jack on your I'V (sometimes labeled VIDf () INt.
S-VIDEO (not shown) If your TV has an S-VIDEO jack, connect one end of an optional S-Video
cable to the S VIDE() IN jack oil the back of the TV and tbe otber end to the S VIDEO OUT
jack on the back of tbe DVD recordel.
COMPONENT VIDEO ¥, Pb, Pr (not shown) If youl TV has Component Input Jacks (Y, Pb,
Pr), you can achieve even greater picture quality (DVD playhack only) by connecting the DVD
recorder to dle TV using these jacks (COMPONENT VIDEO OUT, Y, Pb, Pr on the DVD
recorder). For more explanation, go to page 5. Component Video cables not supplied with the
DVD recolder.
HDMI (not shown) If you TV has an HDMI Inp_lt Jack, you can achieve optbnum picture
quality. Connect one end of the HDMI cahle to the HDMI jack on the back of the TV and the
othel end to the HDMI jack on the back oftbe DVD i_'corder. Press the HDMI I)utton oil tbe
remote to toggle the availahle progressive scan and interlace modes.
3. Connect tile DVD recorder to die Audio/Video Receiver.
3a. A set of audio/video cables was packed with your DVD recordeJ. Connect tbe audio cables to the
AUDIO OUTPUT I (left white) and R (light led) jacks oil tile hack of yore DVD _ecorder,
and to the corresponding Audio Input jacks on your audio/video receiver (sometimes labeled
DVD, AUX, SKI ol VCR IN L and R).
continued on next page
Graphics contained within this publication are for representation only 15