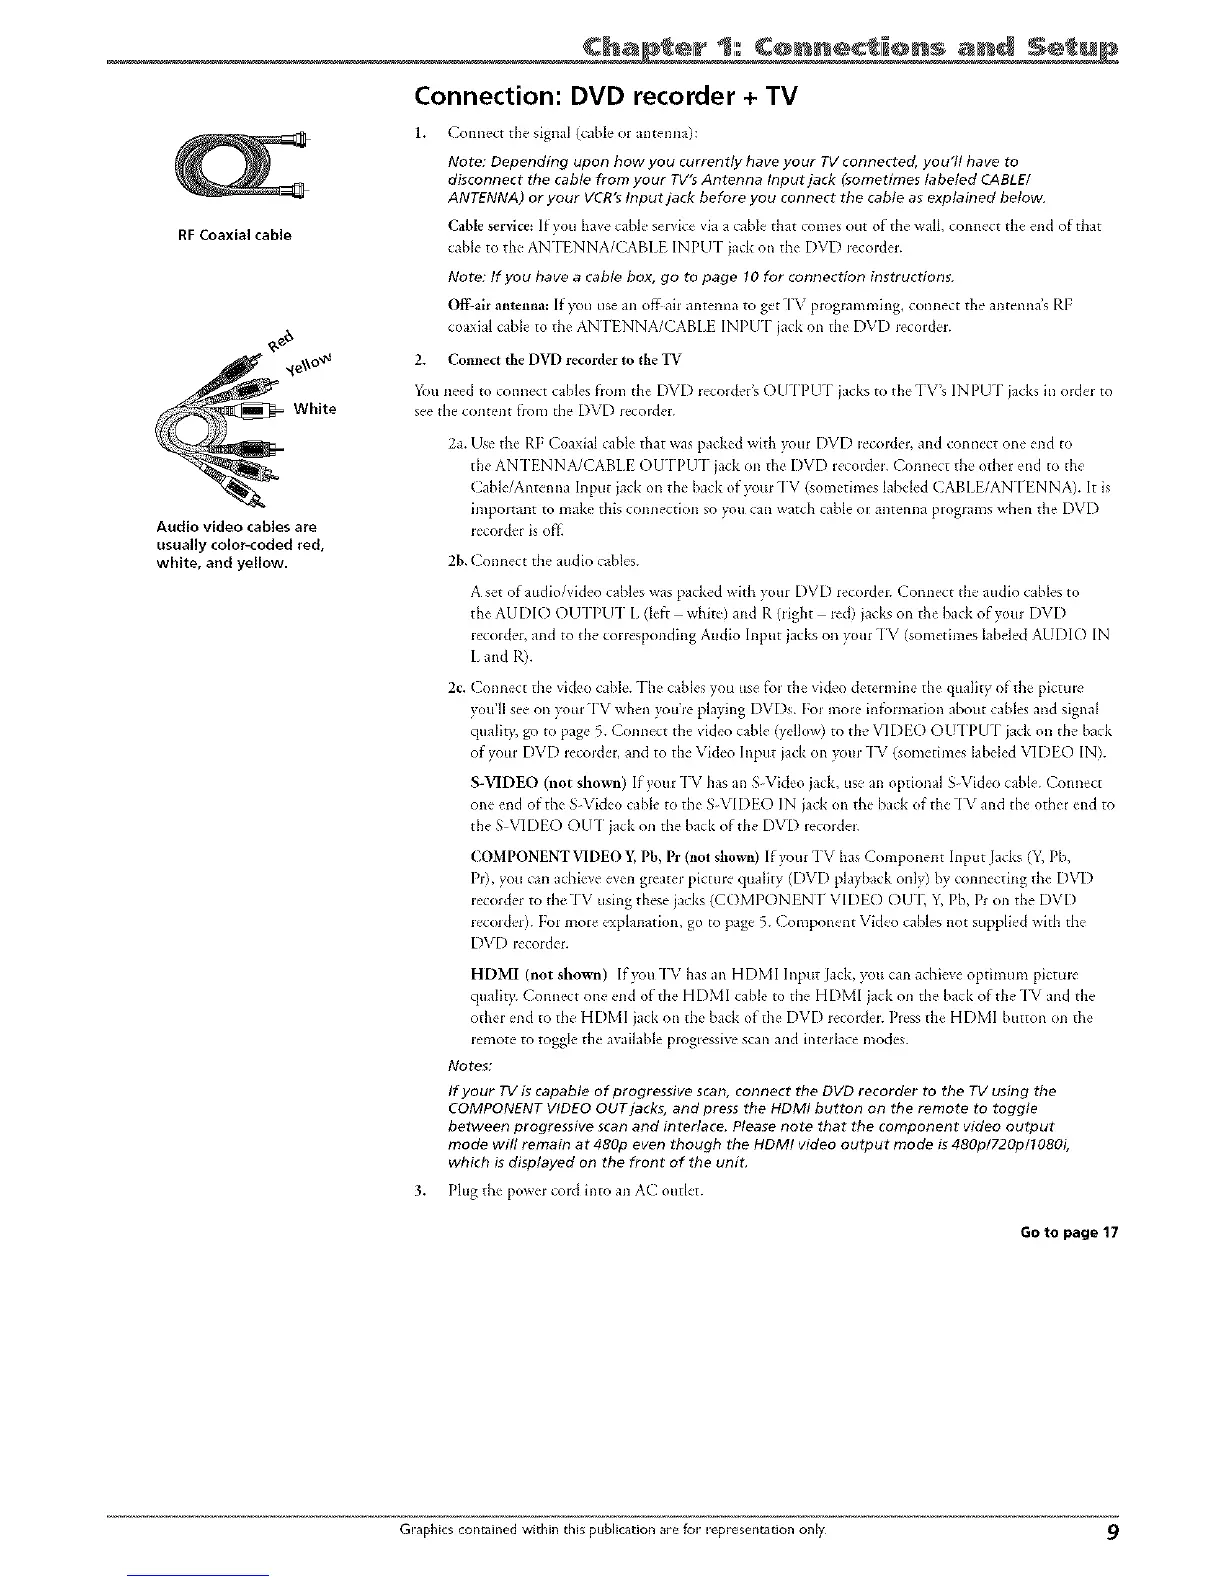
RFCoaxial cable
_o_
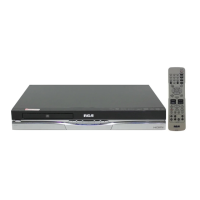
White
Audio video cables are
usually color-coded red,
white, and yellow.
Ch p er 1: C@ nect ÷ns
Connection: DVD recorder + TV
Connect the signal (cable or antenna):
Note: Depending upon how you currently have your TVconnected, you'll have to
disconnect the cable from your TV's Antenna Input jack (_ometimes labeled CABLE/
ANTENNA) or your VCR's Input jack before you connect the cable as explained betow_
Cable service: If you have cablc se_vk-_'via a cable that comes out of the wall, ccmn_'ct the end of that
cable to the ANTENNA/CABIt INPUT jack on the- DVD lecordel.
Note: If you have a cable box, go to page 10 for connection instructions.
Of{Lair antemla: If'you use an offah antenna to ge,t TV plogramming, connect tbe antenna's RI:
coa:dal cable to the- AN I'ENNA/CABLE INPUT jack on the' DVD recoldcL
2. Connect the DVD recorder to the "IV
You need to connect cables from the DVD recor&'r'_ OUTPU-[ jacks to theTV's INPU-[ jacks in order to
see the content flora the DVD recolder.
2a. Use the RF Coaxial cable that was packed with your DVD lecorder, and conilect one end to
the ANTENNA/CABLE OUTPUT iack oil the DVD i:ecoldel. Connect the other end to the
Cable/Antemla Input jack or3 the back of yore TV (sometimes labeled CABL[/ANTENNA). It is
important to make this connection so you can watch cable o1:at3tel313apl:ogJams when the DVD
lecorder is off.
2b, Connect the audio cables.
A set of audio/video cables was packed with your DVD recorder. Connect the audio cables to
the AUDIO OUTPIJT L (left white) and R (tight red) jacks on the back ofyotir DVD
recorder, and to the corresponding Ax*dio Input jacks on your "IV (sometimes labeled AUDIO IN
L and R).
2c. Connect the video cable. The canes you risefoJ the video deteHnine the qtmlity of the pictme
yon'll see on your TV when youre playing DVDs. FoJ more infbrmation about cables and signal
quality, go to page 5. Connect the video cable (yellow) to the VIDEO O U-[PI J-[ jack on the back
of your DVD recorder, and to the Video Input jack on )xlur "I%' (sometimes labeled VIDEO IN).
S-VIDEO (not shown) If your TV has an S Video jack, use an optional S Video cable. Connect
one end of the S Video cable to the S VIDEO IN ja& on the ha& of the -iV and the other end to
the S-VIDEO OU-[ jack oil the back of the DVD recordeJ.
COMPONENT VIDEO ¥, Pb, Pr (not shown) If yore TV has Component Input Jacks (Y, Pb,
Pr), you cml achieve even greater picture quality (DVD playback only) by connectblg the DVD
recorder to the TV using these jacks (COMPONt NI" VIDE() OU'I_ Y, Pb, Pr on the DVD
lecolder). For more explanation, go to page 5. ( omponent Video cables not supplied with the
DVD recorder.
HDMI (not shown) If you TV has an HDMI Input Jack, you can achieve optimum pictule
qualit),. Connect one end of the HDMI cable to the HDMI jack oil the back of the "I_/and the
other end to tile HDMI jack on the back of the DVD recordel. Press the HDMI button on the
remote to toggle the available progressive scan and interlace modes.
Notes;
If your TV is capable of progressive scan, connect the DVD recorder to the TV using the
COMPONENT VIDEO OUT jacks, and press the HDMI button on the remote to toggle
between progressive scan and interlace. Please note that the component video output
mode will remain at 480p even though the HDMI video output mode is 480p/720p/1080i,
which is displayed on the front of the unit,
3. Plug the poweJ cord into an AC outlet.
Go to page 17
Graphics contained within this publication are for e-epresenrationonly 9