65
RESETS14.0
There are two different reset actions that can be used on the BA Master Controller:
Resets To Enable Function
Hard Reset*
(used if there is a
faulty sensor)
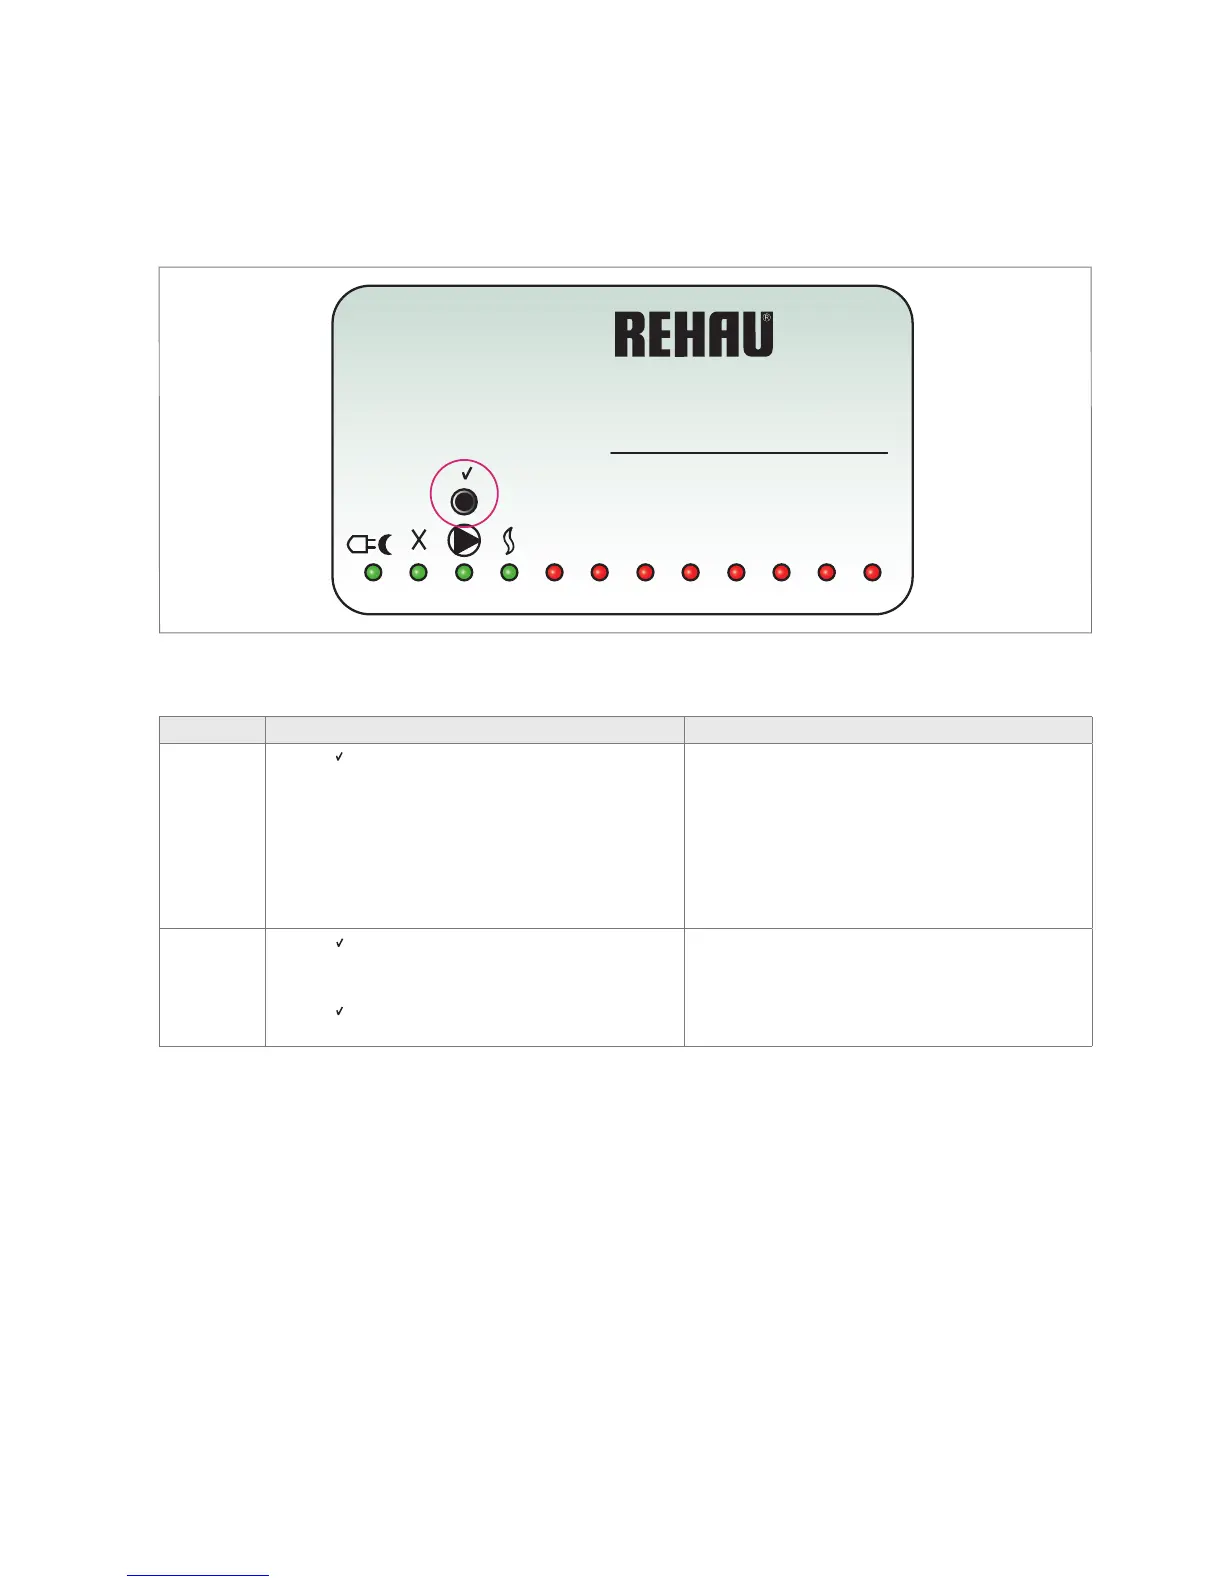
Press the “ ” button on the BA Master Controller for 5 seconds; a HARD
RESET will be initiated (indicated by all the red output LED’s (1-8) rapid
lighting in sequence).
a) This reset will remove any Room Sensor unit with a defective input
sensor, or a defective Add On Module from the system.
b) The fault message will be reset, but the defective items will no longer
participate in the system. Once a defective unit is replaced, the new unit
will automatically be recognised by the BA Master Controller and become
part of the system.
c) This reset would erase the identity of the defective component from the
Master Controller memory.
Factory Reset
(restores factory
defaults)
Press the “ ” button on the BA Master Controller for 15 seconds; a total
factory reset will be initiated. This is indicated through flashes of channel
LED’s 1,3, 5 and 7 alternating with channel LED’s 2, 4, 6 and 8
(while the “ ” button is pressed).
a) This reset will put all programmed temperature settings back to the
factory defaults.
b) It will also remove all Room Sensors/Controllers from the master
memory, and reset the system to accept only those Room Sensors/
Controllers that are functioning correctly.
* Hard resets do not alter the temperature settings already programmed into the BA Master Controller.
14.1 Replacing Faulty Sensor/ Controller
1. Identify the sensor/controller to be changed by the blinking
output LED.
2. Switch OFF power to the master.
3. Change the sensor/controller. Ensuring the correct channel address.
4. Switch ON power to the master.
5. Set the master into sensor check mode and set DIP-3 to ON.
6. On wireless sensor/controller now press the button on the sensor/
controller. On hardwired sensor/controller go to step.
7. Check that the corresponding output LED has changed from
blinking to permanently ON.
8. Reset the DIP-3 to OFF.
For any other changes in the system use the CT Quick Set Up Guide (see
section 10, on page 45) and start the install sequence from the beginning.


 To Next Page