33
5.9.2.4
Floor socket
➜ Install floor socket in such a way that it is
not blocked by the planned furniture
arrangement.
■ We recommend installation near a door.
➜ Make an opening with a 70 mm diameter
in the floor.
➜ Drill holes for the mounting screws of the
socket and insert plugs.
➜ Lay and secure vacuum pipe in such a way
that the sleeve ends approx. 15 – 20 mm
under the finished floor.
➜ Close pipe opening, e.g. with a sleeve
plug, to protect from soiling.
➜ Replace O-ring with suction socket
adapter (black rubber nipple,
Item No. 243578-001).
➜ Install the control cable (Item No. 243472-
001) and let it project approx. 20 cm.
➜ After laying the floor covering, arrange it at
the installation site in such a way that the
floor socket fully covers the hole.
➜ Connect the control cable to the suction
socket and tape the connection (e.g.
lamp-wire connectors) with insulation
tape.
➜ Screw floor socket to the floor.
5.9.2.5
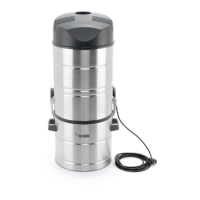
Wall vacuum connection Vac-Pan
The wall vacuum connection Vac-Pan (Item
No. 243582-001) is used to suck up swept
waste, e.g. in a kitchen. Installation is best in
the baseboard of the kitchenette or in stud-
frame walls.
■ When connecting the pipeline from the
front:
➜ Make an opening with a width = 165 mm,
and height = 95 mm for the vacuum pipe
and use the enclosed cover blind (see
Fig. 5-38).
Fig. 5-38: Connection of vacuum pipe
(with access from the front)
➜ Connect the control cable.
➜ Position Vac-Pan.
➜ Attach accompanying pipe bend, align it
and fit it to the pipeline.
➜ Screw in Vac-Pan with cover blind at the
installation site (see Fig. 5-38).
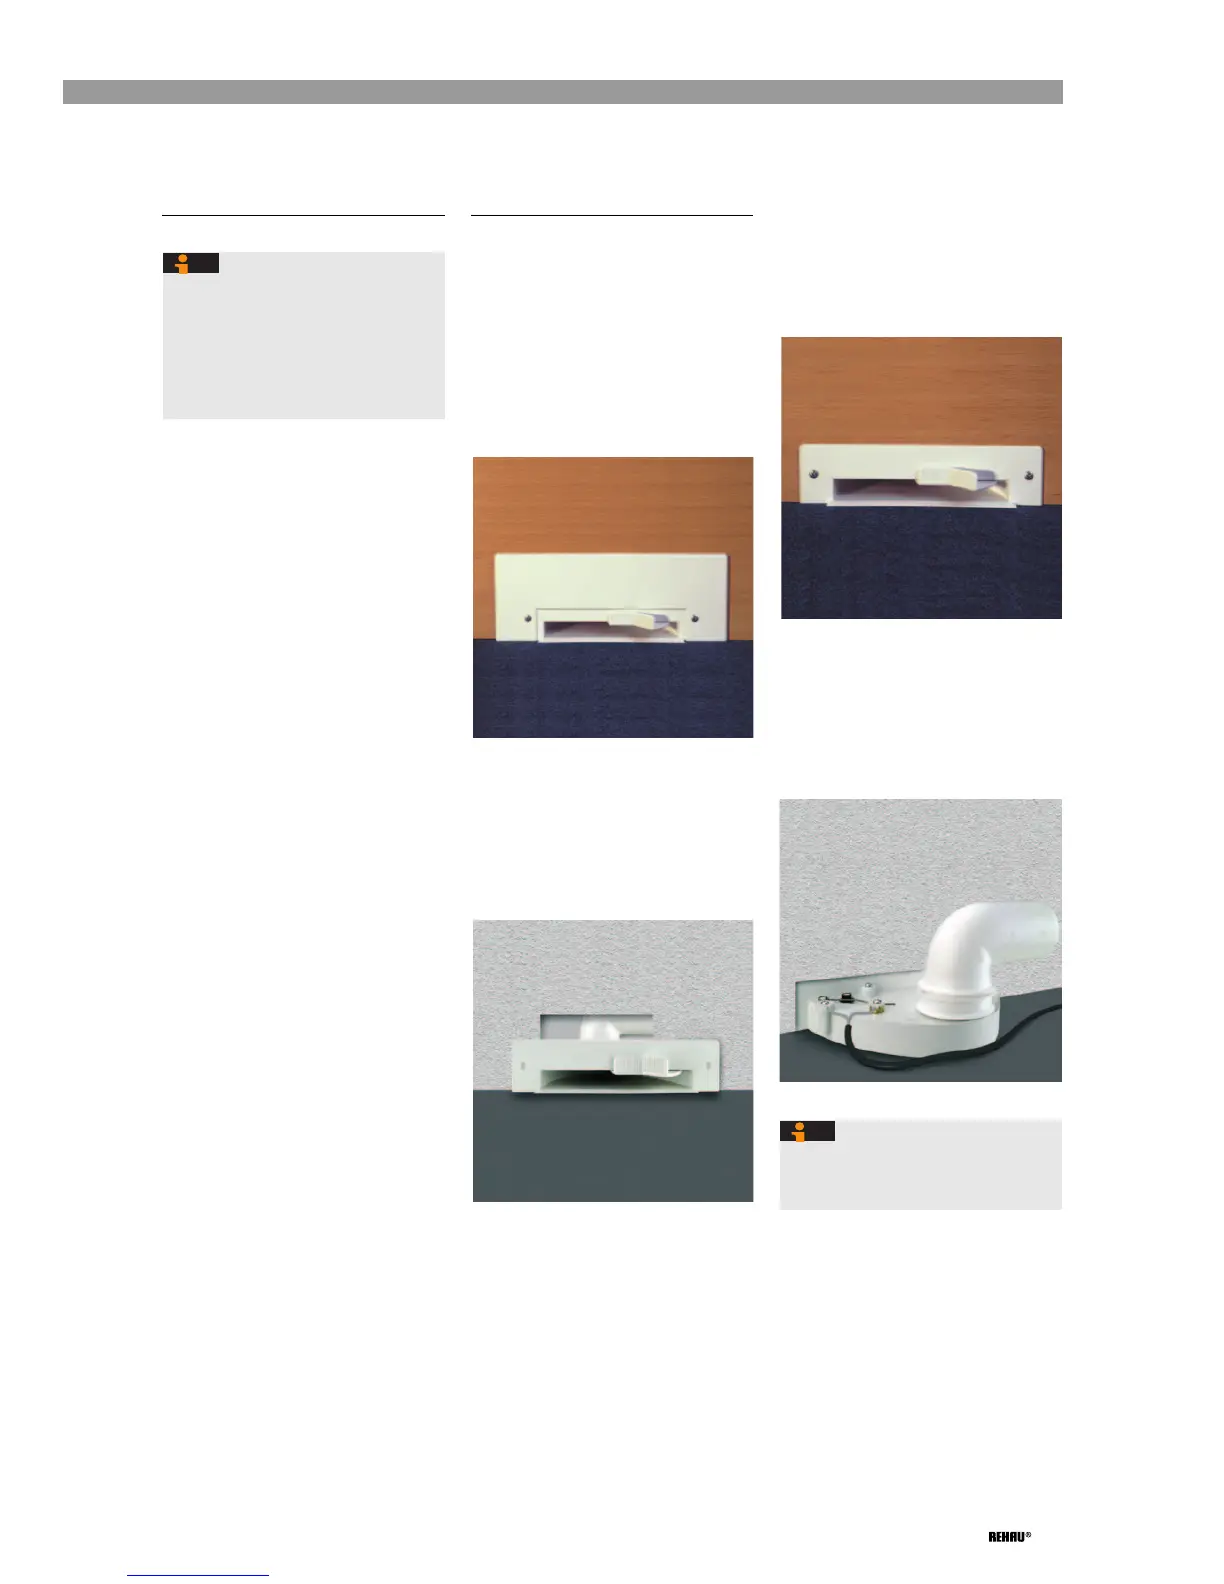
Fig. 5-39: Installation from the front
■ When connecting the pipeline from the
rear:
If the Vac-Pan is accessible from the rear
when installed, an opening with a width =
165 mm and a height = 40 mm is sufficient.
The separate cover blind is not installed (see
Fig. 5-40).
Fig. 5-40: Connection of vacuum pipe
(with access from the rear)
➜ Connect the control cable.
➜ Position Vac-Pan.
➜ Attach accompanying pipe bend, align it
and fit it to the pipeline.
➜ Screw in Vac-Pan at the installation site
(see Fig. 5-40).
Fig. 5-41: Installation from the rear
➜ Cement suction pipe into unfinished
floor or (if sufficient insulation thickness
is available) lay in the insulation
between the screed and the unfinished
floor (see Chap. 5.9.2.2, Page 30).
➜ Ensure that other pipe systems, e.g.
floor heating, are not impaired here.
Vac-Pan automatically starts the vacuum
unit when the flap is opened and
switches it off when the flap is closed.