9
13912-101 Rev. B
Default Settings
The AT555 has default settings that are set at the factory. A summary of these settings are given on the next page. A detailed
definition/explanationofeachsettingisgivenonpages11-14.
The following steps provide the details on how to customize the default settings.
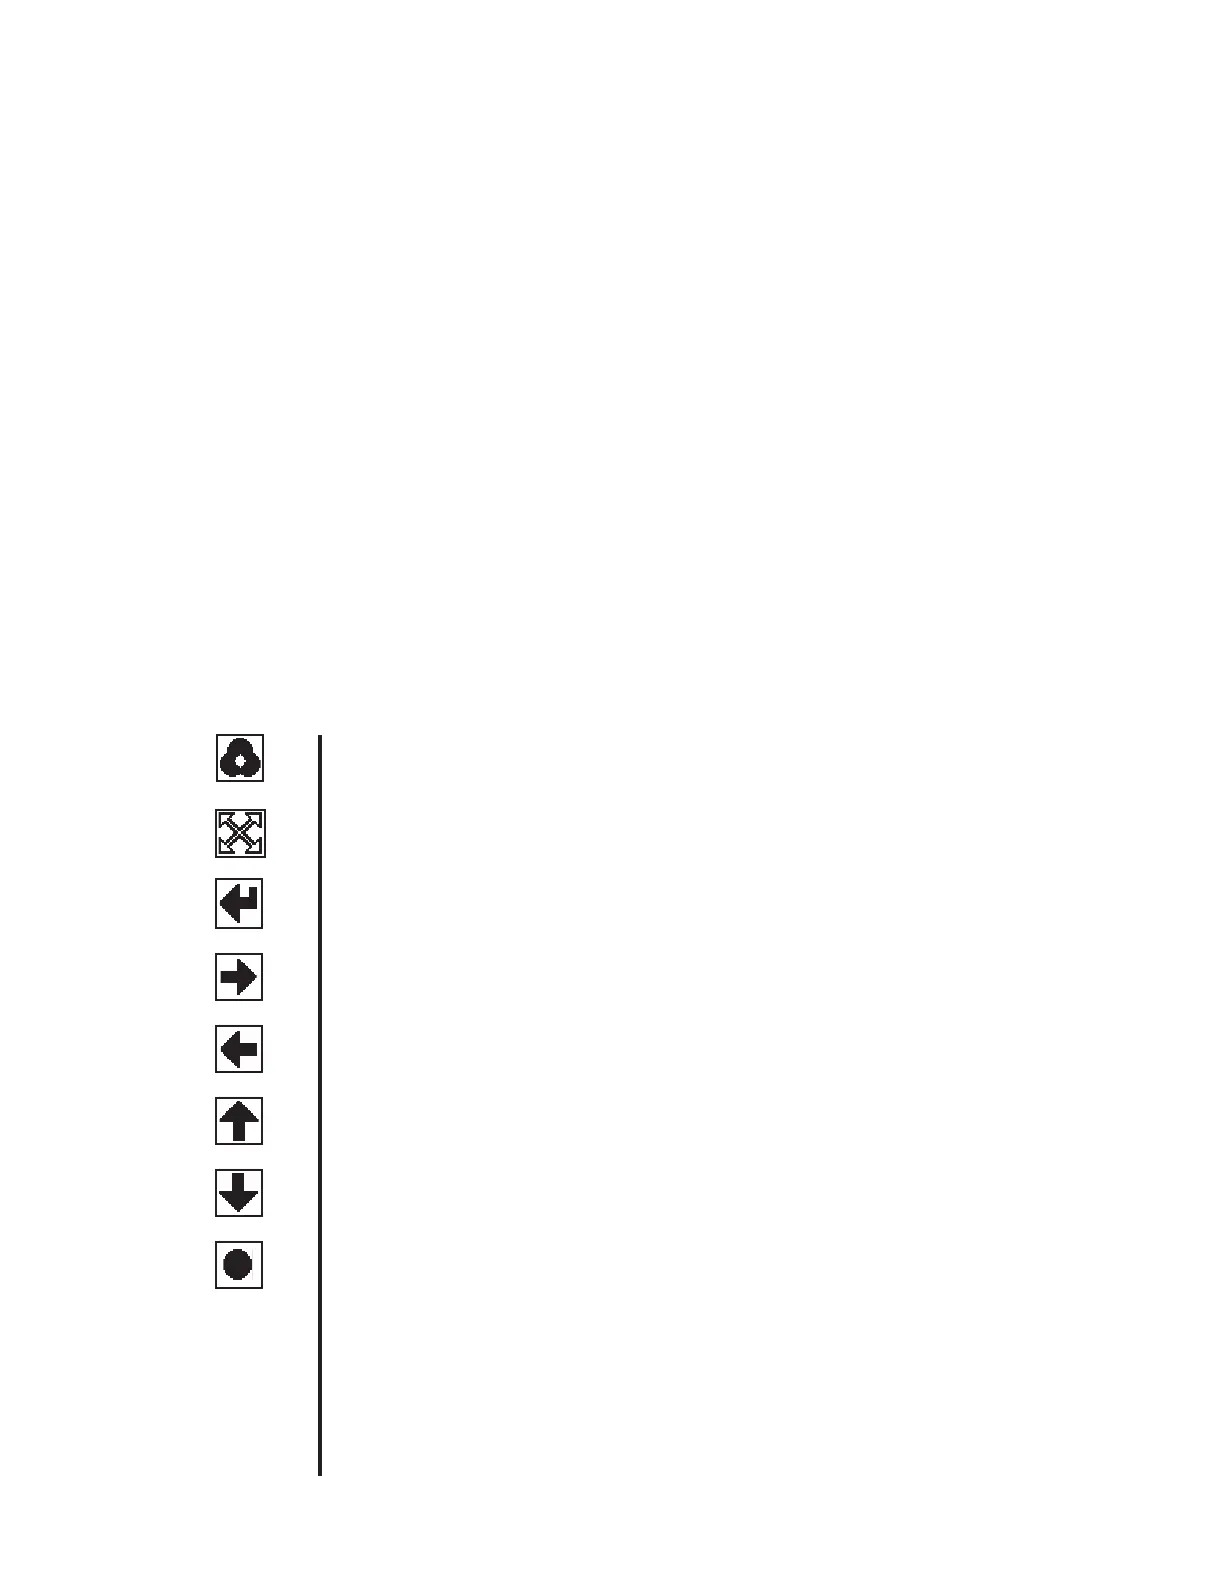
Icon Icon Description
Instrument Setup (Continued)
RIGHT ARROW Used in setup menu to move right horizontally.
LEFT ARROW Used in setup menu to move left horizontally.
MODE Accesses setup categories such as setup and help.
SETUP Provides access to the parameters so that the default settings can be
modified.
RETURN Returns to preceding screen.
RIGHT ARROW Used in the setup menus to move right horizontally.
LEFT ARROW Used in the setup menus to move left horizontally.
UP ARROW Used in the setup menus to move up vertically.
DOWN ARROW Used in the setup menus to move down vertically.
SELECT Used in the setup menus to activate the new parameter or setting.
How To Customize:
1. Press the button below the MODE icon.
2. Press the button below the SETUP icon.
3. PressthebuttonbelowtheUP/DOWNARROWSicontochoosetheappropriatesetupcategory(e.g.,PrintoutSetup).
4. Press the button below the SELECT icon to display the parameters and settings of the setup categories.
5. PressthebuttonbelowtheUP/DOWNARROWSicontomovethecursorboxtothedesiredparameter.
6. Press the button below the SELECT icon to activate the highlighted parameter.
7. PressthebuttonbelowtheappropriateRIGHT/LEFTARROWSicontomovethecursorboxtothedesiredsettingforthe
parameter.
8. Press the button below the SELECT icon to activate the highlighted setting.
9. Press the button below the RETURN icon to step back thru the previous menus until the Main Menu is shown.
 Loading...