

D
David RamosJul 26, 2025
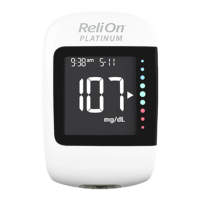
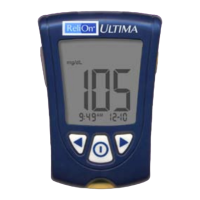
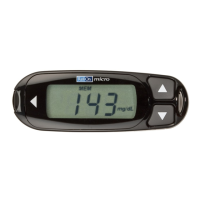
What to do if my ReliOn Blood Glucose Meter is damaged or shows an error code?
- EErica ThompsonJul 26, 2025
If your ReliOn Blood Glucose Meter displays an error code or appears damaged, contact Customer Service at 800.631.0076 for assistance.