Prusa i3 – Build Manual
Now turn both motors by twisting both flexible connectors simultaneously clockwise until the x-axis is raised
about 35/40 cm further away from the build plate.
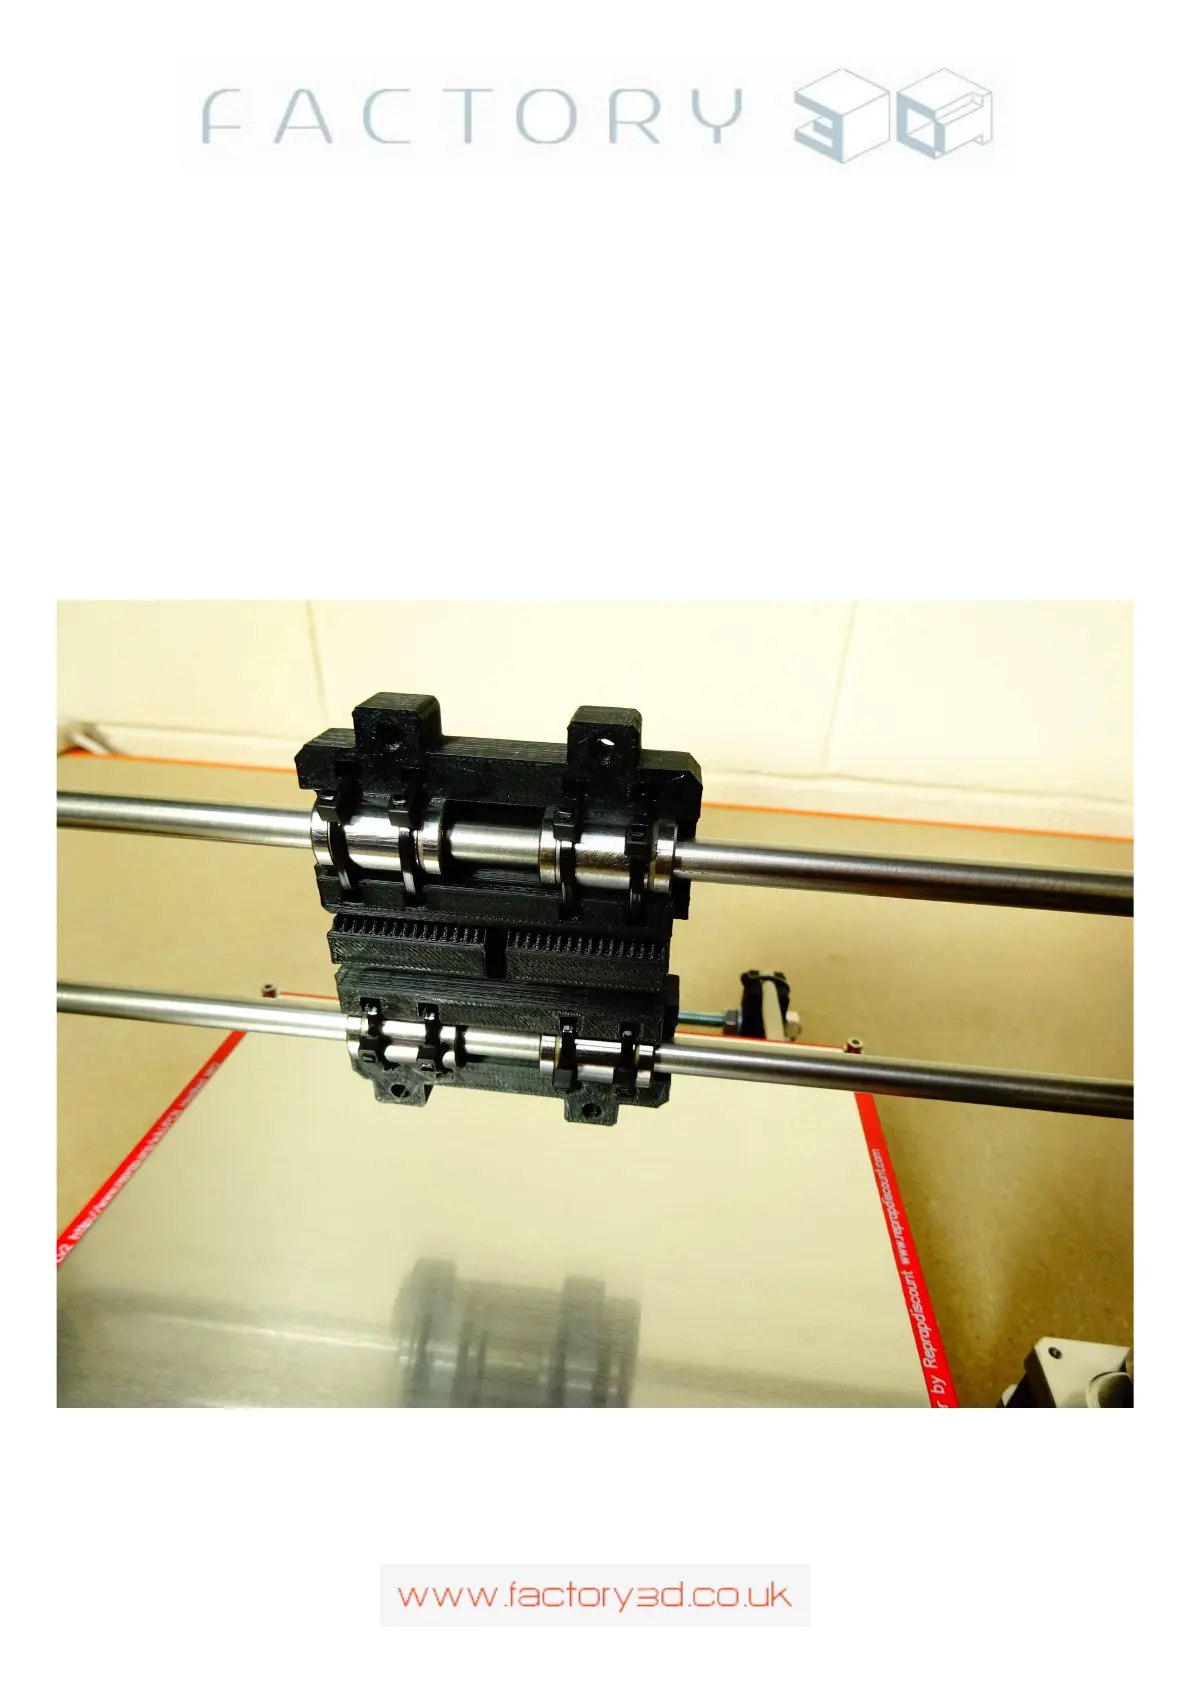
Next cable tie the X-Axis carriage/extruder mount onto the 4 LM8UU bearings (flat face of the mount front
facing, belt toothed slot at the top with the teeth pointing upwards, also note the lower MK8 mounting tabs in
Fig 5.2e .. one is positioned wide), make sure the bearings are pushed together and pressed well into the slots of
the mount (they will click into place when pressed in). Not: It would be a good idea to practice pressing one
bearing into place to hear what it sounds like when it snaps into place, its very important all 4 are seated
correctly. Next thread through the cable ties and secure tightly.
Then thread the GT2 belt around the GT2 motor pulley and around the idler pulley (with the idler slackened)
and push the belt well into the belt teeth of the extruder mount keeping the belt reasonably taught (tension can
be increased next with the small clip on belt tensioner), trim to the correct length if necessary. (Fig 5.2e)
Fig 5.2e (rear view):
Version: 1.3 Page: 30