Prusa i3 – Build Manual
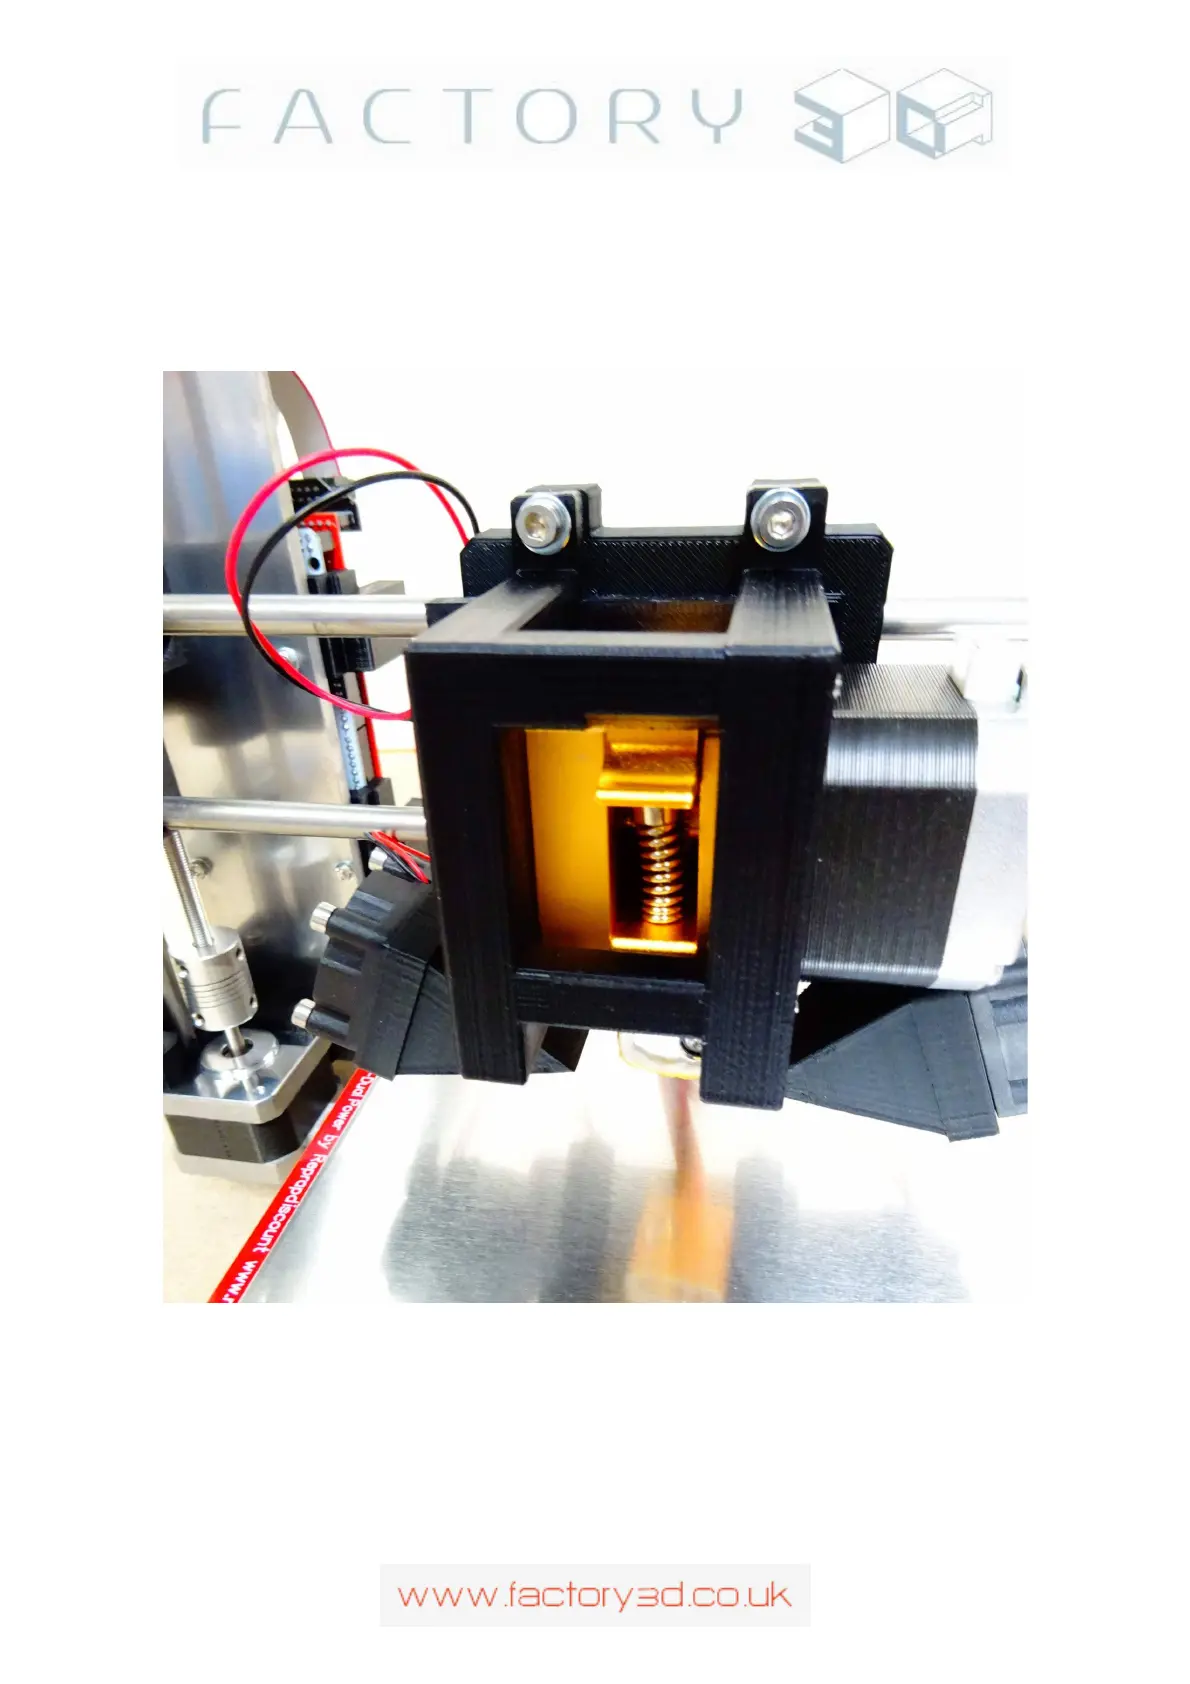
Finally mount the whole assembly onto the x-carriage using 4 * 25mm M4 bolts, 8 M4 washers & 4 M4 nuts.
Feed the hot-end and buildplate fan wires underneath the x-carriage, Hot-end fan wires over the top of the x-
carriage. Tighten the M4 bolts firmly. See Fig 6.1 e & Fig 6.1f (rear) Note: The supplied motor cables with
MK8 extruders normally connect to the RAMPS at E0 black wire up, however if this turns the motor
backwards during setup tests, just flip the connector at E0 the other way (bottom wire up instead).
Fig 6.1e:
Version: 1.3 Page: 36