 Loading...


Do you have a question about the ResMed S9 Series and is the answer not in the manual?
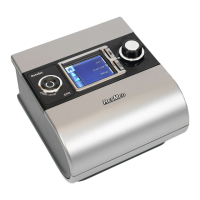
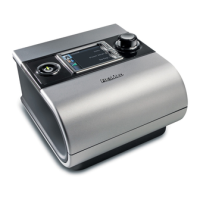
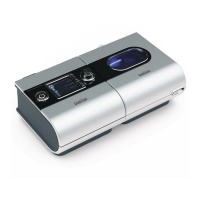
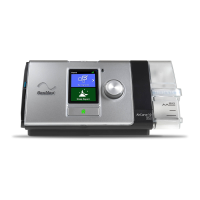
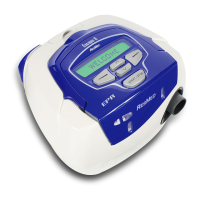
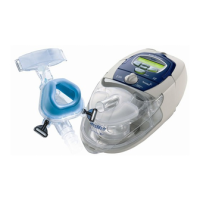
| Data Storage | SD card |
|---|---|
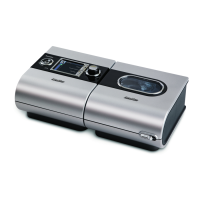
| Device Type | CPAP Machine |
| Pressure Range | 4 to 20 cm H2O |
| Sound Level | 24 dB |
| Power Supply | 100-240V AC, 50/60Hz |
| Therapy Modes | CPAP, VPAP ST, VPAP Auto |
| Altitude Adjustment | Yes |
| Operating Temperature | +41°F to +95°F (+5°C to +35°C) |
| Operating Humidity | 10% to 95% non-condensing |
| AC Voltage | 100-240V AC |
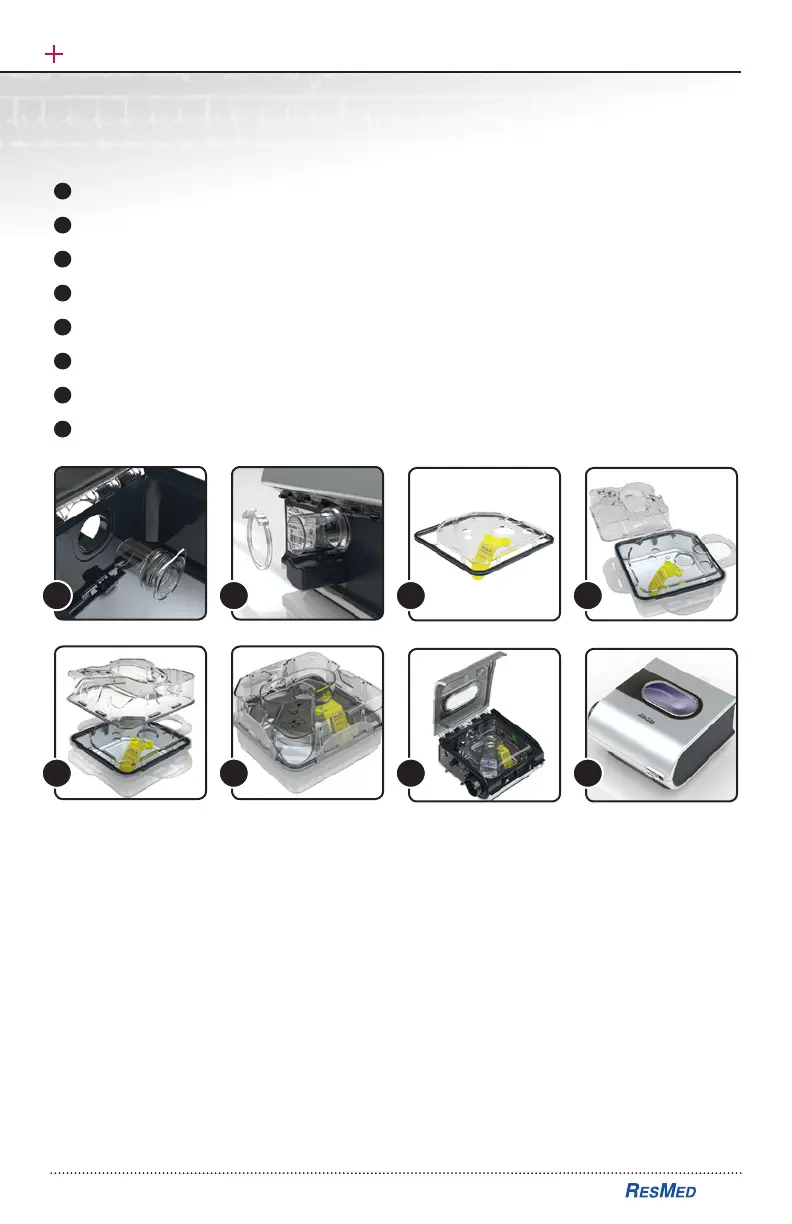
| Humidifier | optional |
| Ramp | Yes |