Check the IP address on the configuration page.
The address appears under Network Settings.
If the IPv4 address is not automatically assigned by the DHCP server, the machine automatically selects
an unused IPv4 address starting with "169.254.xxx.xxx" (Auto IP function).
Changing the IP Address Settings
To configure the IP address manually, it is necessary to specify the IP address‑related settings. For details,
see page 19 "3.Appendix".
SP 212w/SP 212Nw/SP 213w/SP 213Nw
Use Smart Organizing Monitor to connect the machine to the network. Install Smart Organizing Monitor
first on a computer on the same network.
For details, see "Installing the Driver and Software", User Guide .
SP 212SUw/SP 212SNw/SP 212SFw/SP 212SFNw/
SP 213SUw/SP 213SNw/SP 213SFw/SP 213SFNw
Configure network settings using the control panel.
Quick Install for Network
Turn on the power of the computer.
Quit all applications currently running.
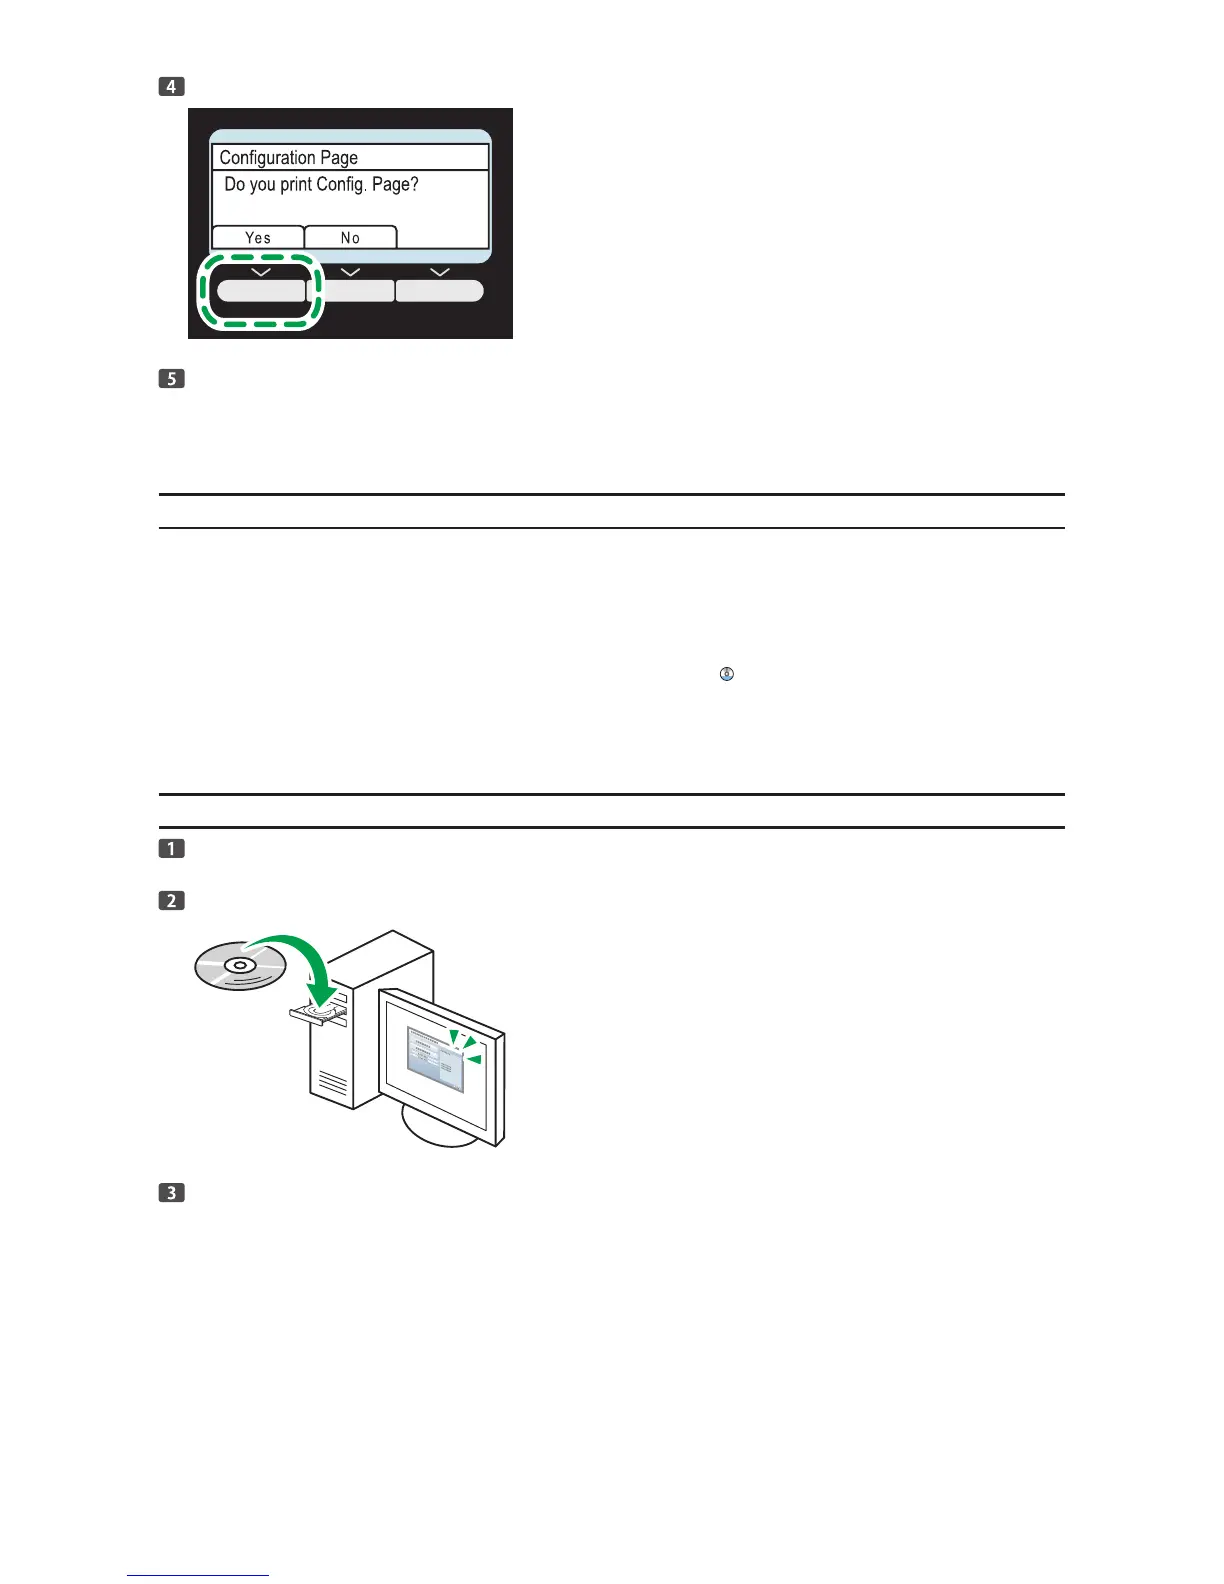
Insert the CD-ROM into the CD-ROM drive.
 Loading...