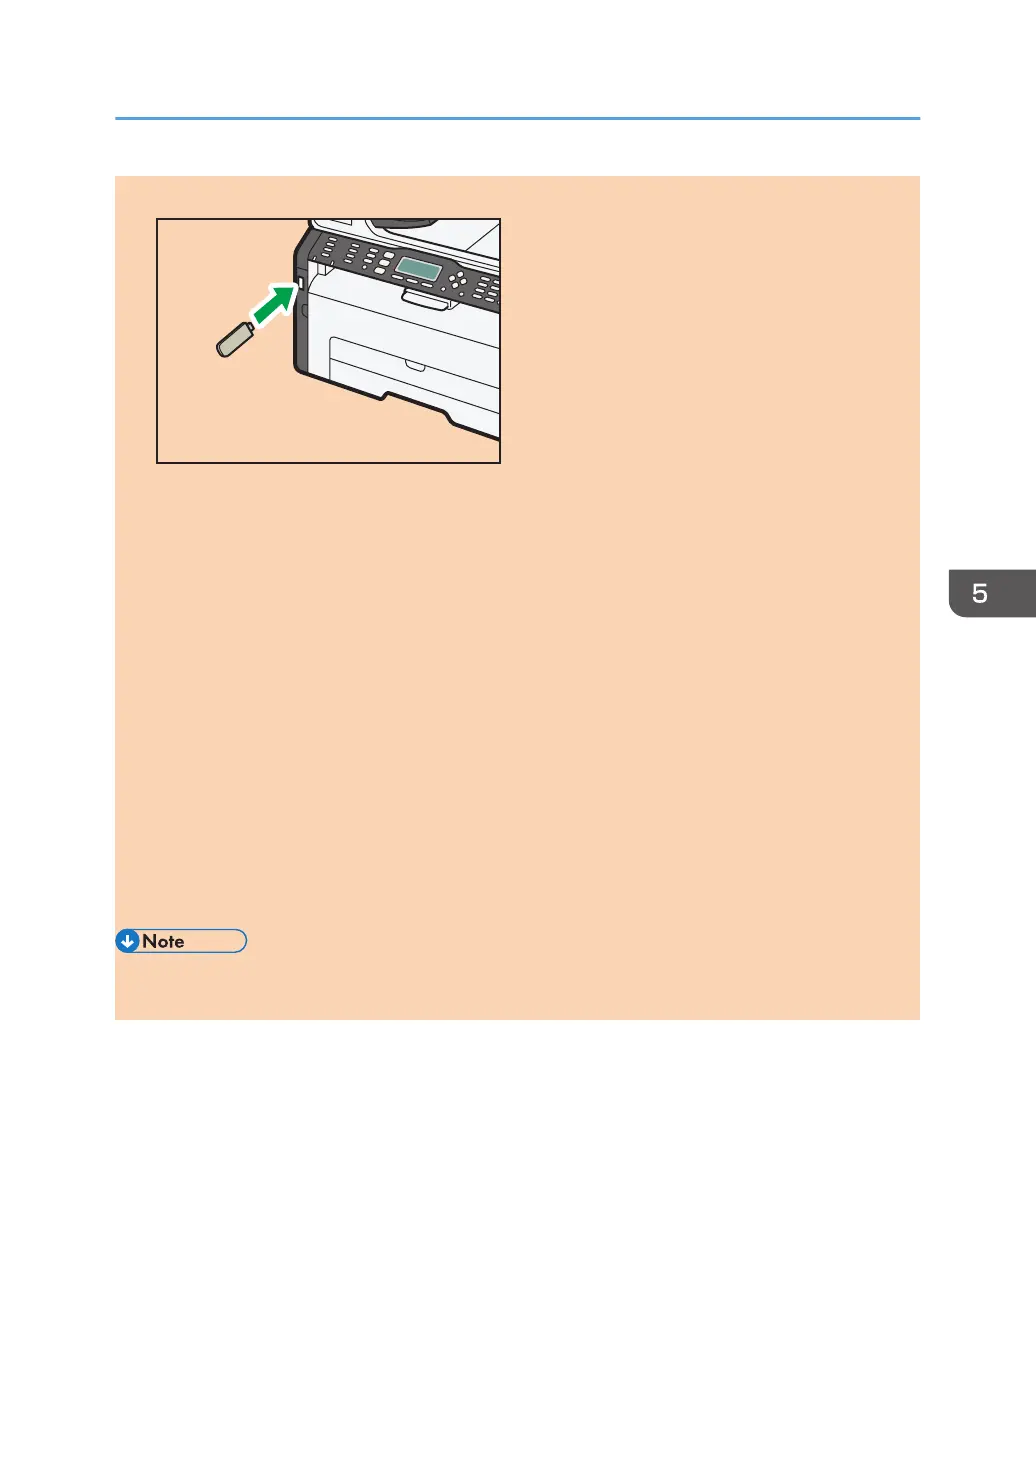
1. Insert your USB flash disk into the USB flash disk port.
"Loading..." appears on the display. Wait until the display changes to show "Save Scn Data to
USB" (the duration depends on your USB flash disk).
2. Place the original on the exposure glass or in the ADF.
If necessary, configure advanced scan settings. For details, see page 92 "Specifying the Scan
Settings".
3. Press the [Start] key.
4. Select file format.
5. If you have more originals to scan, place the next original on the exposure glass, and
then press [Yes]. Repeat this step until all originals are scanned.
6. When all originals have been scanned, press [No] to start sending the scanned file.
7. Confirm that "Ready" appears on the display.
The scanned file is created in the root directory of the USB flash disk.
8. Remove the USB flash disk from the machine.
• To cancel scanning, press the [Scanner] key, and then press the [Clear/Stop] key. The scan files
are discarded.
Basic Operation
opal-p2_mf2_com_user_guide_00142100_eng.xml 91
 Loading...