21
Using the Scanner Function
v Specifying the Scanning Size
You can specify the scanning size according to the size of the current original.
Press the [Reduce/Enlarge] key or [Scn Size].1.
Press the [ 2. ][ ] keys to select the size of the original, and then press the [OK] key.
If you would like to specify a custom scanning size, see “Specifying the scanning size
according to the size of the original”, User Guide.
v Adjusting Image Density
You can adjust the image density for the current job.
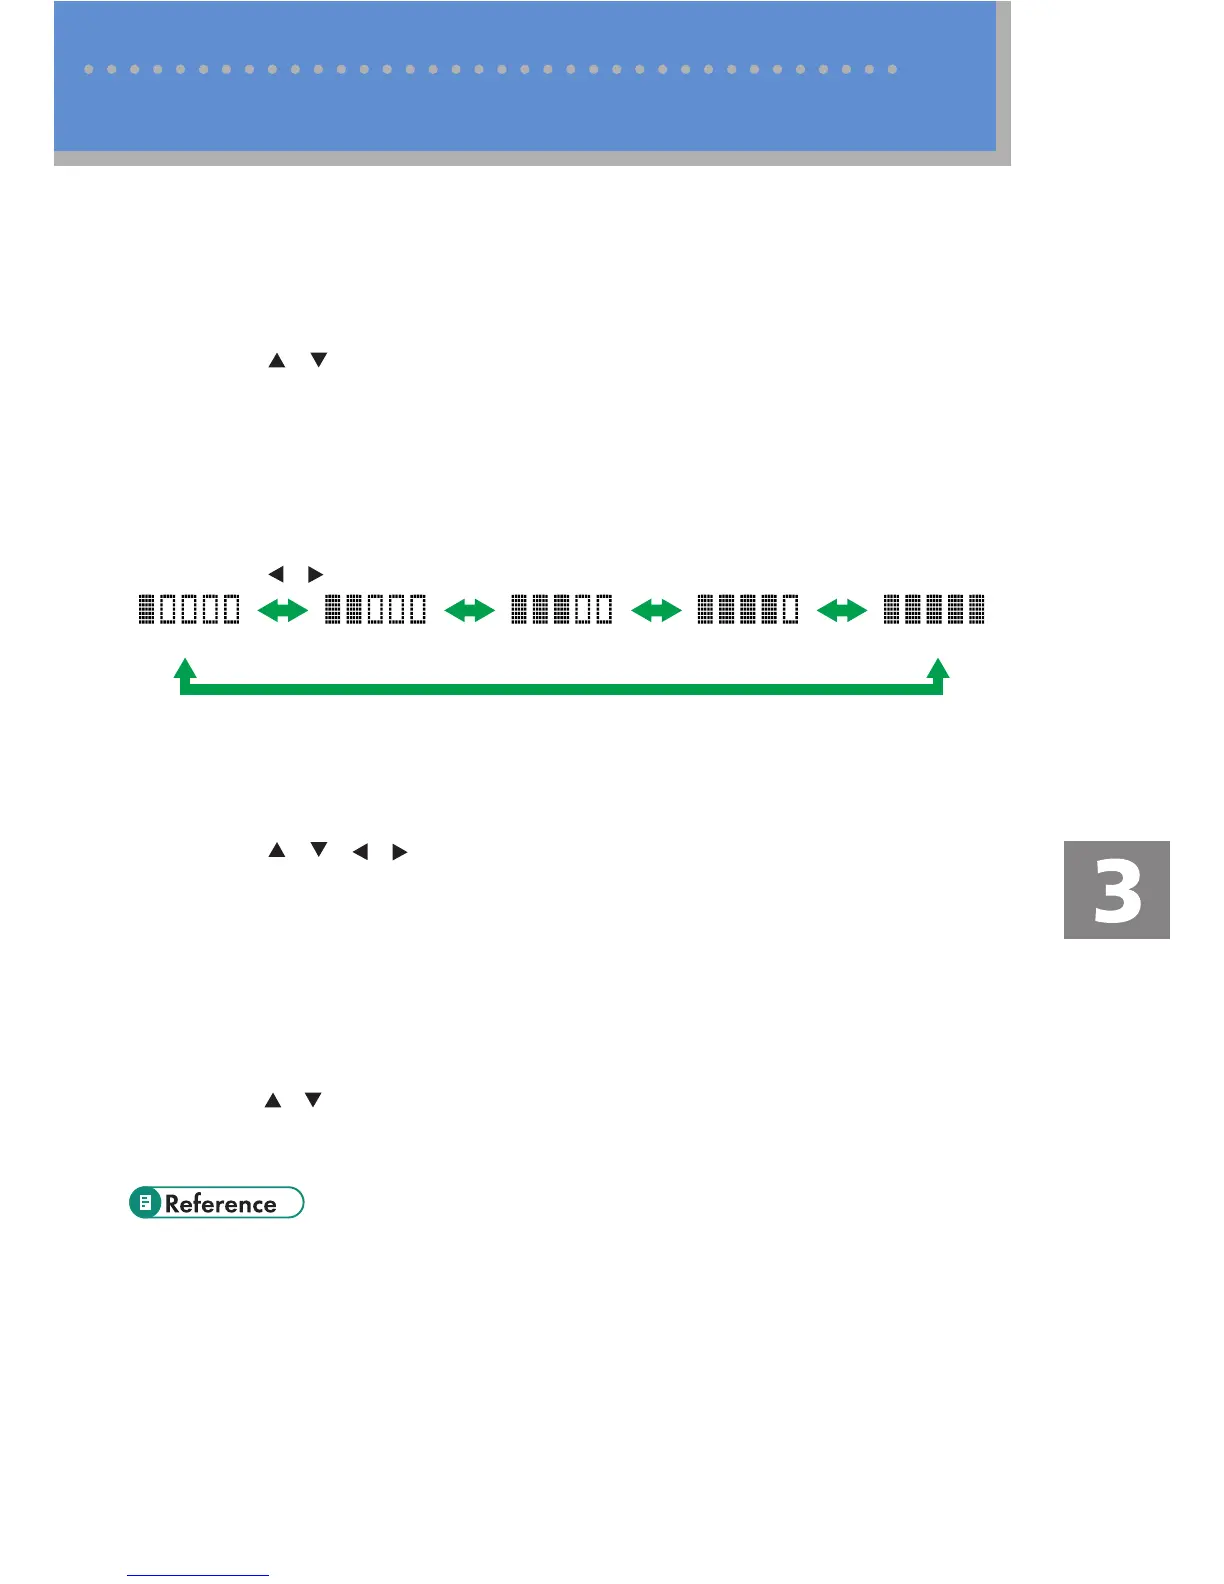
Press the [Density] key.1.
Press the [ 2.
][ ] keys to select the desired density level, and then press the [OK] key.
(Lightest) (Darkest)
v Specifying Resolution
You can specify the scan resolution for the current job.
Press the [Image Quality] key.1.
Press the [ 2. ][ ][ ][ ] keys to select the desired resolution, and then press the [OK]
key.
v Specifying the scanning side according to the original
(SP 3510SF)
If you are using the SP 3510SF model, you can specify the machine to scan both
sides of original automatically using the ARDF.
Press [Original].1.
Press the2. [ ][ ] keys to select the desired scanning method, and then press the [OK] key.
Selectthesidesoftheoriginal(1sideor2-sides)toscan.Whenscanning2-sides,selectthe
page and binding orientations according to the original.
For more details about the scanner function, including how to scan originals from a computer •
(TWAINscanning),see“UsingtheScannerFunction”,User Guide.
If you would like to change the default settings of the machine, see “Configuring the Machine •
Using the Control Panel”, User Guide.
Advanced Scan Settings

 Loading...