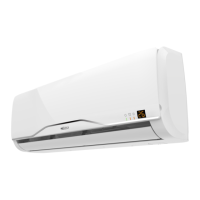
INSTALLATION
13
300
500
30
0
600
500
2.8
Positioning
R AARIA START devices must:
— be positioned on a level surface that is capable of support-
ing their weight
— be positioned on a sufficiently rigid surface that will not
transmit any vibrations to the underlying or adjacent rooms
9
Use the anti-vibration supports supplied with the device.
ABC
D
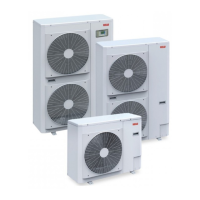
Model 25 35 50 70
Foot print dimensions
A 140 140 114,2 130 mm
B 500 500 590 6,28 mm
C 140 140 114,2 130 mm
D 256 256 324 355,5 mm
They can be placed on the floor or suspended on supporting
brackets.
Positioning on floor
1 Fastening screw M4
2 Anti-vibration element (supplied)
3 Spirit level
1
2
3
— screw the unit to the ground
— tighten using a torque wrench
— apply a tightening torque of 3.5 Nm
Provide for lifting of the unit from the floor:
— 20 mm without conveying of the condensate outlet
— 90 - 100 mm to allow for the condensate discharge
9
If the device is installed in an area that is subject to heavy
snowfalls, place the unit in a raised position so as to pre-
vent the air flow from being blocked or install a roofing to
protect it.
9
Adequate anti-freeze systems should be used for installa-
tions in extremely cold areas, where there is a possibility of
freezing.
9
While operating in heating mode, the unit generates con-
densate, which will deposit on the support surface if there is
not discharge. This could freeze if the outdoor temperatures
are below zero, thus creating a hazard. In this case, appro-
priate barriers should be installed in order to prevent people
from approaching the unit.
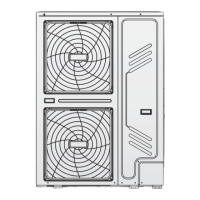
1 Lifting from the top
2 Condensate discharge connector
1
2
Model 25 35 50 70
Connections
Condensate discharge
attachment Ø
16 mm
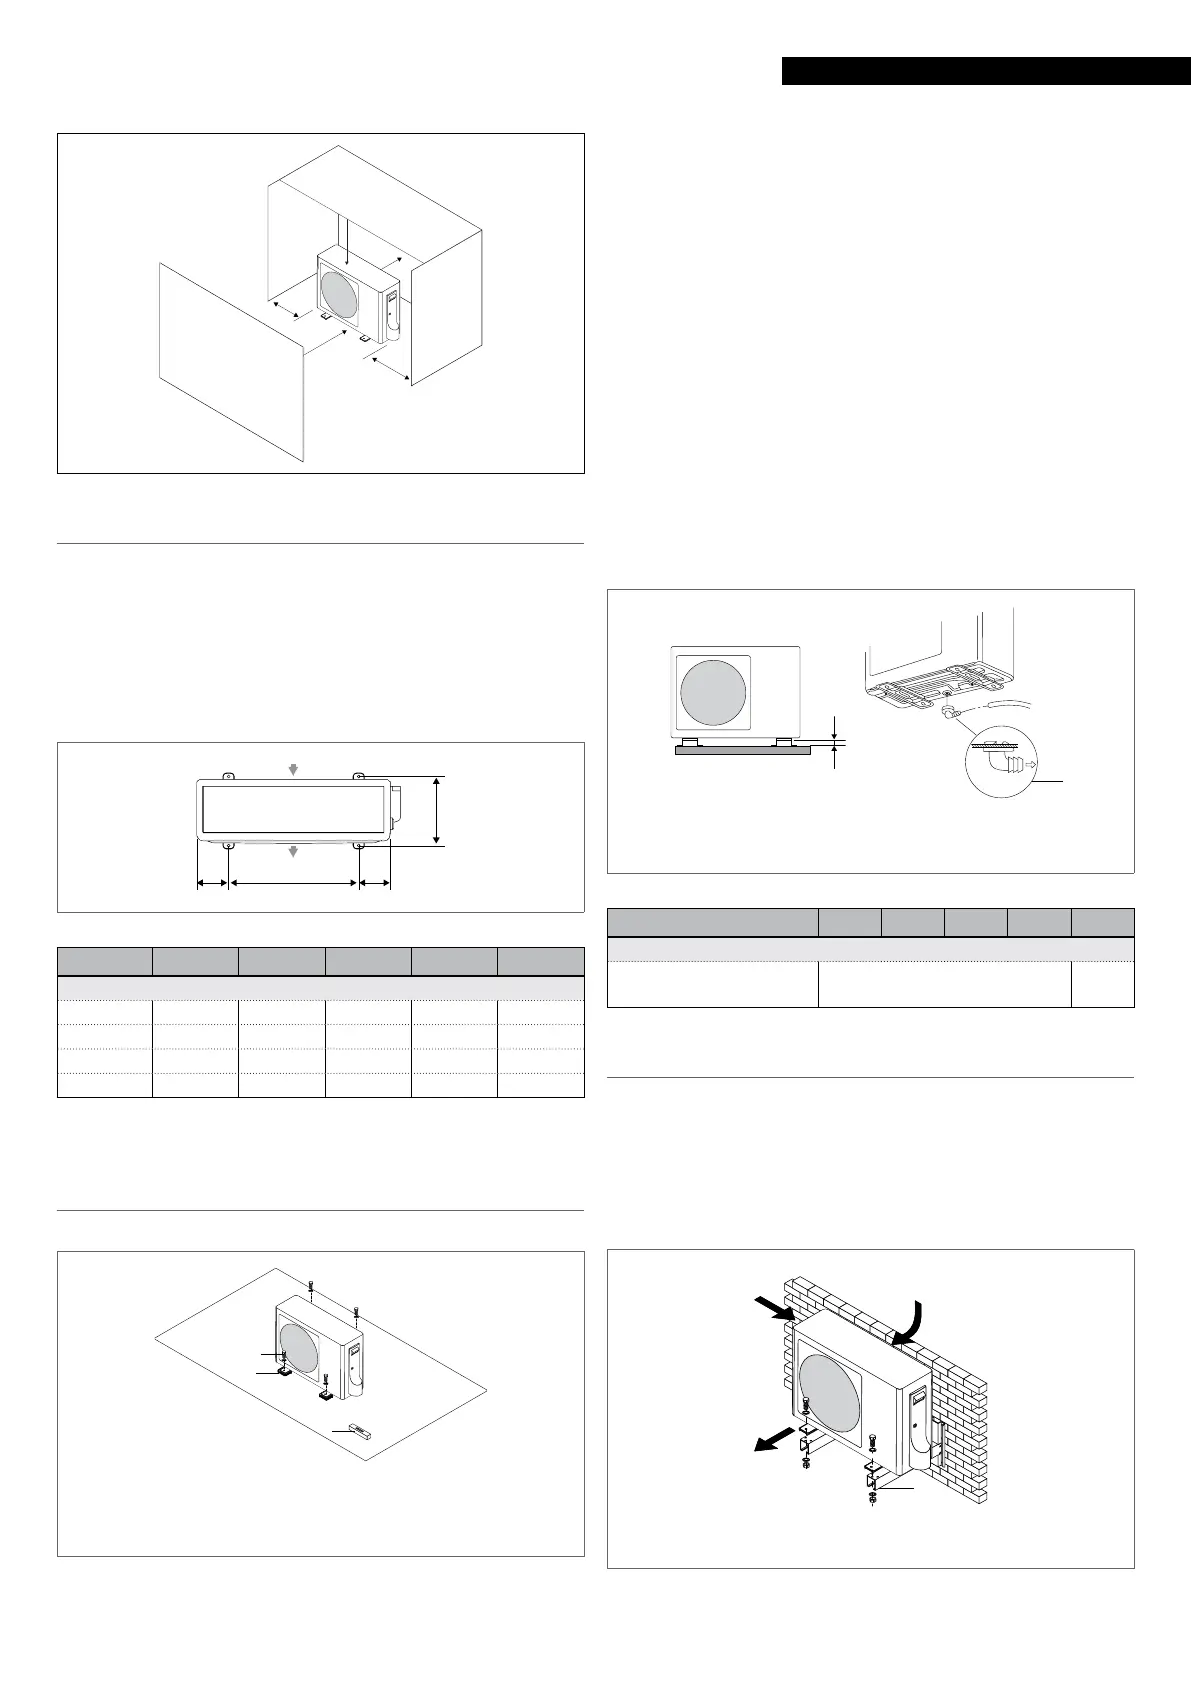
Hanging position
9
Properly sized supporting brackets must be used if the de-
vice is installed in suspension.
9
Ensure that the wall section does not include bearing ele-
ments, pipes or electric lines.
1 Supporting brackets
1