33
SW1 (OFF)
SW2 (OFF)
SW3 (OFF)
SW4 (OFF)
1234
DipSW
Factory default
ON
SW1 (OFF)
SW2 (ON )
SW3 (OFF)
SW4 (ON )
ON
1234
DipSW
High altitude
(>900m)
SW1 (ON)
SW2 (OFF)
SW3 (ON)
SW4 (OFF)
1234
DipSW
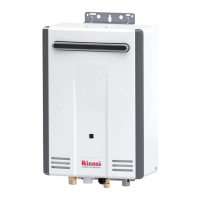
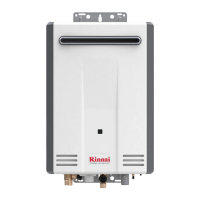
Flue-diverter
ON
(Outdoor model only)
SW1 (ON)
SW2 (OFF)
SW3 (ON)
SW4 (OFF)
1234
DipSW
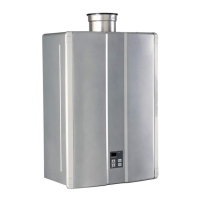
‘Long’ flue system
ON
(Indoor model only)
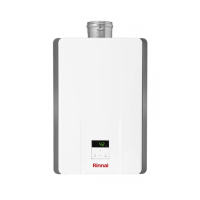
Dip switch SW(4p) settings
The switches of the control board are set to OFF
is connected (indoor models only) the installer must set switches SW1 and SW3 to ON (right position). When a
ON (right
position). When the appliance is installed in high altitude areas (>900m; <1800m) the installer must set switches SW2
and SW4 to ON (right position).
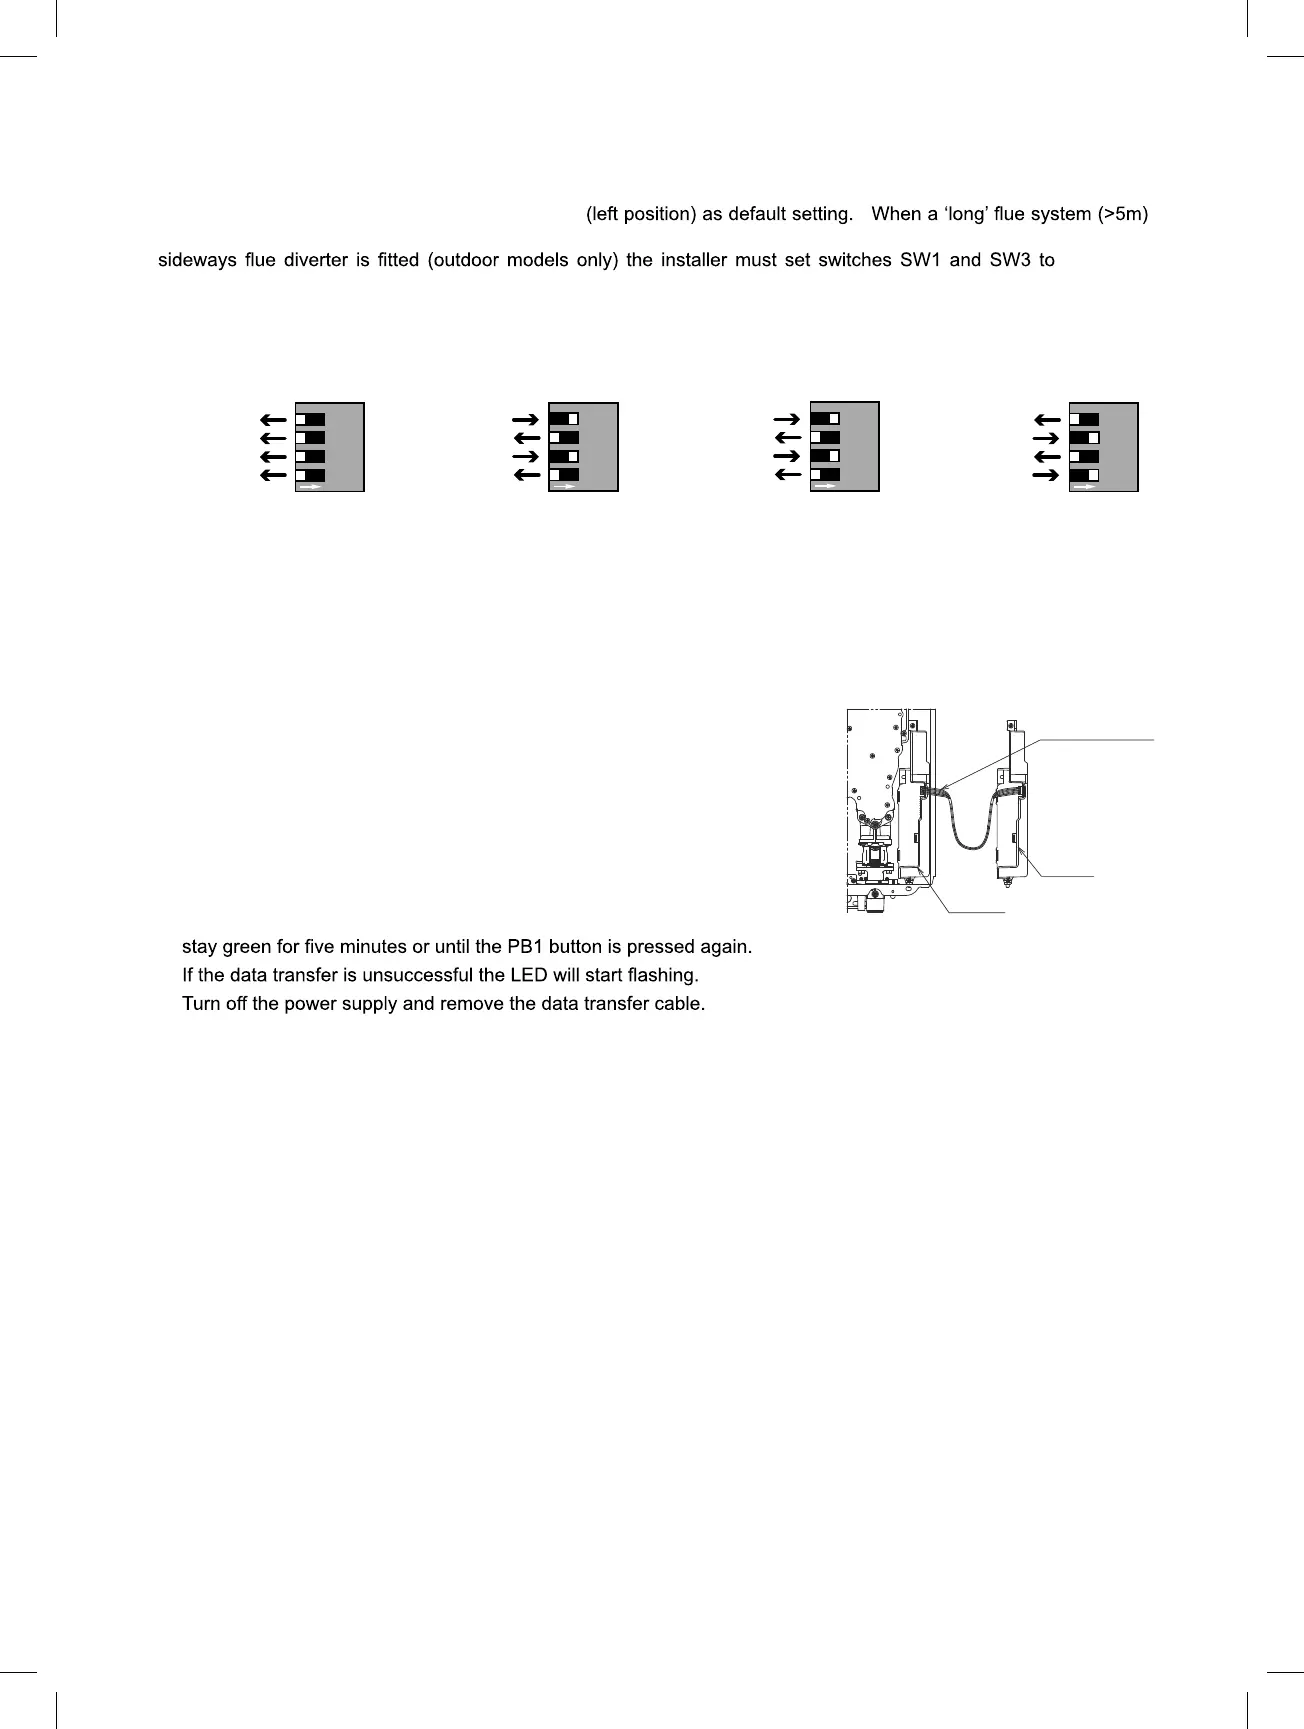
Data Transfer Between PCB’s
If a new PCB needs replacing, you can transfer data (gas type, model type, gas
pressure and error history) from the existing PCB to the new one by doing the
following:
1. Check the current settings and note them on a piece of paper.
2. Adjust the dip switch settings on the new PCB according to the old one.
3. Unplug the power supply and remove the existing PCB.
4. Fit the new PCB and connect all the wiring harnesses
5. Ensure it is earthed correctly.
6. Connect the new board to the old board using the data transfer cable provided
with the new PCB.
7. Reconnect the power supply and push PB1 button of the new PCB.
8. The LED goes green: it means that the data transfer was successful. This will
9.
10.
If the data transfer was not successful set the PCB manually according to the settings copied at the beginning of this
procedure. If manually set, the max and min gas operating pressures must be checked. Contact Rinnai UK if any assistance
is required.
Data transfer cable
Old PCB
New PCB
Enfocus Software - Customer Support
 Loading...