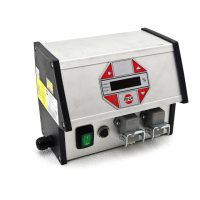
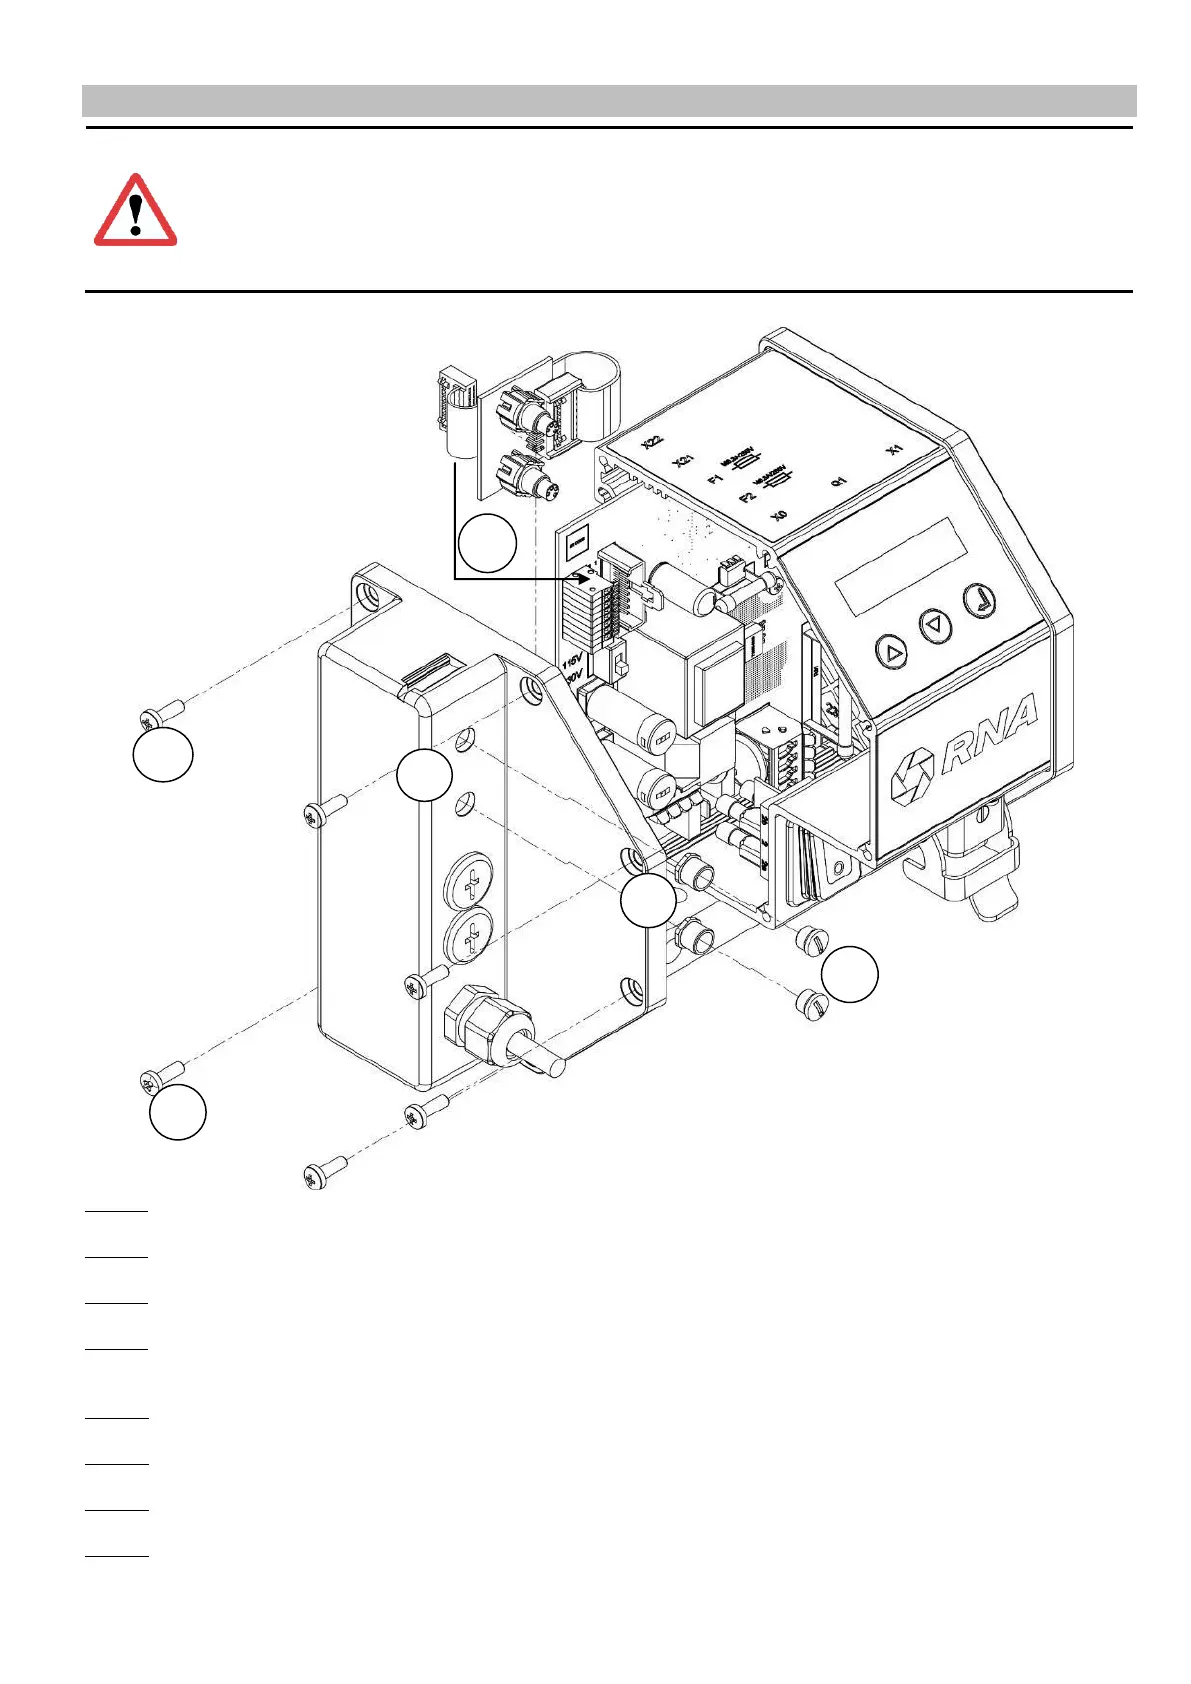
8. Installation of I/O retrofit kit into SCU1000
Step 1:
Disconnect the device from power supply.
Step 2:
Dismount the left-hand housing lid by removing the 6 screws.
Step 3:
Loosen the top two blanking plugs of the left-hand housing lid.
Step 4:
Remove dust protection caps and nuts of the I/O board and introduce the board into the holes provided for this pur-
pose in the housing lid. After that fit the nuts of the I/O board in place again.
Step 5:
Plug the connector of the ribbon cable into the mating connector on the main board.
Step 6:
Attach dust protection caps (where required).
Step 7:
Fit the housing lid in place again. Tighten the six screws.
Step 8:
Make power connection, trial run and test all functions.
Attention
Any work on electrical equipment shall be carried out exclusively by a professional electrician, or by in-
structed persons working under the direction and supervision of a professional electrician, according to
electrotechnical rules.
This installation must be made by qualified professionals only. Having completed the installation take ut-
most care in re-assembling the controller because otherwise the operating permit will become void!
Any other intervention on the controller shall void the manufacturer's warranty.
 Loading...