4
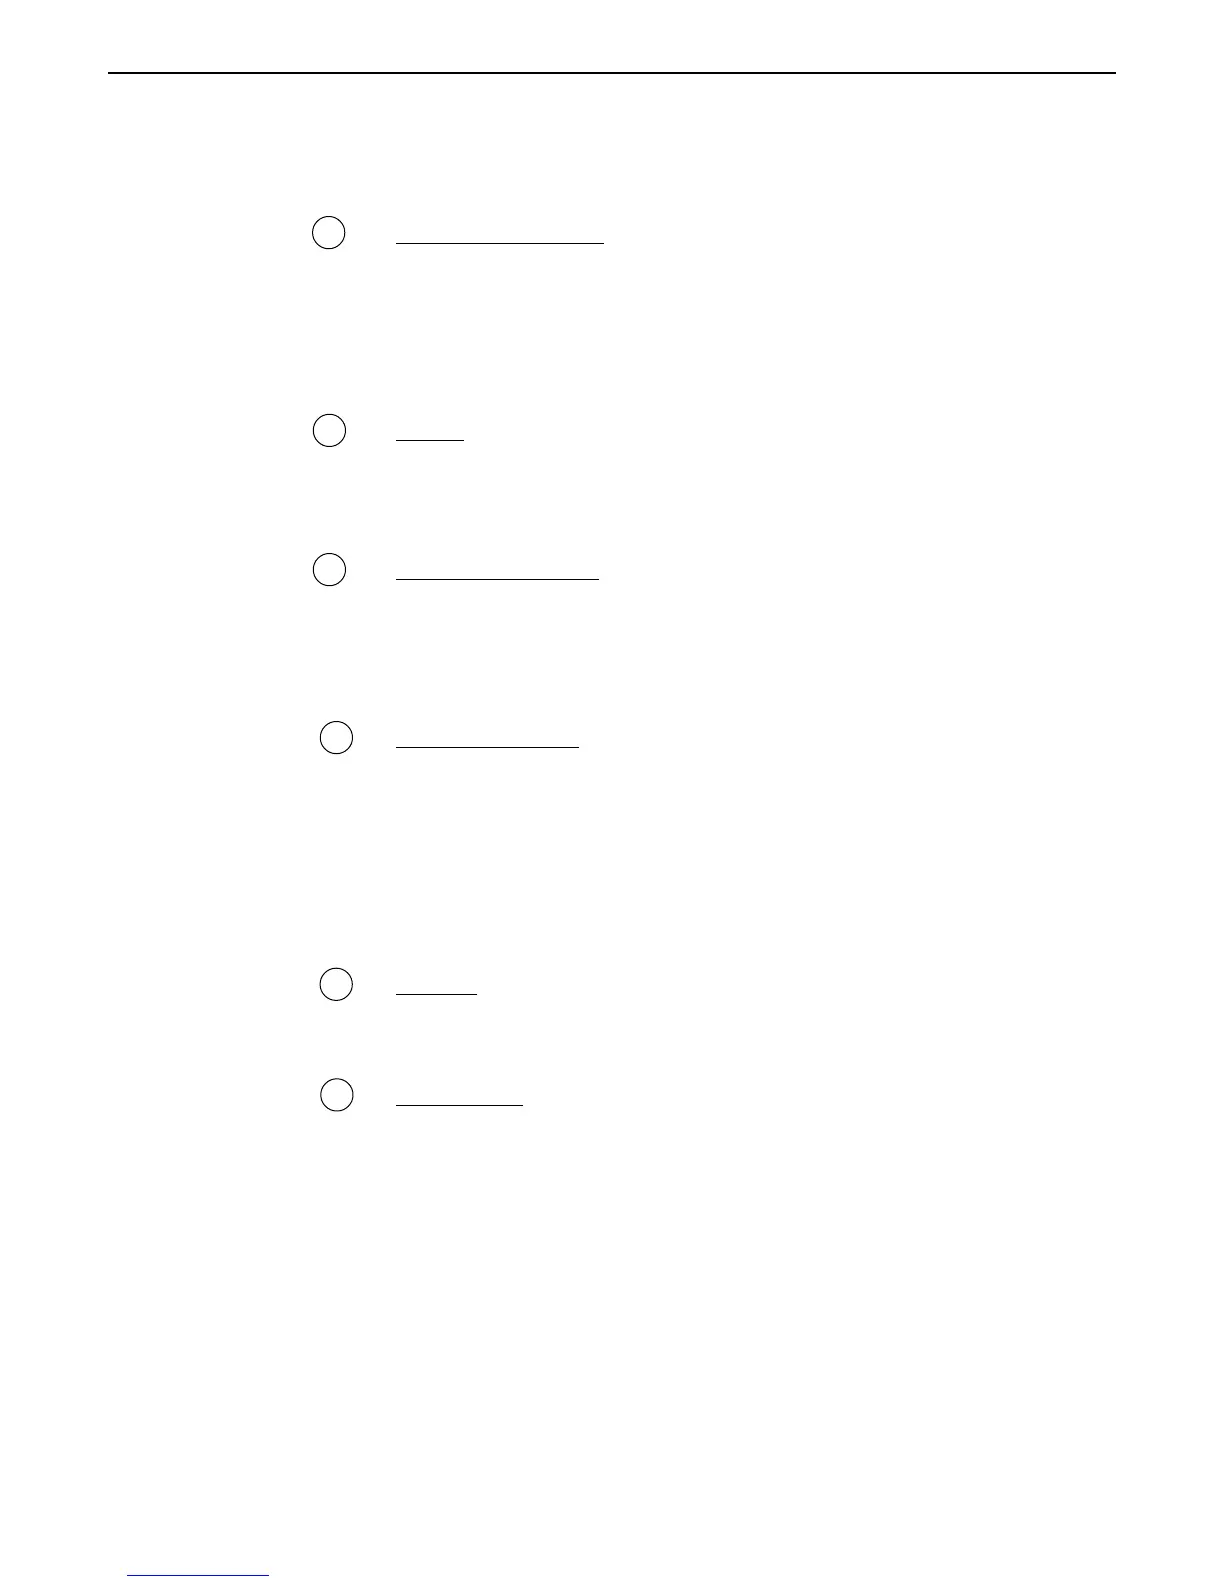
Front Panel Desccription
7 PARAMETER ADJUST control
This control is used to adjust the displayed parameter value. When
the parameter is altered from its stored value, the LED above the
STORE button will light until either (a) the new value is stored, (b)
a new preset is selected or (c) the parameter is returned to its
original value.
8 STORE button/led
This button is used to store parameter values into the Replifex
™
memory when altered. See "Storing Changed Preset Parameters" in
Chapter 7 for more information on this procedure.
9 PARAMETER SELECT control
When adjusting parameter values, this control will scroll through
the available parameters under the current function heading.
In the "Title Edit" function, this control will scroll through the
character locations to be edited.
10 FUNCTION SELECT control
This control allows access to each function of the Replifex
™
. These
functions include:
Global Delay Chorus Channel Switches MIDI Channels
Mixer Reverb Pitch Shift Title Edit MIDI Dump/Load
HUSH Tremolo Rotary Speaker Controller Assig Factory Restore
Compressor Phaser Auto Pan Copy Remote Control
EQ Flanger Speaker Sim Program Changes Config Select
11 BYPASS button/led
When lit, the effects are bypassed and only the input signal is
passed to the Replifex
™
outputs.
12 INPUT LEVEL meter
These LEDs provide visual indication of the peak level of the input
signal when the preset number and title are displayed. For the
optimal signal-to-noise ratio, it is best to adjust the input level so
that the last LED (0dB) is rarely lit. This will guard against the
possibility of overdriving the unit.
These LEDs also display the final digital mixer output levels when
any other functions are displayed. This will help you to guard
against clipping the output of the mixer at the digital-to-analog
converter.