Rockwell Automation Publication ENET-IN002H-EN-P - August 2017 43
Install a 1769 EtherNet/IP Adapter Chapter 3
Wire the Adapter
Use the following information to wire the adapter.
This product is intended to be mounted to a well-grounded mounting surface
such as a metal panel. Additional grounding connections from the mounting tabs
on the adapter or DIN rail (if used) are not required unless you cannot ground
the mounting surface. See the Industrial Automation Wiring and Grounding
Guidelines, publication 1770-4.1
, for additional information.
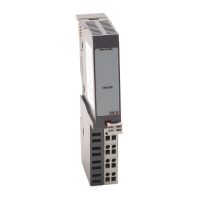
Connect the module to an EtherNet/IP network via an RJ45 cable.
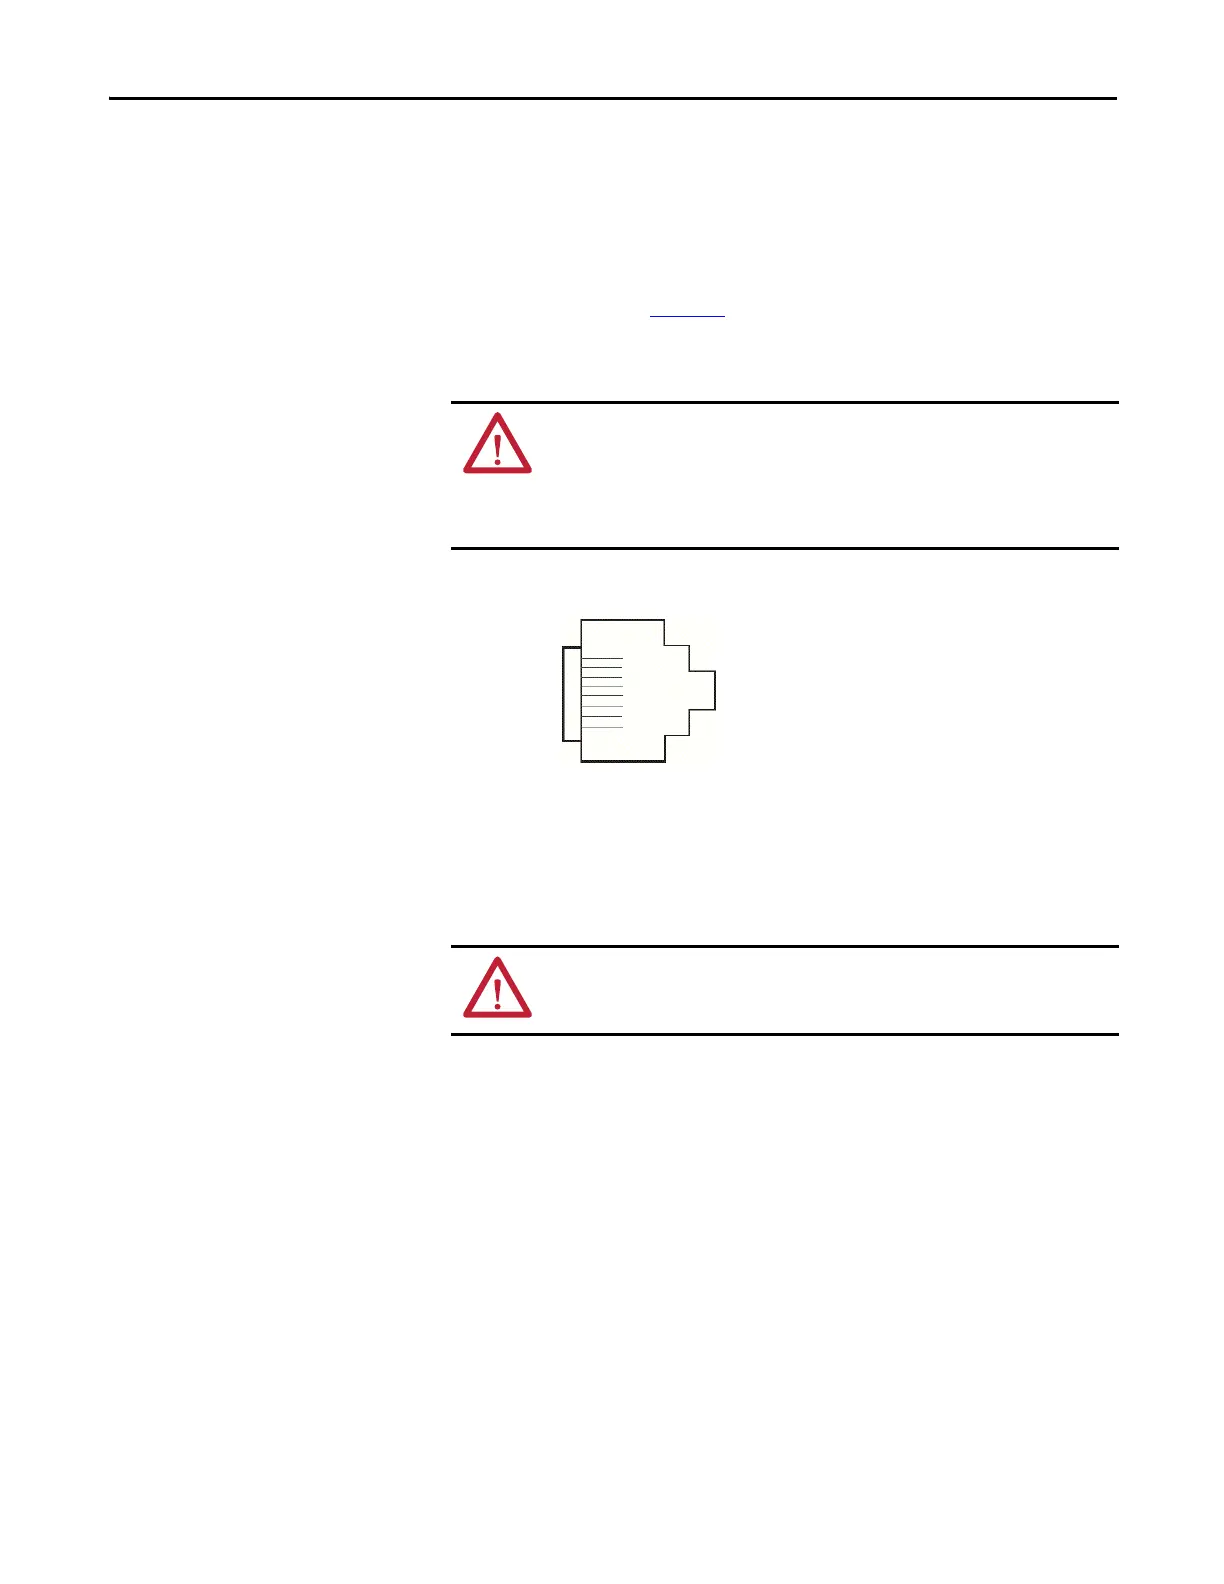
Wire the RJ45 connector as shown.
Remove or Replace the
Adapter
The adapter can be replaced while the system is mounted to a panel or DIN rail.
1. Remove power.
2. Remove the EtherNet/IP cable from the module.
3. Remove the upper and lower mounting screws from the adapter or open
the DIN latches with a flat-blade or Phillips-style screwdriver.
4. On the right-side adjacent module, move its bus lever to the right (unlock)
to disconnect it from the adapter being removed.
5. Gently slide the disconnected adapter forward.
If you feel excessive resistance, make sure that you disconnected the
adapter from the bus and that you removed both mounting screws or
opened the DIN latches.
WARNING: If you connect or disconnect the communication cable with power
that is applied to this module or any device on the network, an electric arc can
occur. An electric arc can cause an explosion in hazardous location
installations.
Be sure that power is removed or the area is nonhazardous before proceeding.
8 ------ NC
7 ------ NC
6 ------ RD-
5 ------ NC
4 ------ NC
3 ------ RD+
2 ------ TD-
1 ------ TD+
8
1
ATTENTION: Do not remove or replace an adapter while power is applied.
Interruption of the backplane can result in unintentional operation or machine
motion.
Rock the module slightly from front to back, if necessary, to remove it,
or, in a panel-mounted system, to loosen the screws of adjacent
modules.
 Loading...