Rockwell Automation Publication ENET-IN002H-EN-P - August 2017 27
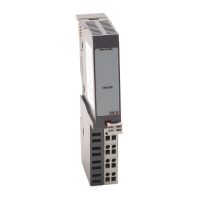
Install a 1768 EtherNet/IP Communication Module Chapter 2
Install the Module
Follow these steps to install the module.
Mount the Module with Screws
Complete these steps to install the module with screws.
1. Use the modules as a template and mark pilot holes on your panel.
2. Drill the pilot holes for M4 or #8 screws.
3. Use M4 or #8 screws to mount the modules to your panel, by using
1.16 N•m (10 lb•in) of torque.
4. Ground the module on a ground bus with a dedicated earth ground stake.
5. Connect the ground bus to a functional earth ground on the DIN rail
or panel.
See the Industrial Automation Wiring and Grounding Guidelines, publication
1770-4.1
, for additional information.
Mount on a DIN Rail
Follow these steps to install the module on a DIN rail.
1. Mount the DIN rail in a suitable location.
Do not use screws and DIN rail to mount the modules. It is possible to break
off the mounting tabs if you screw the modules to the panel while they are on
the DIN rail.
ATTENTION: This product is grounded through the DIN rail to chassis
ground. Use zinc-plated yellow-chromate steel DIN rail to assure proper
grounding. The use of other DIN rail materials (for example, aluminum
or plastic) that can corrode, oxidize, or are poor conductors, can result in
improper or intermittent grounding. Secure DIN rail to mounting
surface approximately every 200 mm (7.87 in.) and use end-anchors
appropriately.
 Loading...