Rockwell Automation Publication 440R-UM010C-EN-P - September 2016 27
Configuration Chapter 4
Configuration Process
Configuration is a five-step process. The process requires the wiring to the
GLT safety relay to be completed. During the configuration process, the GLT
safety relay sends out test pulses to determine how it is wired and then
configures the internal parameters to match the application.
Five Step Configuration
The GLT safety relay is configured in five steps:
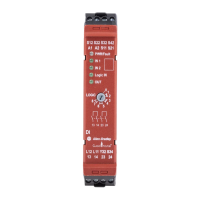
1. With the power OFF, set the Logic switch to either 0 or 9.
2. Apply power.
3. Adjust the Logic, Range, and Time switches.
4. Verify the settings by counting the blink rates of the status indicators.
5. Cycle the power to store the settings.
Configuration Details
1. The GLT safety relay sends out signals during the configuration process,
so the wiring must be complete.
Set the Logic switch to:
• 0 if you want to activate pulse testing on terminals 14 and 24
• 9 if you want to deactivate pulse testing.
2. Power up the module.
The PWR/Fault status indicator flashes red continuously. The prior
configuration in the EEPROM is erased and the device now prepared
for a new configuration.
3. Set the Logic, Range, and Time switch settings for your application.
After 500 ms, the new configuration parameters are acknowledged.
After 300 ms, the new parameter is stored in the EEPROM, the Power
status indicator is solid green.
4. Verify the settings
The status indicators flash for 0.5 seconds to indicate the switch setting.
The number of flashes is equal to the switch setting. The flashing repeats
after a 2 second pause.
TIP You can change (or readjust) the switch settings during Step 3 and 4. The
Power status indicator flashes red again, momentarily.

 Loading...


