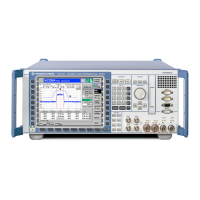
Installing the Options R&S CMU
1100.4903.82 4.4 E-5
Installing the Options
Depending on the model ordered and the software configuration, the R&S CMU comes with part of the
options installed in the factory.
Most of the options just be installed by an outoriked Rohde & Schwarz service representative. Please
refer to the notes on the title papge of the installation instruction.
Caution!
Disconnect the instrument from the mains before opening the casing. Also note
the safety instructions at the beginning of this manual.
The components used in the instrument are sensitive to electrostatic discharges
which is why they are to be handled in accordance with the ESD regulations.
When installing hardware options please note the following:
Switch off instrument and pull the mains plug.
Unscrew rear panel feet of the rear side (four Phillips screws, size 2).
Place the instrument onto the front carrying handles, push the tube upwards and take off.
After installing the option replace the tube and fasten the rear panel feet again.
Caution!
When replacing the tube take care not to damage or pull off cables.
Switch on R&S CMU. Install additional software, if supplied, according to the instructions (see section
New Installation of the CMU Software) or enable the additional software functions (see Installation
instructions for the respective option). The software will then automatically detect the installed option
(option display can be called using the SETUP key and the item Options!). If an adjustment is
required for this option, the appropriate hints are to be found in the installation instructions for the
option.
SW Packages for various network tests R&S CMU-Kxx
The software options do not require opening of the instrument. Proceed according to the instructions
enclosed with the options.
See also description of software update and version management in Chapter 1 of the R&S CMU Quick
Start Guides.
 Loading...
