Before you start using the BK-7m
16
r
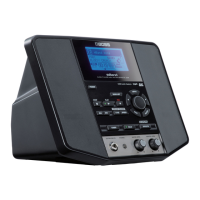
Backing Module BK-7m
NOTE
When connection cables with resistors are used, the vol-
ume level of equipment connected to the audio inputs may
be low. If this happens, use connection cables that do not
contain resistors.
Connecting a MIDI device
To control the BK-7m using your digital piano, MIDI
accordion, etc., you need to connect it as follows:
1.
Turn the [VOLUME] knob all the way to the
left to minimize the volume.
2.
Use two MIDI cables (commercially avail-
able) to connect the BK-7m’s MIDI IN socket
to the MIDI OUT socket of the external MIDI
instrument.
To transmit MIDI data to an external device
(sequencer, computer, sound module, etc.), connect
the BK-7m’s MIDI OUT socket to the MIDI IN socket of
that device.
NOTE
Certain instruments, like an FR-3x V-Accordion, only have
one MIDI socket whose function (IN or OUT) needs to be set
with one of its MIDI parameters. To control the BK-7m
from such an instrument, you need to set the latter to
transmit MIDI messages (OUT).
If you wish to use the BK-7m with a digital piano,
connect its MIDI OUT socket to the digital piano’s
MIDI IN socket, and its MIDI IN socket to the digital
piano’s MIDI OUT socket.
NOTE
See “Wizard Connection” on p. 22 for how to ensure
that the BK-7m receives (the correct) MIDI messages.
MIDI master keyboard, etc.
MIDI OUT
MIDI IN
MIDI OUT
MIDI IN
MIDI-compatible digital piano, etc.
MIDI IN
MIDI OUT
BK-7m_UK.book Page 16 Tuesday, January 4, 2011 9:25 AM

 Loading...