34
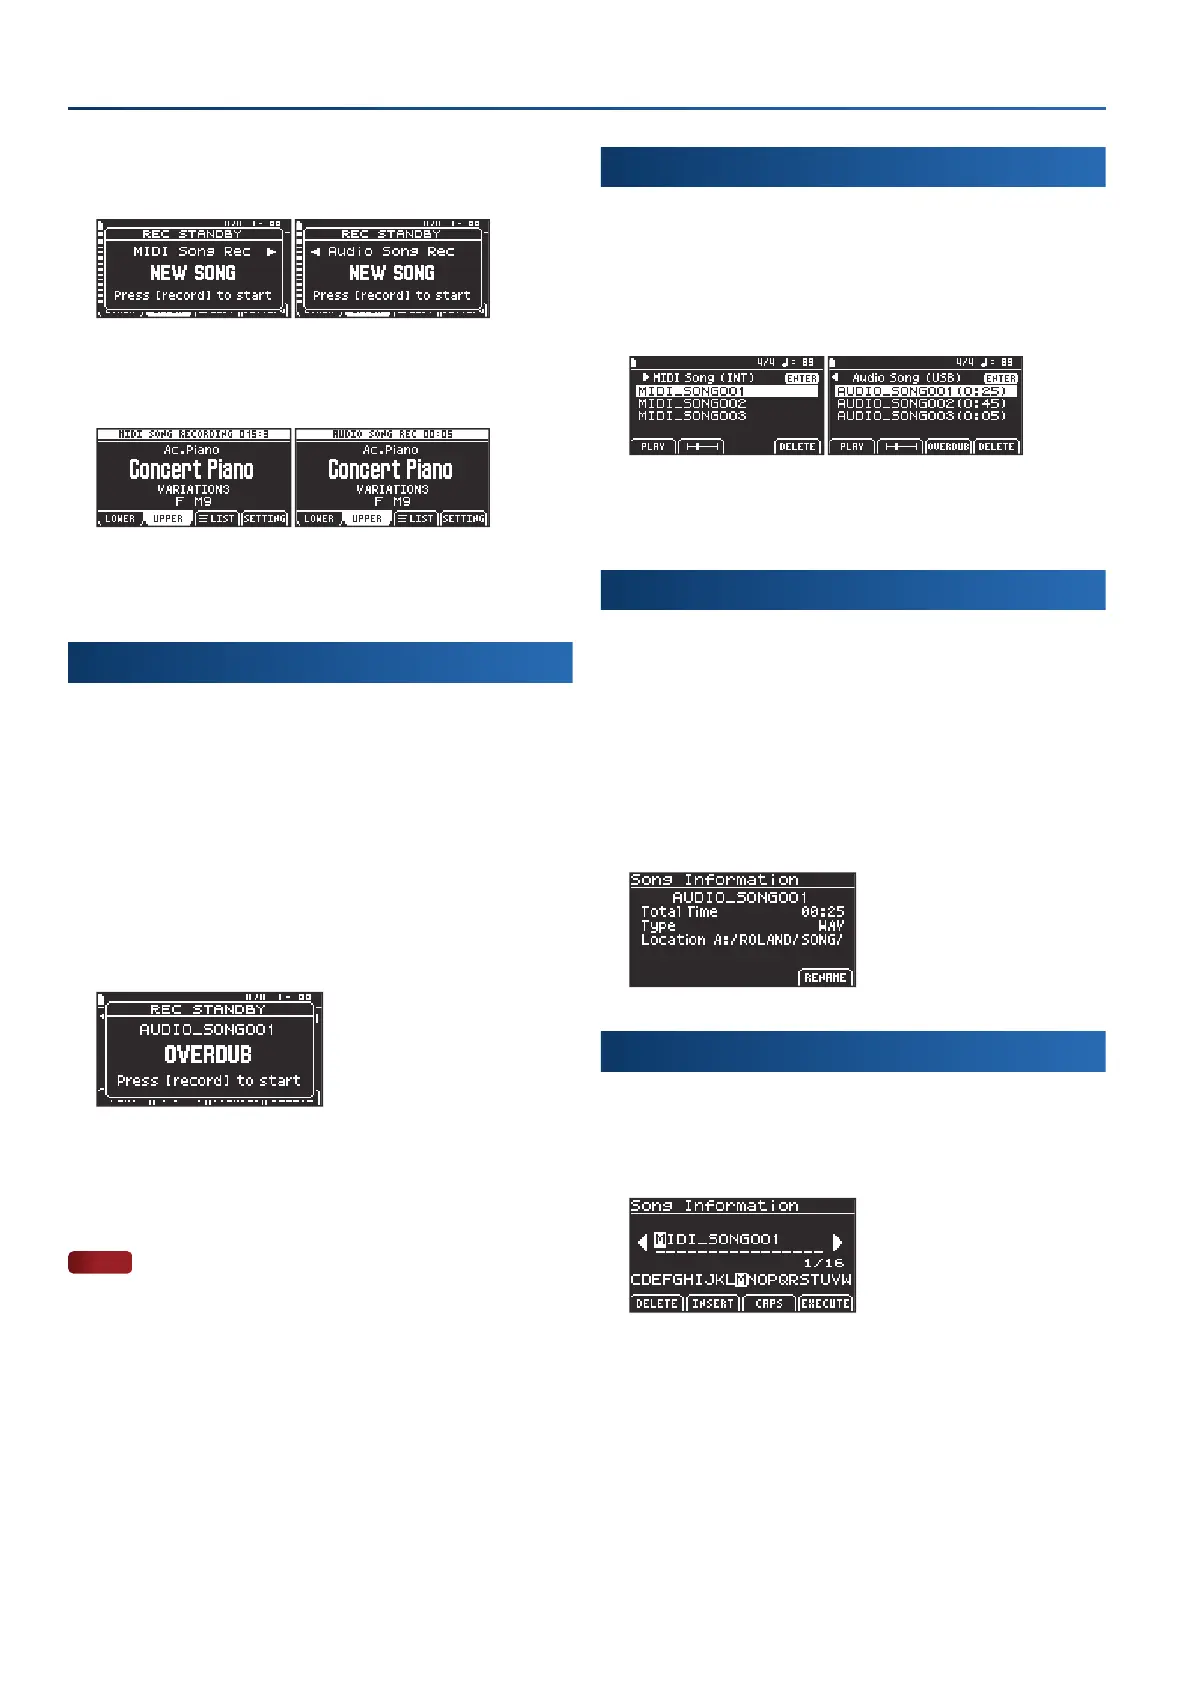
Playing back and recording songs
2.
Use the cursor [Ì] [Ê] buttons to select whether to use
MIDI or audio songs.
3.
Press the [record] button again, or play the keyboard.
The [record] button lights up and recording begins.
4.
To stop recording, press the [record] button again.
The [record] button goes dark.
Overdubbing (audio only)
You can use overdubbing to record the notes you play, along with
the playback of an audio song.
1.
Press the [song] button.
The MIDI Song screen appears.
2.
Use the cursor [Ê] button to select “Audio Song
(USB)
”.
3.
Turn the dial to select a song le.
4.
Press the [f3]
(OVERDUB)
button.
The REC STANDBY window opens.
5.
Press the [record] button again.
Recording starts.
6.
To stop recording, press the [record] button again.
NOTE
¹
The sound may stop momentarily when the instrument starts
recording to the USB ash drive.
¹
When you are overdubbing a song that’s saved to a USB ash drive,
the song can’t be played back repeatedly when overdubbed, even
when set to “REPEAT SINGLE”.
Deleting a song
1.
Press the [song] button.
The Song screen appears.
2.
Use the cursor [Ì] [Ê] buttons and the dial to select
the song le to delete.
3.
Press the [f4]
(DELETE)
button.
The selected song is deleted.
Viewing the information for a song
1.
Press the [song] button.
The Song screen appears.
2.
Use the cursor [Ì] [Ê] buttons and the dial to select a
song le.
3.
Press the [enter] button.
The Song Information screen appears.
This lets you see the information about the song you select.
Renaming a song (RENAME)
1.
On the Song Information screen, press the [f4]
(RENAME)
button.
The rename screen appears.
2.
Rename the song as appropriate.
Ø
“Renaming a song or pattern (Rename)” (p. 12)
3.
When you’ve nished setting the name, press the [f4]
(EXECUTE)
button.
Once the data is saved, the message “Completed” is shown and the
display returns to the Song Information screen.
 Loading...