7
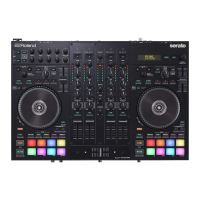
Panel Descriptions
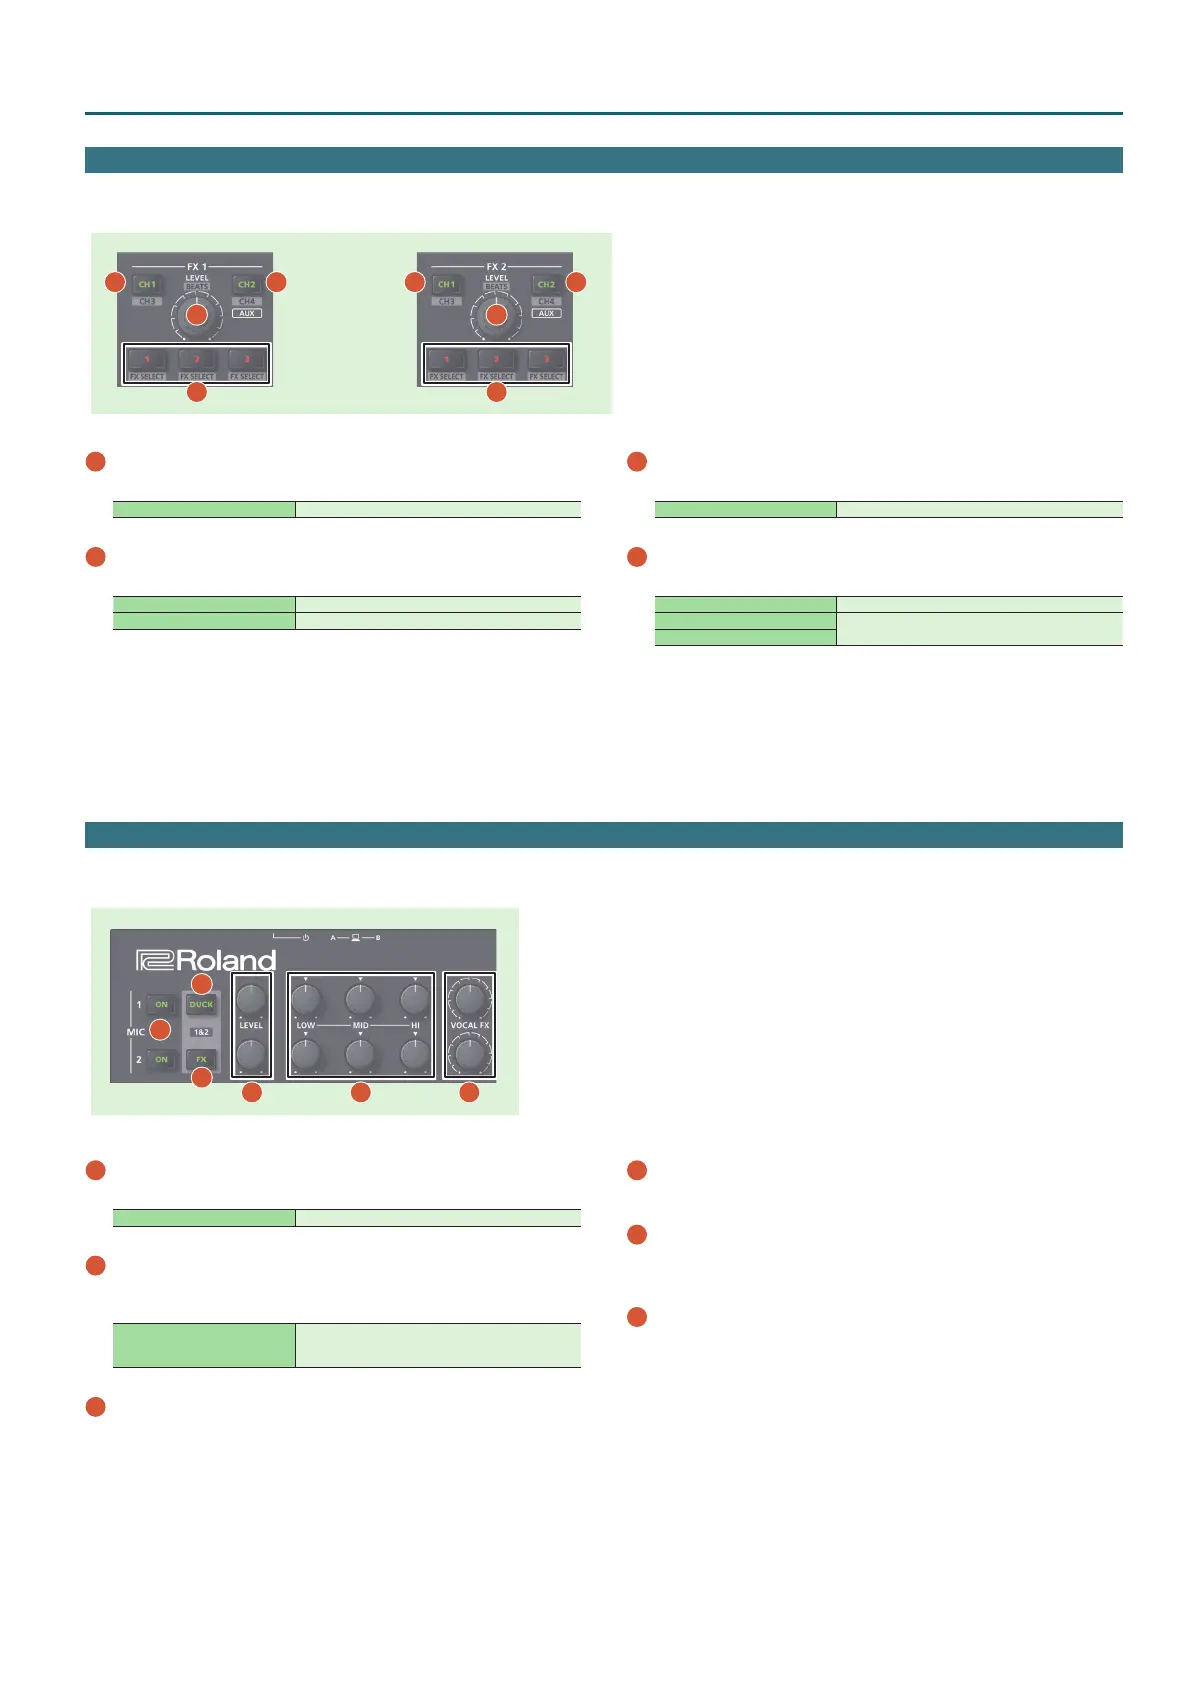
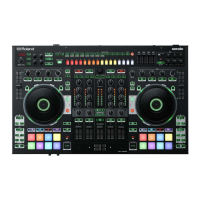
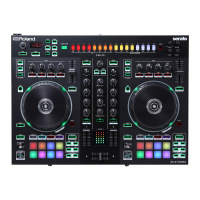
Eect Section
Here you can adjust the eects using two independent eect sections (FX 1, FX 2).
1
2
3
4
1
2
3
4
1
[CH1] button
Turns FX 1 (FX 2) on/o for CH 1.
[SHIFT] + [CH1] Turns FX 1 (FX 2) on/o for CH 3.
2
[CH2] button
Turns FX 1 (FX 2) on/o for CH 2.
[SHIFT] + [CH2] Turns FX 1 (FX 2) on/o for CH 4.
Long press [CH2] Turns FX 1 (FX 2) on/o for sampler.
3
[LEVEL] knob
Adjusts the depth of the eect.
[SHIFT] + [LEVEL] knob Adjusts the time for which the eect is applied.
4
Eect button [1]–[3]
Turn the eect on/o.
[SHIFT] + Eect button Changes the eect type.
[2] + [LEVEL] knob
In single FX mode (p. 15), change the values of the
eect parameters.
[3] + [LEVEL] knob
Mic Section
Here you can apply a vocal eect to the mic input.
1
2
3
5
4
6
1
MIC 1, 2 [ON] buttons
Turns the mic input on/o.
[ON] + [SELECT (ENTER)] knob Adjusts the mic gain.
2
[DUCK] button
Turns on/o ducking (an eect that lowers the output volume of
sounds other than the mic when mic input is present) for mic 1 and 2.
[DUCK] + [SELECT (ENTER)] knob
Lets you adjust the output level when ducking is on.
This adjusts the MASTER/BOOTH/ZONE levels
simultaneously.
3
[FX] button
Turns on/o the vocal eect for mic 1 and 2.
* You can change the vocal eect in Scene Edit (p. 18).
4
[LEVEL] knob
Adjusts the output volume of the mic.
5
[HI], [MID], [LOW] knobs
Boost/cut the volume of the high-frequency, mid-frequency, and low-
frequency regions.
6
[VOCAL FX] knob
Adjusts the depth of the vocal eect.