8
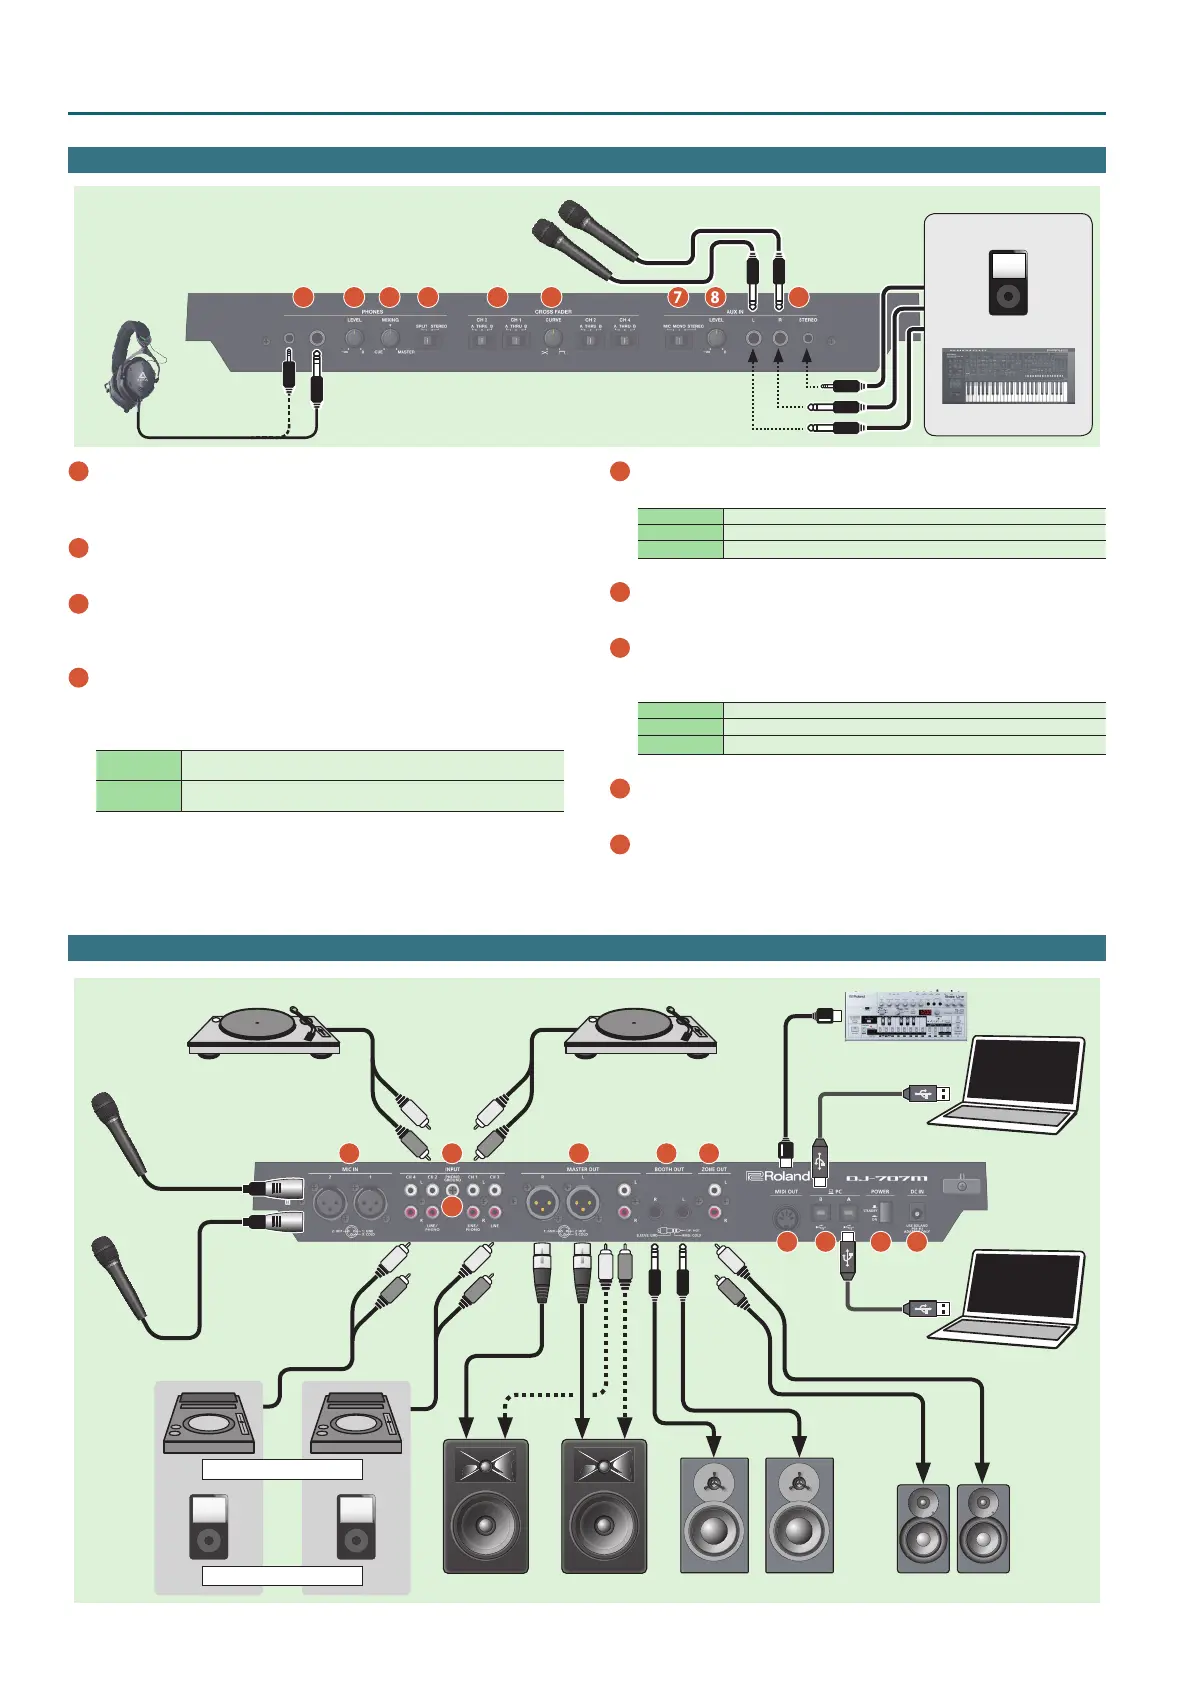
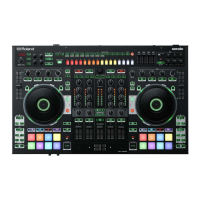
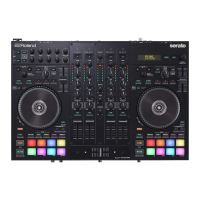
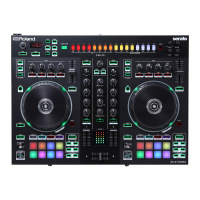
Panel Descriptions
1
PHONES jacks
Connect headphones here.
Stereo 1/4” and stereo miniature plugs are supported.
2
PHONES [LEVEL] knob
Adjusts the volume of the headphones.
3
PHONES [MIXING] knob
Adjusts the monitor volume balance of the channel whose Channel
[CUE] button is lit and the master output.
4
[SPLIT/STEREO] switch
Selects whether the sound of channels whose channel [CUE] button
is lit are mixed in stereo with the master output, or are played back
individually from left and right in mono.
SPLIT
The sound of the channel whose Channel [CUE] button is lit is heard from
the L-side, and the master output monitor is heard from the R-side.
STEREO
The sound of the channel whose channel [CUE] button is lit is mixed with
the master output, and output in stereo.
5
CROSS FADER [CH 1]–[CH 4] switch
Specify the output destination of the channels.
A Output to cross fader A.
THRU Output directly without passing through the cross fader.
B Output to cross fader B.
6
CROSS FADER [CURVE] knob
Adjusts the response curve of the cross fader.
7
AUX IN select switch
Set this according to the input source that’s connected to the AUX IN
jacks.
MIC If a mic is connected
MONO If you want to input sound in mono
STEREO If you want to input sound in stereo
8
AUX IN [LEVEL] knob
Adjusts the level of the sound that’s input to the AUX IN jacks.
9
AUX IN jacks (L, R, STEREO)
Connect these to a mic or audio device.
Front Panel
Headphones
1
2
3
4
5
6
7
8
9
Microphone
Audio player
Keyboard
Rear Panel (Connecting Your Equipment)
1
2
3
4
5
6
7
8 9
Turntable
(analog)
Turntable
(analog)
Powered speakerPowered speaker, amp
Audio player
DJ player
Speaker, recorder
Computer
Computer
Microphone
10
MIDI device