4
Panel Descriptions
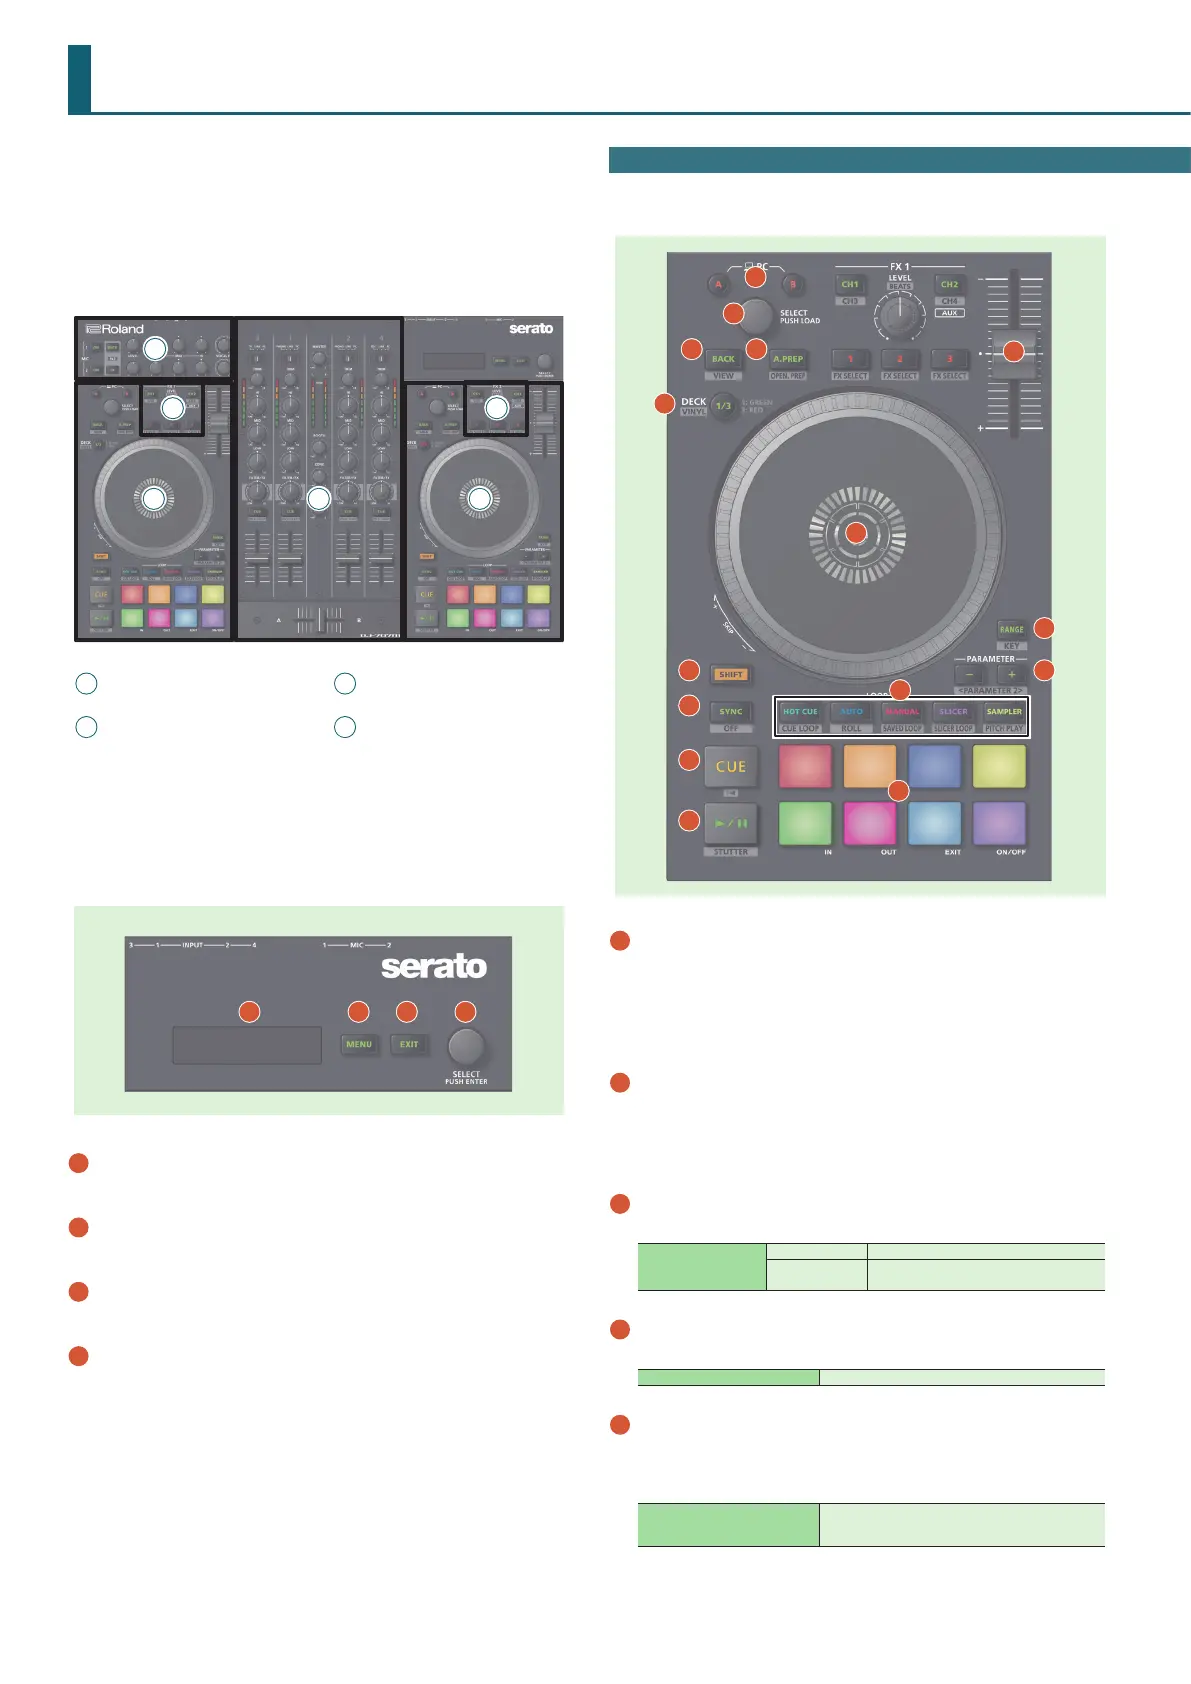
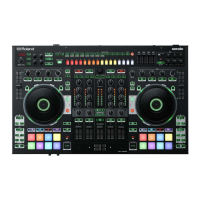
The top panel of the DJ-707M is divided into four sections by function:
deck, mixer, eects, and mic.
Headphone jacks, AUX IN jacks, and cross fader assign switches are
located on the front panel. Various input/output jacks are located on the
rear panel.
For details about each part, refer to the DJ-707M owner’s manual and the
Serato DJ Pro manual.
1
Deck section
2
Mixer section
3
Eect section
4
Mic section
1
1
2
3
3
4
1
2
3
4
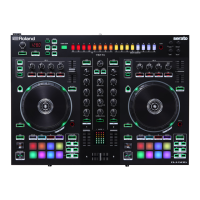
1
Display
Shows various information depending on operation.
2
[MENU] button
Shows the menu in the display.
3
[EXIT] button
Moves to a higher level of the menu, or exits the menu.
4
[SELECT (ENTER)] knob
Selects a parameter or edits a value.
Press this knob to conrm an operation.
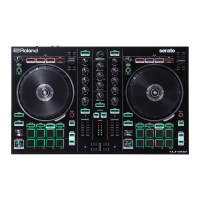
Deck Section
The deck sections located at the left and right control four decks (left:
decks 1 and 3, right: decks 2 and 4).
1
2
3
4
5
6
7
8
9
10
11
13
14
15
12
1
PC [A], [B] button
Select the computer (one or the other computer connected to the rear
panel PC A or B ports) that you want to control from the DJ-707M.
The DJ-707M controls the computer whose button is lit.
For each of the left and right decks, you can choose the computer that
will be controlled.
2
[SELECT] knob
Turning this knob moves the cursor up/down, letting you select a
song or folder.
Pressing this knob loads the selected song into the currently selected
deck.
3
[BACK] button
Moves the cursor to a higher level.
[SHIFT] + [BACK]
left deck: VIEW Switches the layout of Serato DJ Pro.
right deck: AREA
The panel display is switched each time you
press the button.
4
[A.PREP] button
Adds a song to the “PREPARE” panel.
[SHIFT] + [A.PREP] Switches the display of the “PREPARE” panel.
5
DECK [1/3], DECK [2/4] button
Switch the deck (left: decks 1 and 3, right: decks 2 and 4) to be
operated.
This is lit green for deck 1 (2) and lit red for deck 3 (4).
[SHIFT] + DECK [1/3] ([2/4])
Turns VINYL mode on/o.
If this is on, the button is lit while you hold down the
[SHIFT] button.