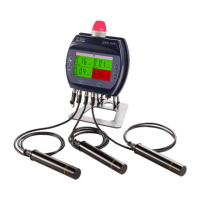
Page | 44 DRM-3000 Operating Manual
10.1 Setup
4. Obtain a USB to Ethernet cable for the DRM-3000 and the RMVC software.
5. Start up the RMVC software
6. Connect the cable to the Computer and Ethernet connector on the Meter.
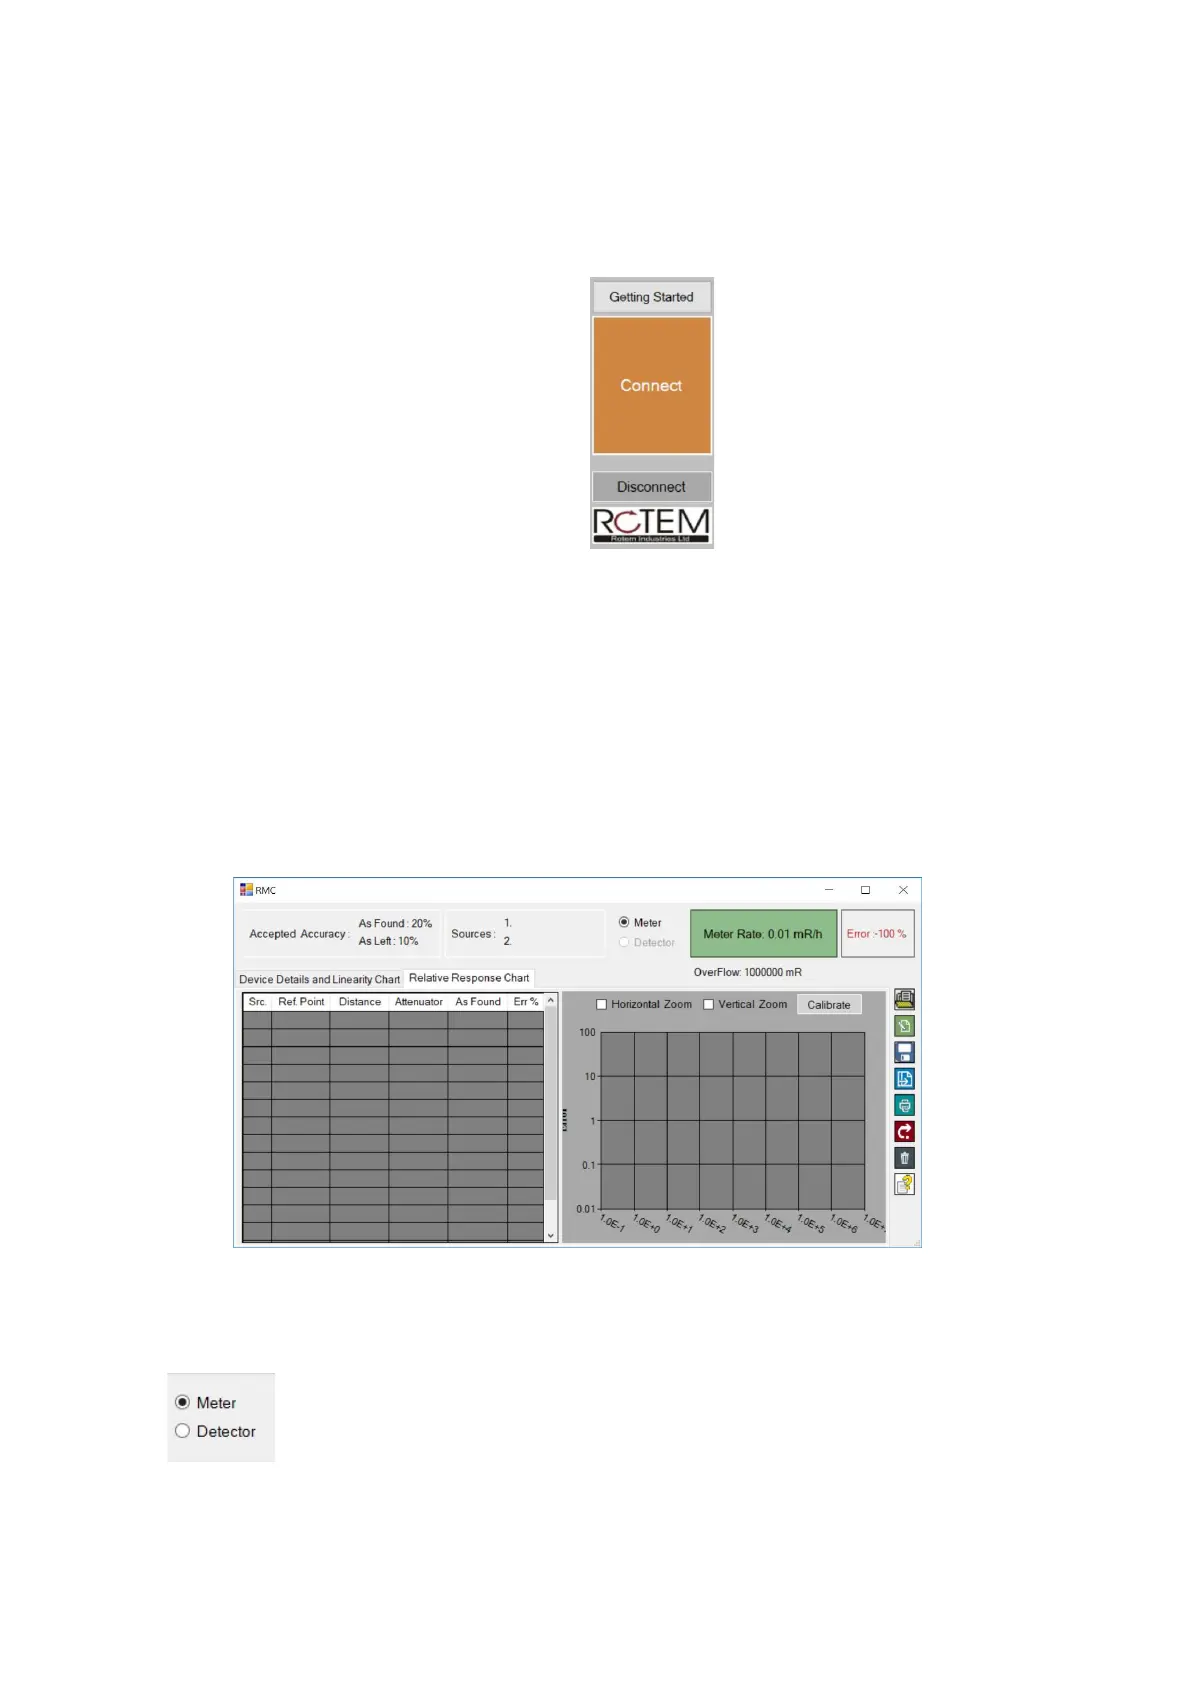
7. Click Connect in the main menu:
8. Prior to clicking on RMC, ensure that the DRM-3000 is communicating to the software
(radiological information is displayed in Meter Rate / Meter Dose and Meter Serial No. is
displayed). Once this information is displayed click on RMC.
9. Enter in login information, User Name (this is user defined – for example user Windows
Process ID) and password – ram.
10. The following screen will appear after logging into RMVC. The Accuracy Information may
be updated per site procedures or protocols. Source information is per site procedure or
protocols. Once updated; select OK. Note: The Calibration Due will track when the
Calibration is Due and show a Calibrate Alarm (D-CAL) when overdue.
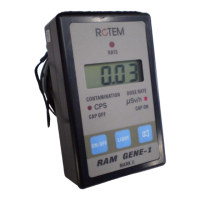
1. Click desired detector selection for calibration (Meter – Internal; Detector – External):
2. NOTE: In the table below it is recommended to include a notation in the distance value to
identify the points for calibration factors (F1, F2, etc.) – e.g. 58*F1.
3. If this is not the initial calibration skip this step. Enter Source information into the provided