The following instructions outline the steps to define new locations and location
parameters on the device.
1. Turn on the readout by pressing any key.
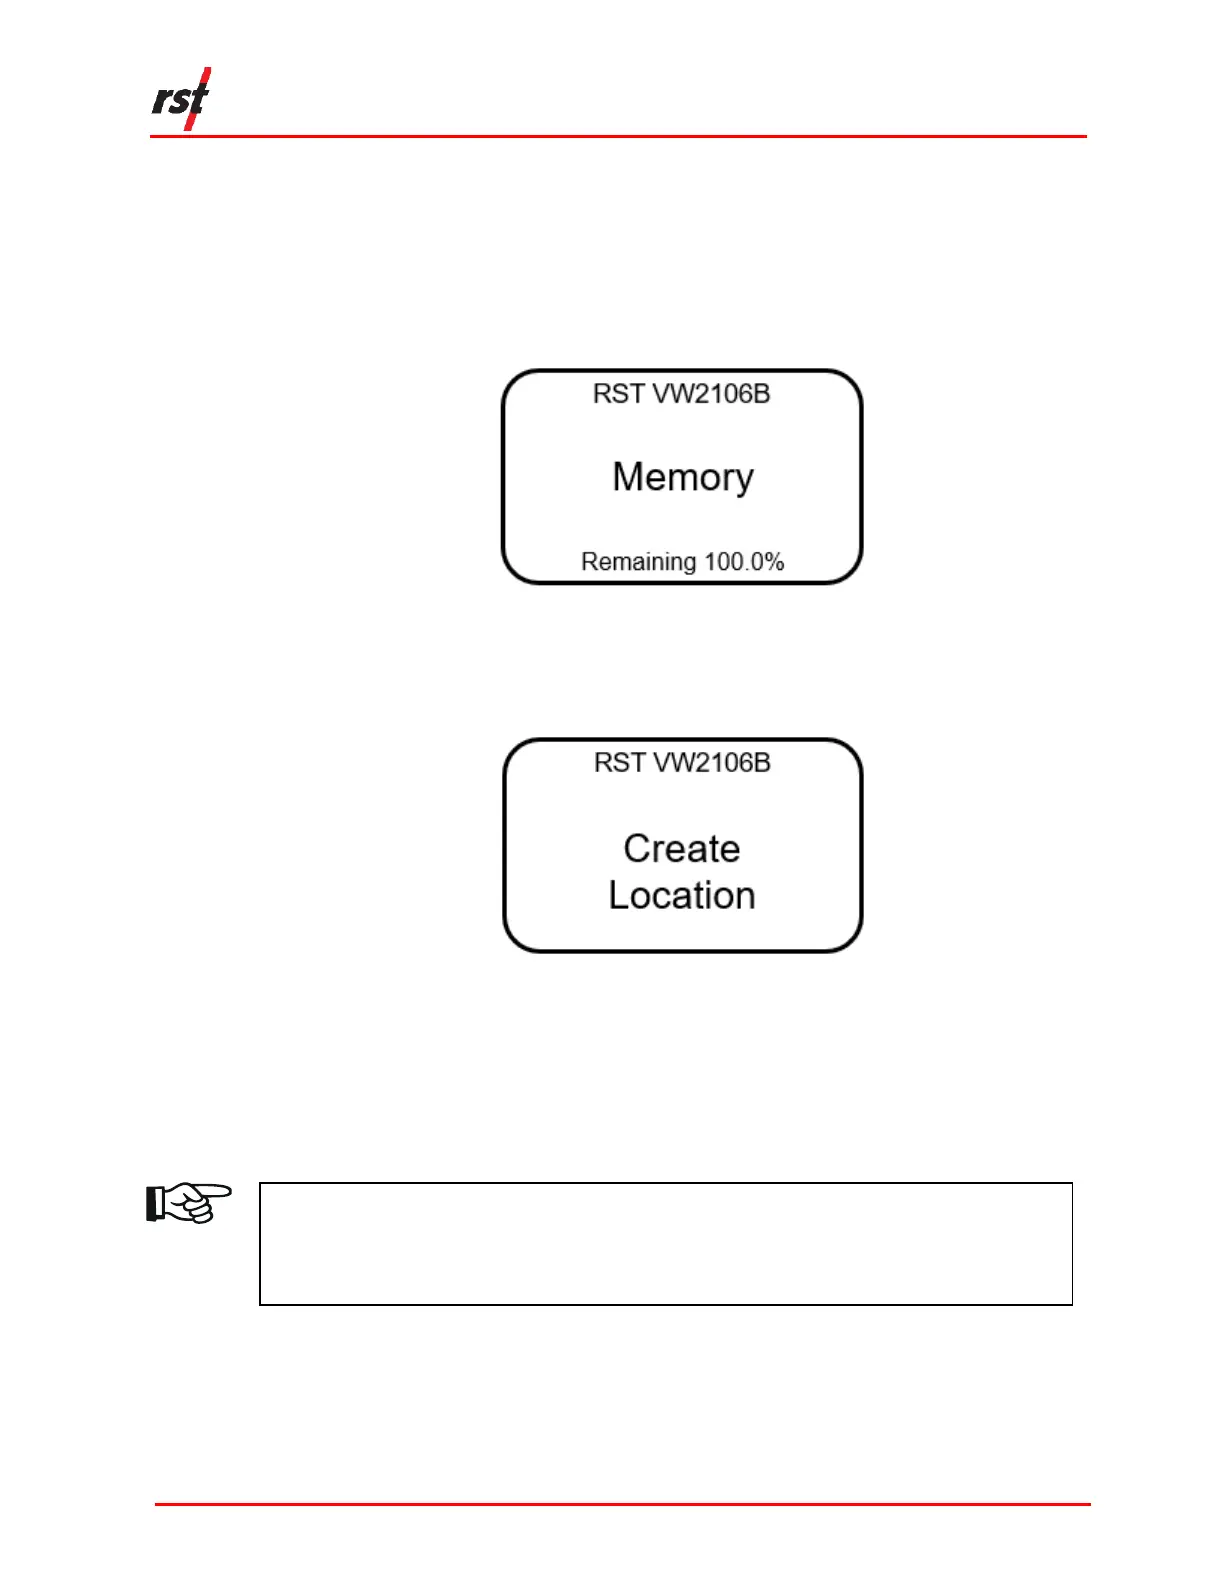
2. Scroll to the Memory screen (Figure 3-7) using the up/down arrows and press
Enter.
FIGURE 3-7 MEMORY SCREEN
3. Scroll to the Create Location screen (Figure 3-8) using the up/down arrows and
press Enter.
FIGURE 3-8 CREATE LOCATION SCREEN
4. The VW2106 will automatically create a site called Location X, where ‘X’ is the
next storage location available in the unit’s memory. Make note of the real
location name in your field notebook and its relation to the location number.
When connected to the Host Software back in the office, a custom name can be
entered, which replaced the site name assigned by the readout.
NOTE: NEW SITES CREATED IN THE FIELD ARE ASSIGNED THE NAME ‘LOCATION X’
BY DEFAULT. THE READOUT AUTOMATICALLY INCREMENTS THE ‘X’ TO THE
NEXT NUMBER AVAILABLE IN THE UNIT’S MEMORY. LOCATION NAMES CAN
ONLY BE CHANGED WHEN THE VW2106 IS CONNECTED TO HOST SOFTWARE.