Chapter 2
Installing the Device
RUGGEDCOM RSG2488
Installation Guide
4 Mounting the Device to a Rack
NOTE
For detailed dimensions of the device with either rack, DIN rail or panel hardware installed, refer to
Chapter 5, Dimension Drawings.
The following sections describe the various methods of mounting the device:
• Section 2.1.1, “Mounting the Device to a Rack”
• Section 2.1.2, “Mounting the Device on a DIN Rail”
• Section 2.1.3, “Mounting the Device to a Panel”
Section 2.1.1
Mounting the Device to a Rack
For rack mount installations, the RSG2488 can be ordered with rack mount adaptors pre-installed at the front or
rear of the chassis. Additional adaptors are provided to further secure the device in high-vibration or seismically
active locations.
To secure the device to a standard 48 cm (19 in) rack, do the following:
1. Make sure the rack mount adaptors are installed on the correct side of the chassis.
• To make the modules and ports accessible, install the rack mount adaptors at the rear of the chassis
• To make the management ports and LEDs accessible, install the rack mount adaptors at the front of the
chassis
NOTE
The chassis features multiple mounting holes, allowing the rack mount adaptors to be installed up
to 25 mm (1 in) from the face of the device.
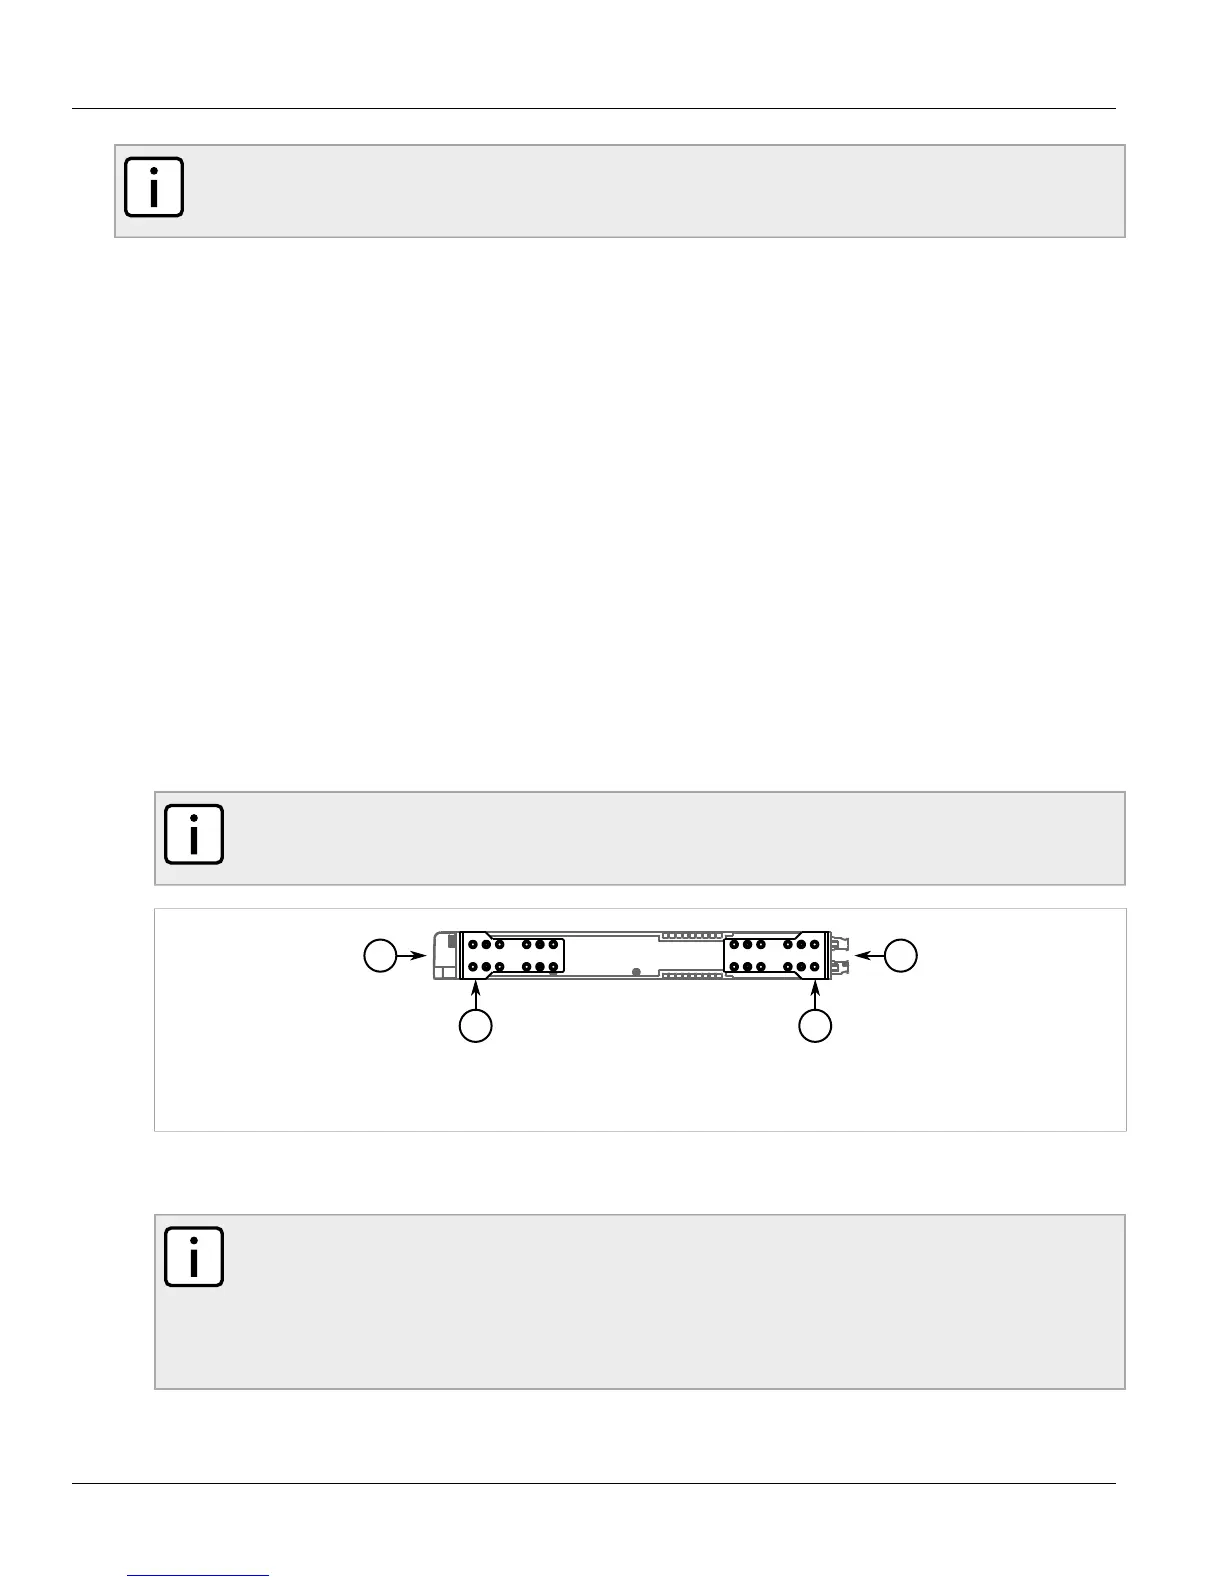
Figure 2: Rack Mount Adaptors
1. Rear 2. Front 3. Rack Mount Adaptor
2. If required, install adaptors on the opposite side of the device to protect from vibrations.
3. Insert the device into the rack.
NOTE
Since heat within the device is channeled to the enclosure, it is recommended that 1 rack-unit
of space, or 44 mm (1.75 in), be kept empty above the device. This allows a small amount of
convectional airflow.
Forced airflow is not required. However, any increase in airflow will result in a reduction of ambient
temperature and improve the long-term reliability of all equipment mounted in the rack space.
4. Secure the adaptors to the rack using the supplied hardware.
 Loading...