Chapter 2
Installing the Device
RUGGEDCOM RSG2488
Installation Guide
6 Installing/Removing Power Supplies
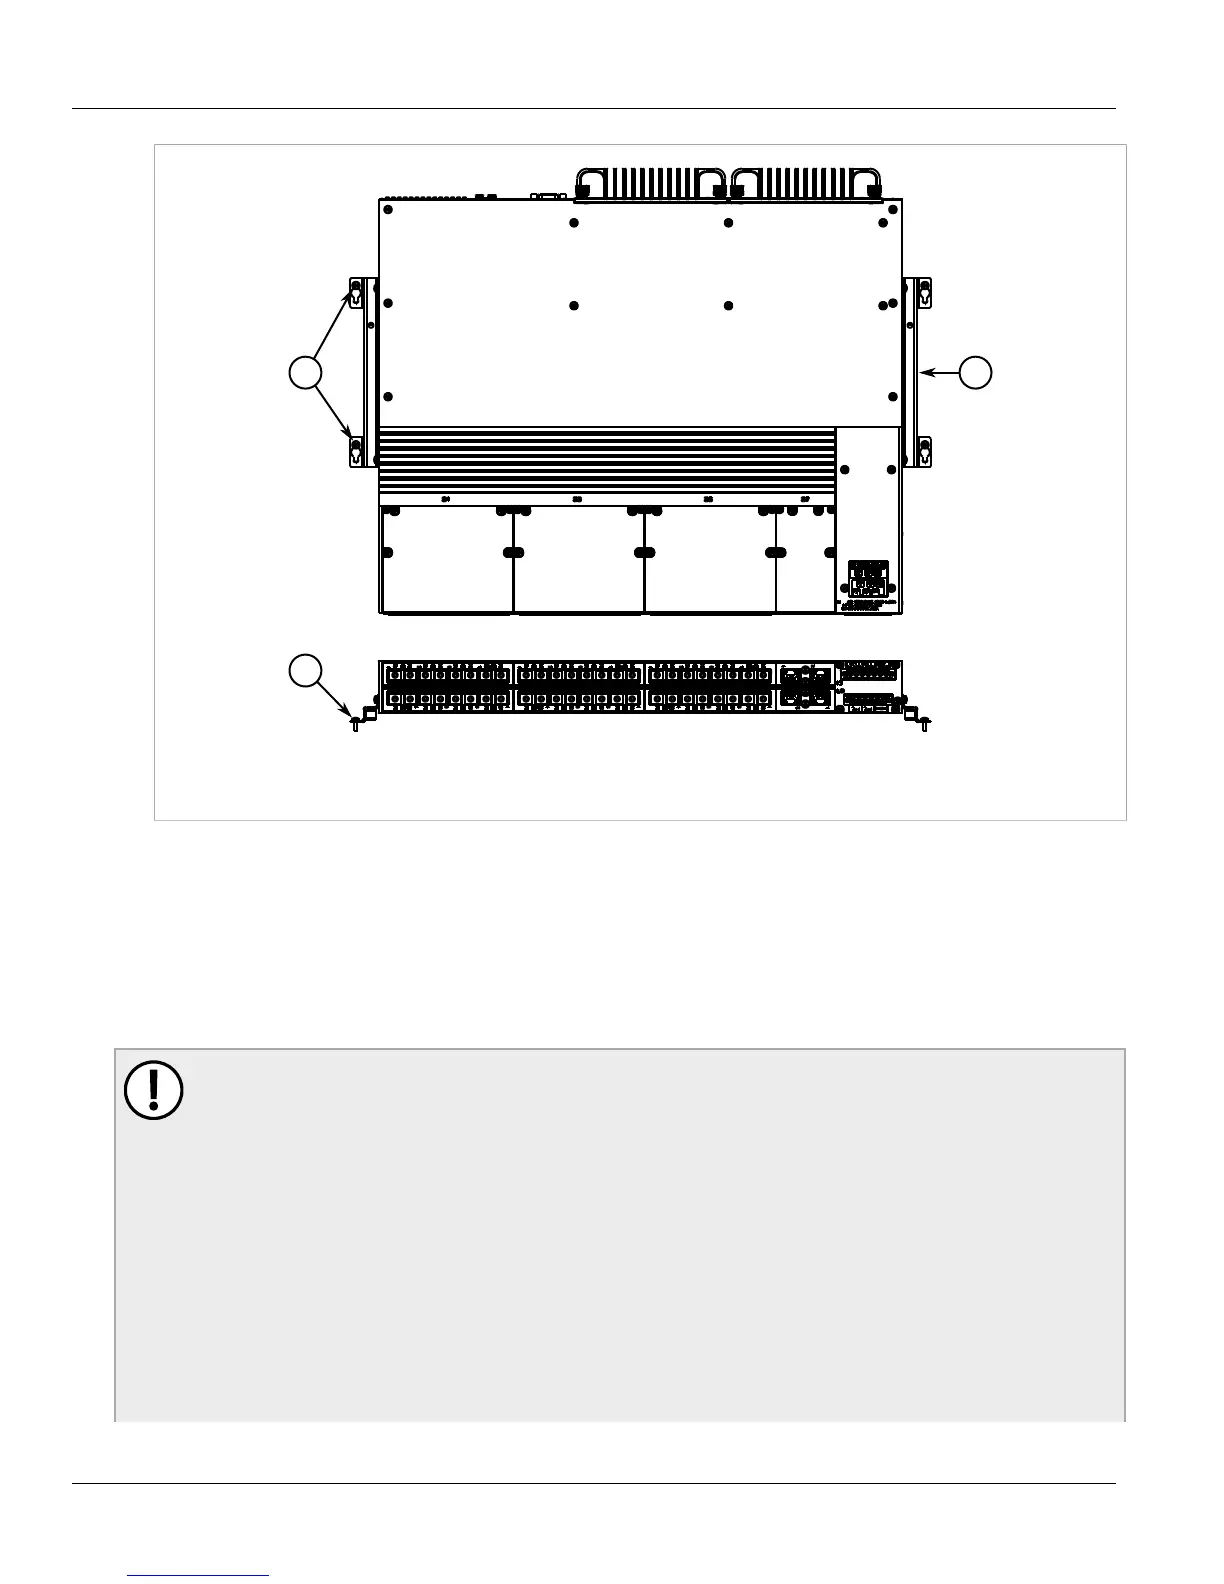
Figure 4: Panel Mounting
1. Screw 2. Panel/DIN Rail Adaptor
2. Install the supplied screws to secure the adaptors to the panel.
Section 2.2
Installing/Removing Power Supplies
The RSG2488 supports dual redundant AC and/or DC power supplies that can be installed in any combination.
IMPORTANT!
• In a high AC/DC and low DC (24/48 V) power supply arrangement, either power supply can be
installed in slot PM1 or PM2. However, if a high AC/DC power supply is installed in slot PM1, the
high AC/DC wiring must be connected to the high terminal block PM1 terminals. If a low DC power
supply is installed in slot PM1, the loww DC wiring must be made to the low terminal block PM1
terminals. High voltage wiring is always made to the upper Hi terminal block and low voltage (24/48
V) wiring is always made to the lower Lo terminal block.
• Use only #16 gauge wiring when connecting terminal blocks.
• A circuit breaker rated no higher than 20 A must be installed between the device and the supply
mains.
• Whenever possible, use a separate circuit breaker for each power supply.
• For maximum redundancy in a dual power supply configuration, use two independent power
sources.
 Loading...