Hardware Installation and Reference Guide Installing the Switch
61
3.2 Before You Begin
Confirm the following requirements before installation:
The installation site provides sufficient space for heat dissipation.
The installation site meets the temperature and humidity requirements of the switch.
The power supply and required current are available in the installation site.
The Ethernet cables have been deployed in the installation site.
3.3 Mounting the Switch
Notes
Connect the power cords of different colors to the corresponding grounding posts.
Ensure the power cords are securely connected.
Do not place heavy objects on the switch.
Maintain a minimum clearance of 100 mm (3.94 in.) around the device for air circulation.
Keep the switch away from high-power radio stations, radar stations, and high-frequency high-current devices. Use EMI shielding
such as shielded interface cables to minimize interference when necessary.
Route interface cables only indoors to prevent signal ports from getting damaged by overvoltage or overcurrent caused by
lightning strikes.
3.3.1 Mounting the Switch in a Rack
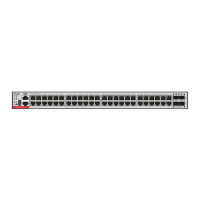
All models of the RG-S5300-E and RG-S5310-E series switches can be installed in a standard 19-in. four-post EIA rack. Mount the switch
in the rack with the front panel face forward.
1. Use a Phillips-head screw driver to secure a bracket to each side of the switch with two screws.
Figure 3-1 Securing Brackets
2. Install two cage nuts on the inside of each front rack and drive the screws halfway into the cage nuts.
 Loading...