F11GIM2 User Manual
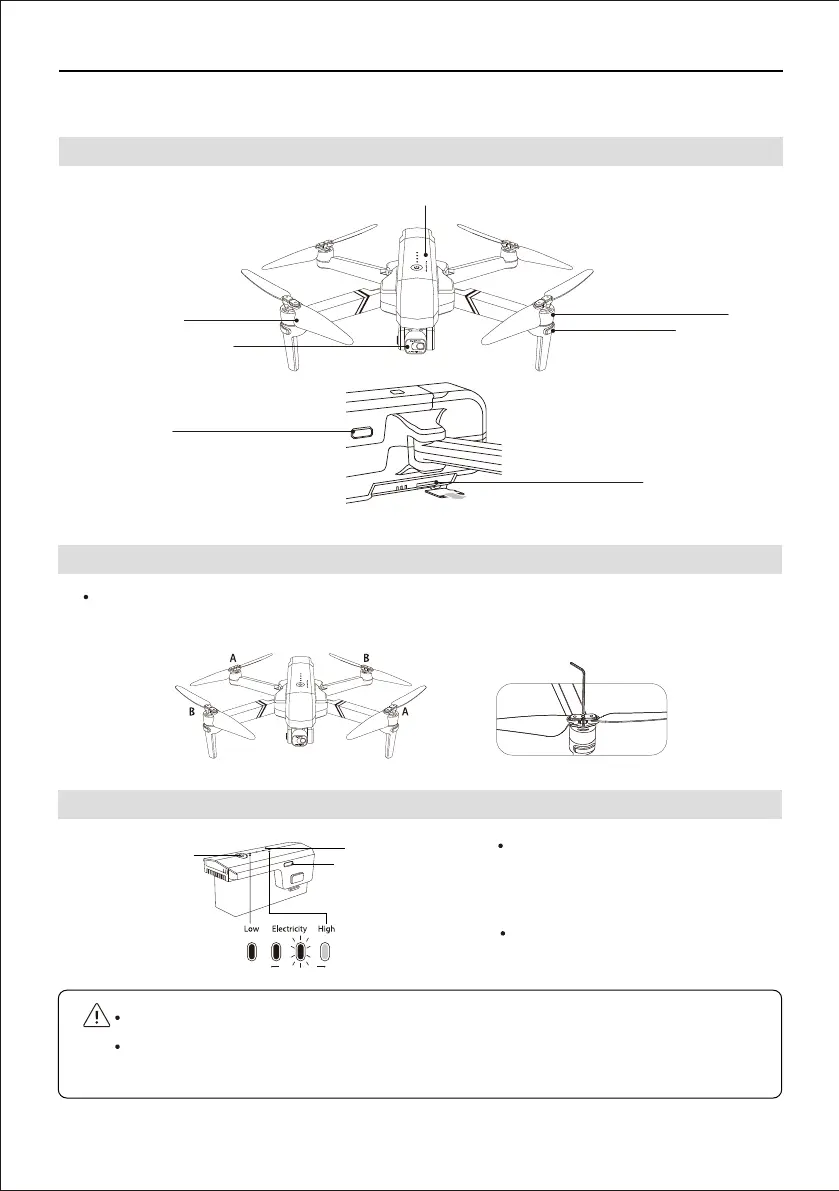
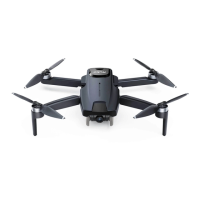
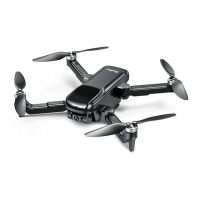
7.1 Drone Diagram
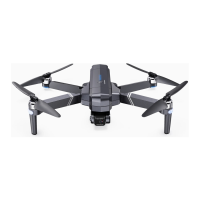
7.2 Assemble the Propeller
7 Drone
DO NOT install the battery with the power already switched on.
DO NOT charge the battery immediately after flight as the temperature may be too hight.
Wait until it cools down to room temperature before charging again.
Hold the switch button for 3 sec.
power on; then press the button for
3 sec. power off.
Refer to the battery level LED, when
only one LED left, charge the battery.
Please note that the letter "A" or "B" is printed on each propeller, and make sure all the
propellers are attached in the correct motor position.
Copyright ©2021 Ruko All Rights Reserved.
16
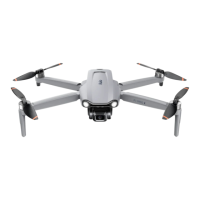
7.3 Intelligent Flight Battery
Gimbal and camera
Rotor blades
Motor
LED indicator
Intelligent battery
MicroSD card slot
USB-C port
Battery switch
Battery level LED
USB charging port