INSTALLATION & SETUP
3.
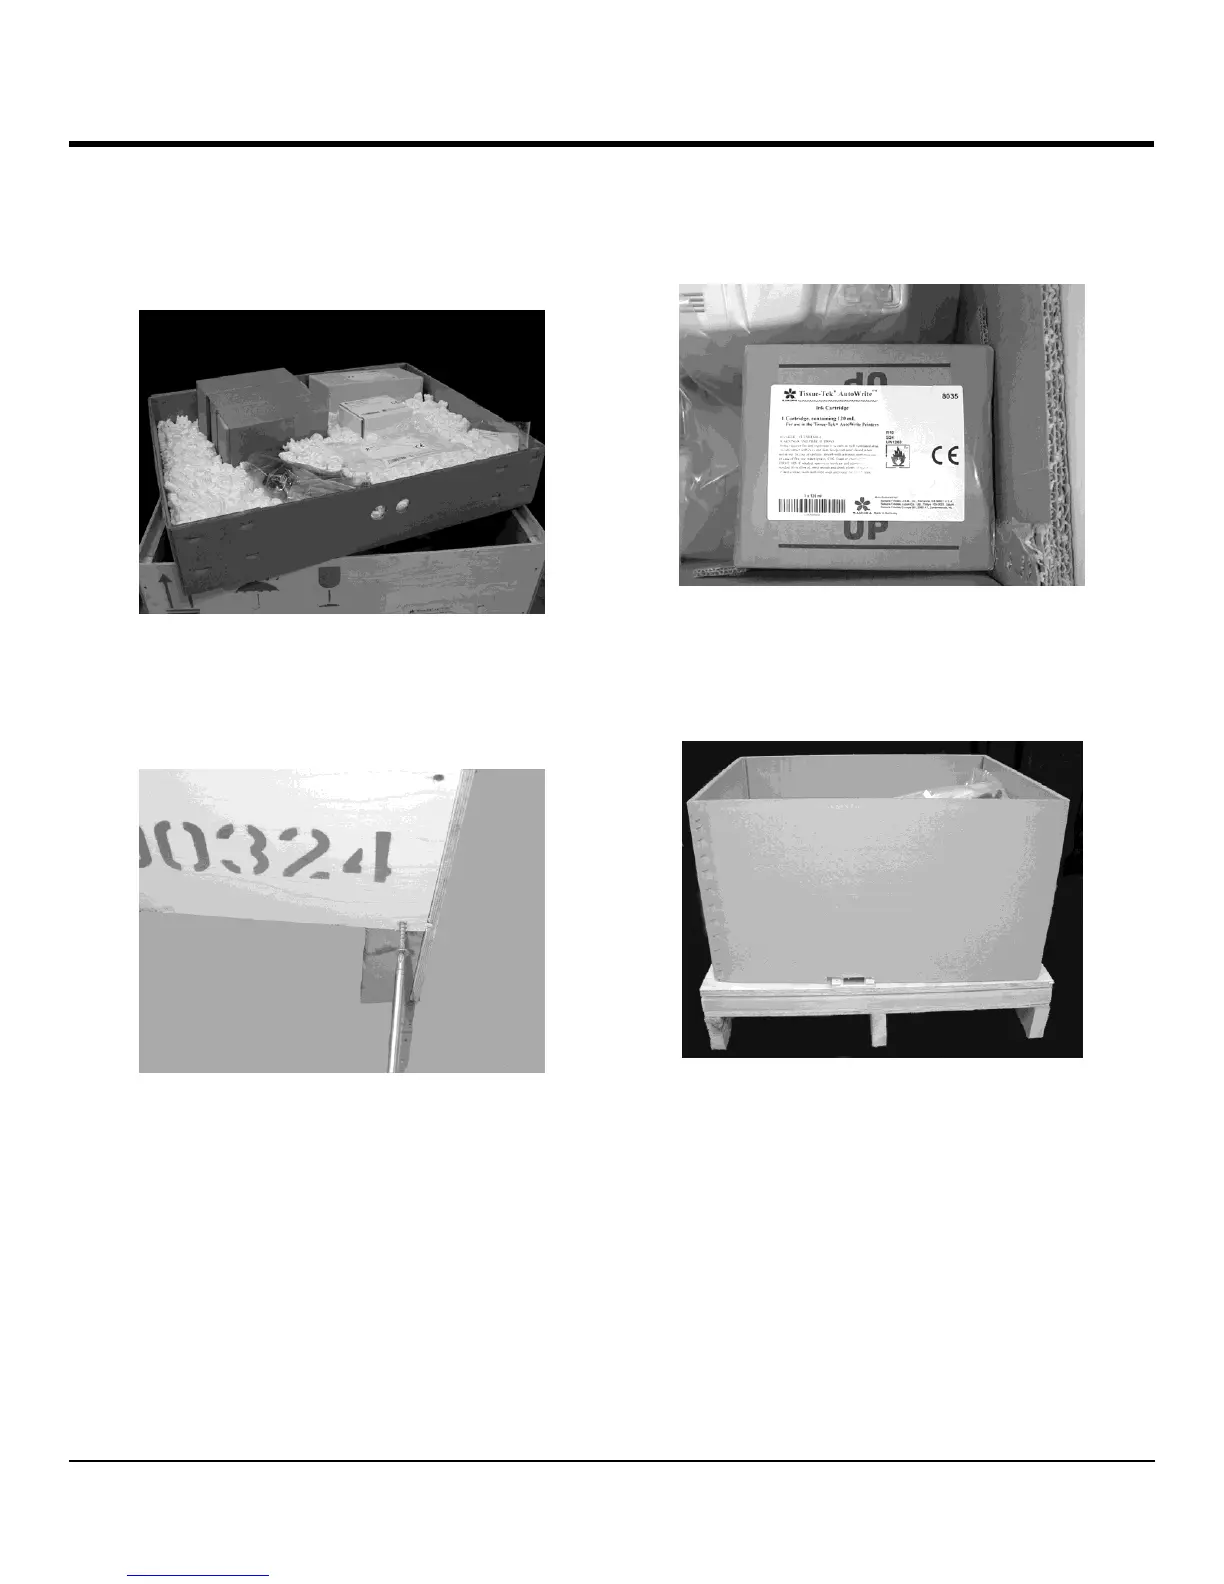
Remove the accessory box (containing accessories
and packing material) located directly beneath the lid
(Figure 2-C).
Figure 2-C
4.
Loosen the eight screws at the bottom of the wooden
crate (Figure 2-D).
Figure 2-D
5.
Remove box containing ink cartridge (Figure 2-E)
from the inner carton.
Figure 2-E
6.
Remove the inner carton (Figure 2-F) surrounding the
instrument.
Figure 2-F
7.
Lift the wooden crate up and away from the
instrument.
 Loading...