Section 2
8.
Remove the screws (Figure 2-G) holding each leg to
a metal piece on the floor of the crate.
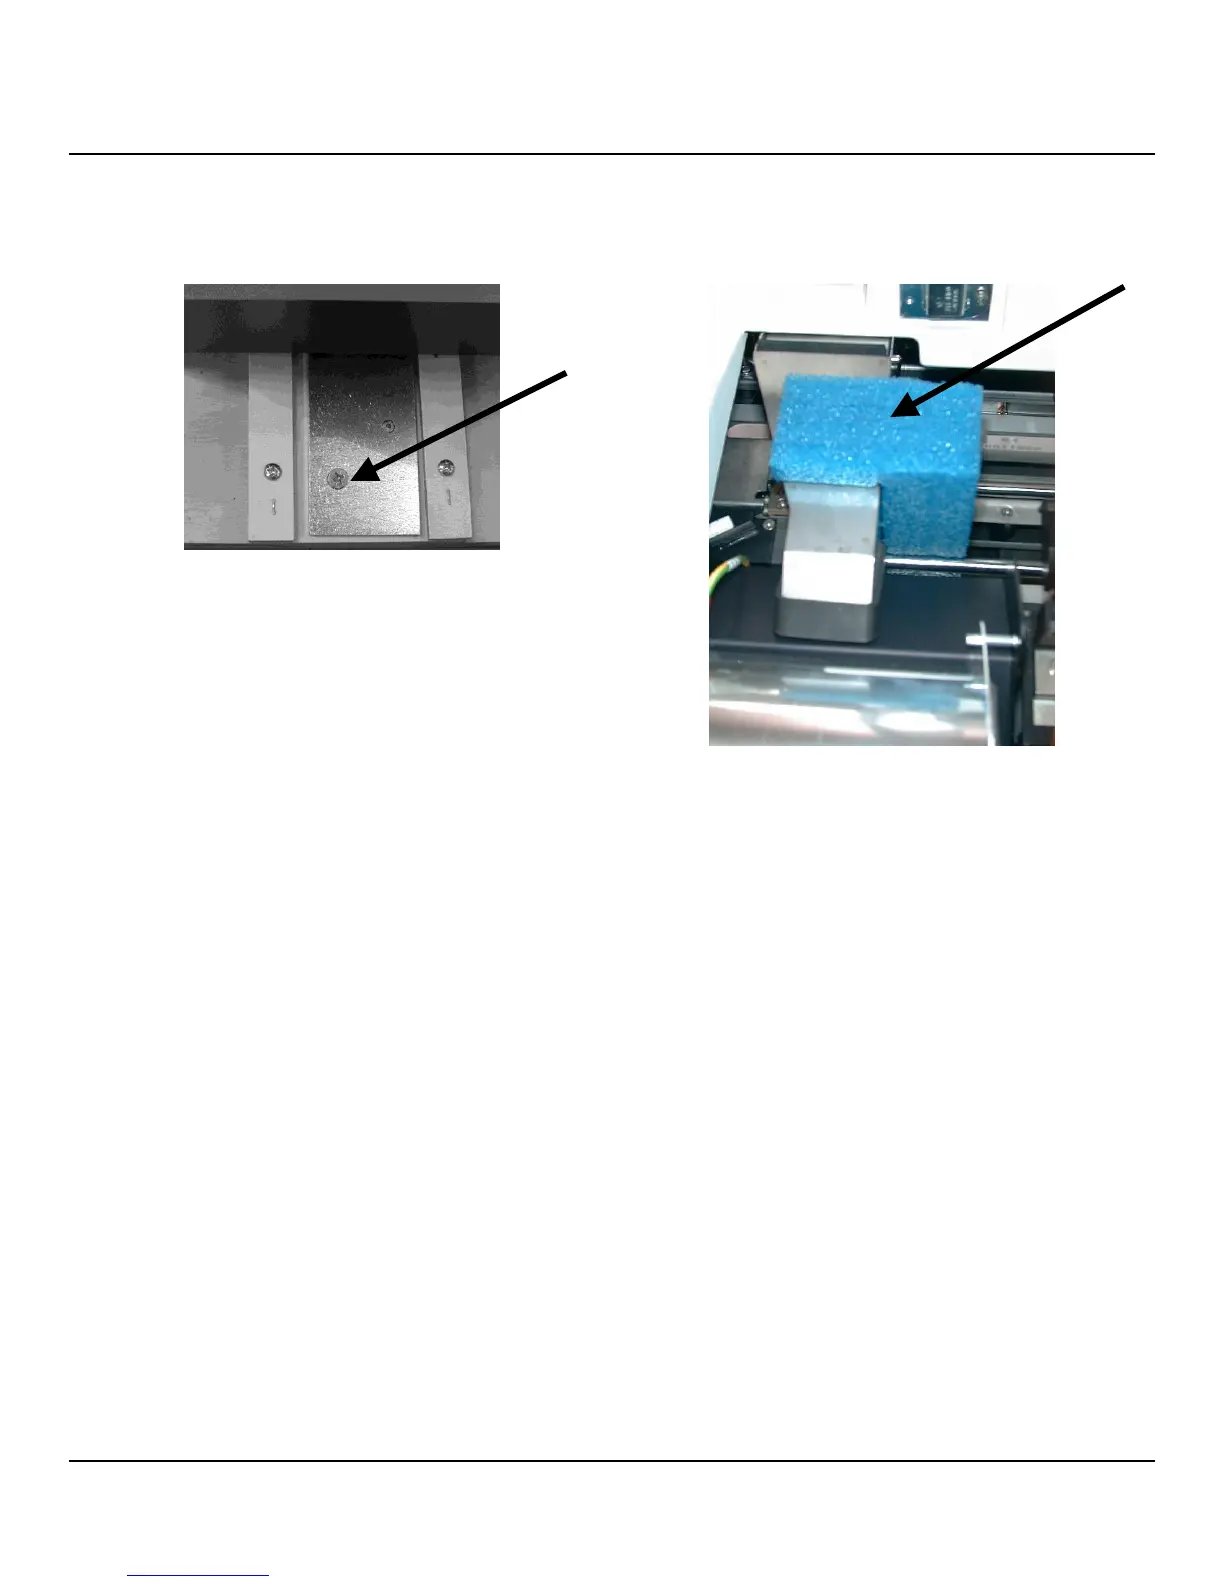
11. Remove the transport medium holding the print
sledge and drying station air duct (Figure 2-H).
Figure 2-G
9.
Push the metal pieces aside and lift the printer from
the crate. Remove all packing material and place on a
firm level surface directly on the bench or on top of
the unload station.
CAUTION: The instrument is very heavy and large;
therefore, it is strongly recommended that it always
be lifted and transported by at least two people,
one
positioned on each
side.
CAUTION: Always transport the printer in an upright
position.
10. Lift and open the main cover.
Figure 2-H
12. Close the main cover.
 Loading...