9-6 EB 8039 EN
Servicing
9.4.1 Disassembly(DN15to
80/NPS½to3)
1. Remove nuts and bolts at the actuator.
For versions with handwheel, turn the
handwheel to ensure that the spring plate
(5.6) is not under tension. Remove the di-
aphragm case (5.7) and take out the di-
aphragm.
2. Placeshim(around5mmthick)onthe
springplate(seeFig.9-2).Placeon
mounting device and fasten with three
clamping bolts and nuts. Turn the nuts
until the spring plate (5.6) is evenly load-
ed slightly. This causes the plug (3) to de-
tach itself from the seat.
3. Completelyundothethreadedbushing
(5.2). Spray the lock nut (3.2) stuck with
adhesive to the plug stem as well as the
ends of the plug stem with solvent. Use a
hot-air gun to soften the adhesive and
undo the lock nut (3.2). Position plug
wrench (see the 'Tightening torques, lu-
bricants and tools' section in the annex)
orhexscrewdriver(DN65/80)and
carefully turn the plug stem clockwise un-
til its height has changed by approx.
6mm.
4. Unthread the clamping bolts of the
mounting device and the plug stem grad-
ually until the plug stem is unscrewed out
of the spring plate (5.6). Remove spring
plate and spring. Unscrew lock nut (3.2).
5. Remove valve bonnet (5) from valve
body and carefully pull it up, for fail-
close version over the plug stem and for
Mounting device
Washer
Spacer used for
disassembly
Spring
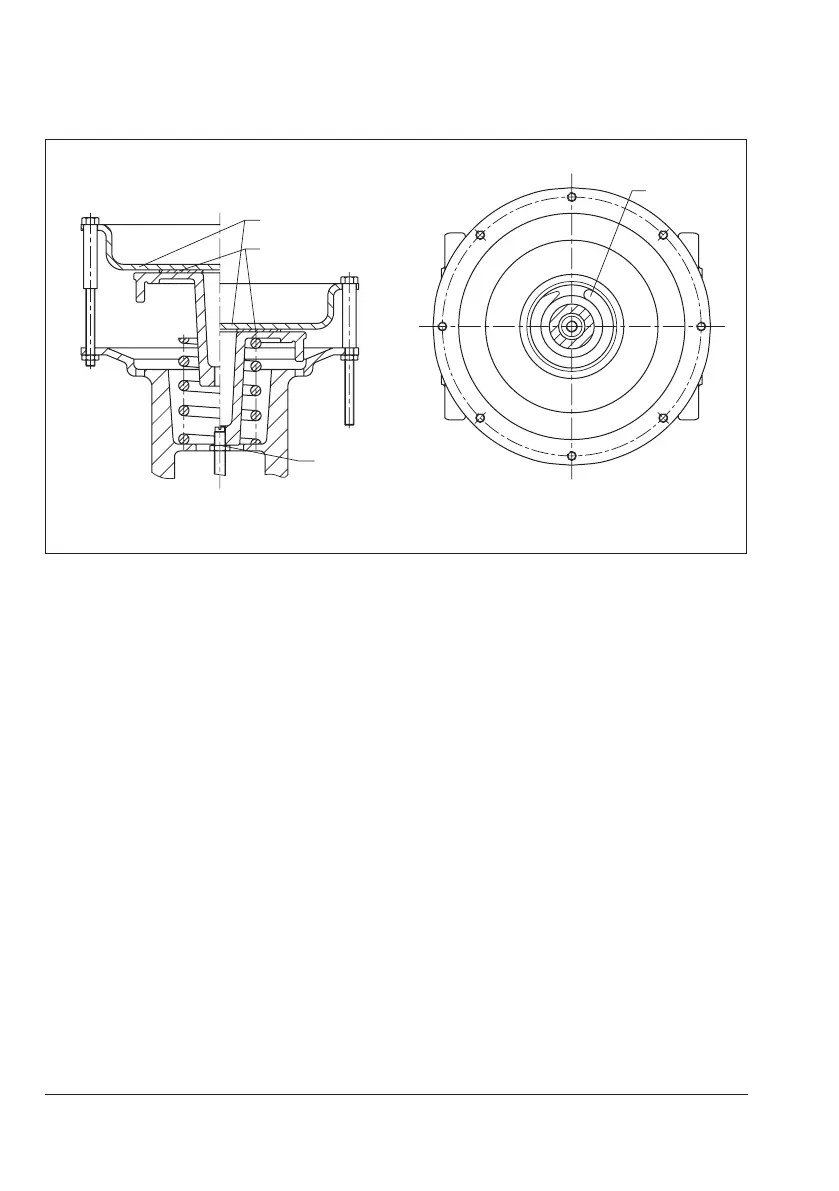
Fig.9-2: Mounting device (DN15 to 80) Fig.9-3: Alignment of the spring