assembling _19
02 ASSEMBLING
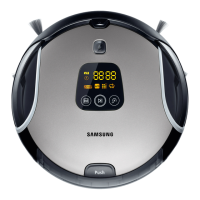
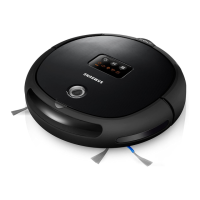
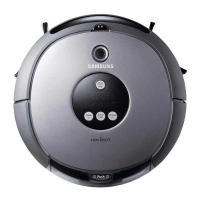
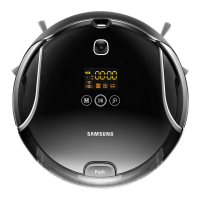
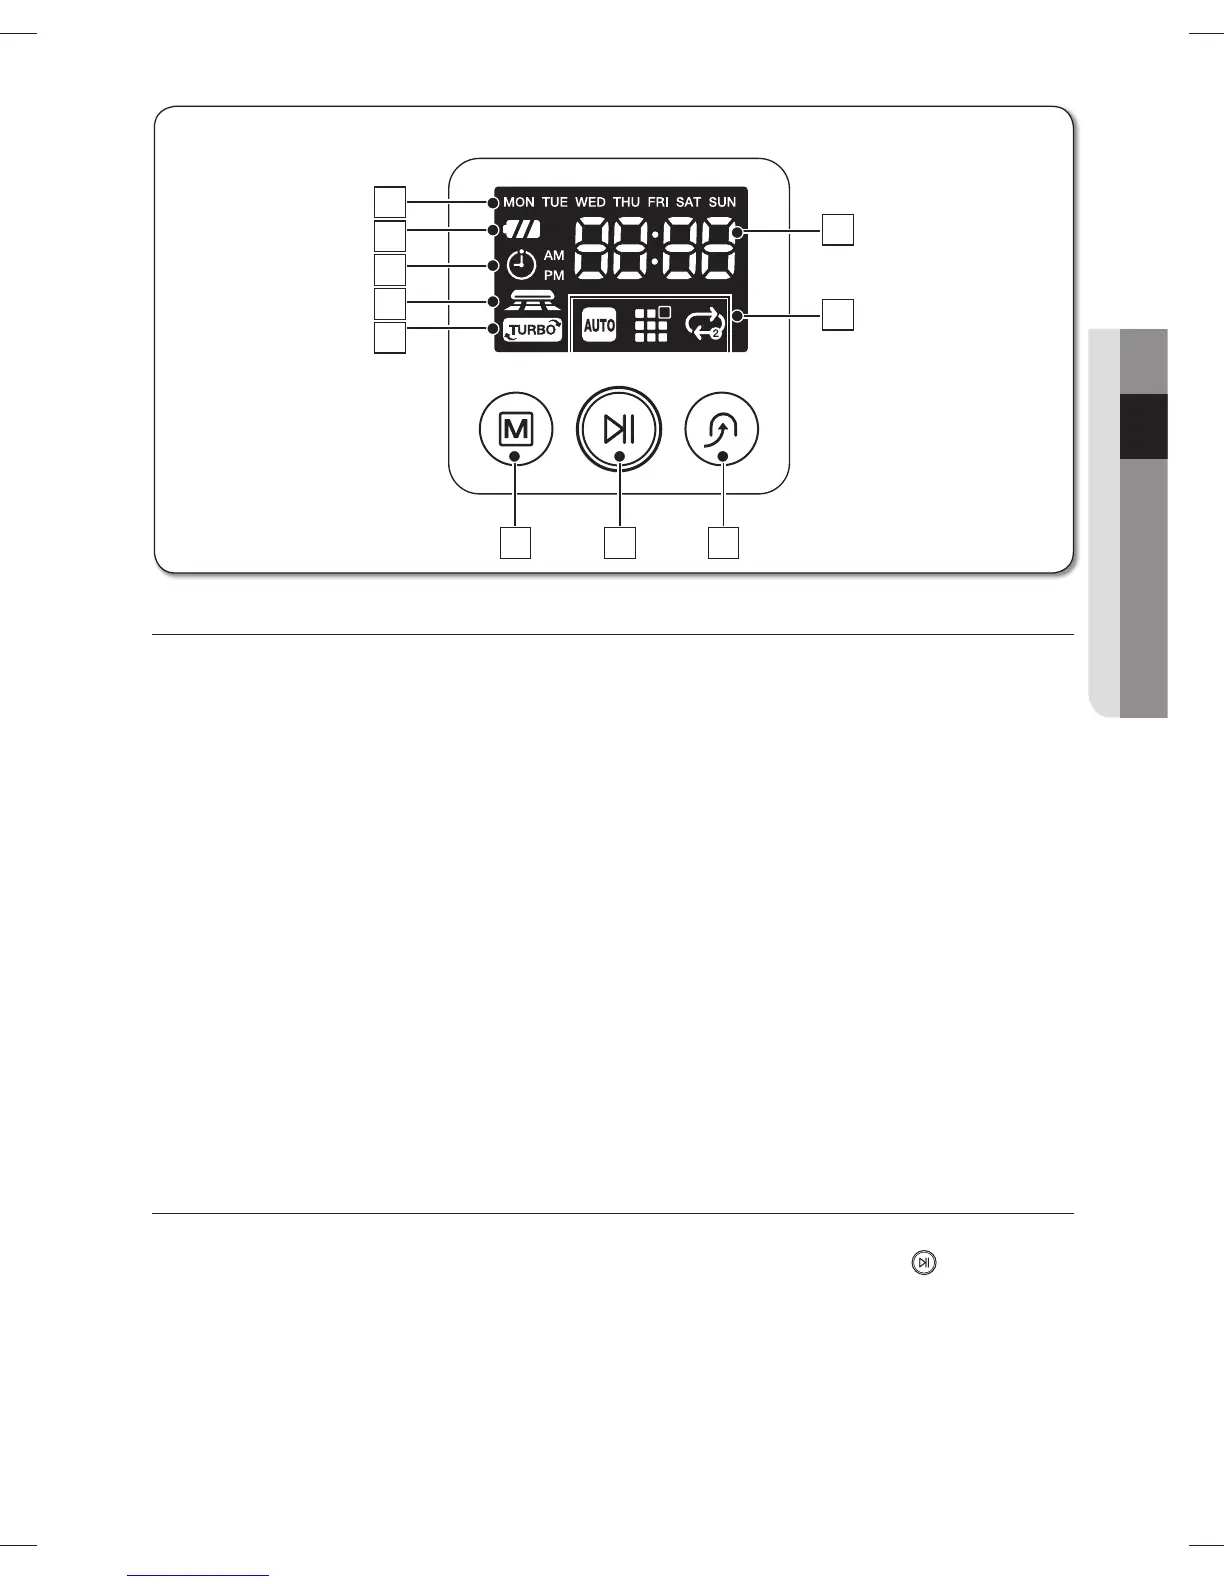
DISPLAY PART
Number Display1.
Shows the timer display, progress status, and error codes using numbers, letters and graphics. -
Weekly Reservation2.
When you set a weekly reservation to start cleaning from the specifi ed time on the specifi ed day -
of the week, the icon for the selected day of the week is turned on.
Battery Level Indicator3.
Charging : Shows the charging progress in 3 steps. -
In Use : Shows the battery charge level. The battery charge level is reduced by each level from -
FULL while operating. (When the battery is fully discharged, one level will fl ash to display “Lo”.)
Timer4.
When cleaning is scheduled, the Timer icon is lit. -
Dust Sensor Mode5.
This icon turns on when Dust Sensor mode is enabled. -
Turbo Mode6.
This icon turns on when Turbo mode is enabled. -
Cleaning Mode Display7.
Each time the Cleaning Mode button is pressed, the corresponding cleaning mode is displayed. -
Auto Mode :(A) This icon turns on when Auto cleaning mode is selected.
Spot Mode :(B) This icon turns on when Spot cleaning mode is selected.
Max Mode :(C) This icon turns on when Max cleaning mode is selected.
BUTTON PART
Cleaning Mode8.
Press to select a cleaning mode. After selecting a cleaning mode, press the ( -
) button to
start cleaning.
Start/Stop9.
Press to start/stop cleaning. -
Recharging10.
When this button is pressed, The cleaning robot will return to the charger station to charge its -
battery.
Display panel
■
2
1
7
3
4
5
6
8
9
10
A
B
C
DJ68-00632D(0.0).indd 19DJ68-00632D(0.0).indd 19 2012.1.19 9:50:25 AM2012.1.19 9:50:25 AM
 Loading...