-13-
1 Remove Cabinet Front-Top following to the chapter “Mechanical
Disassemblies”.
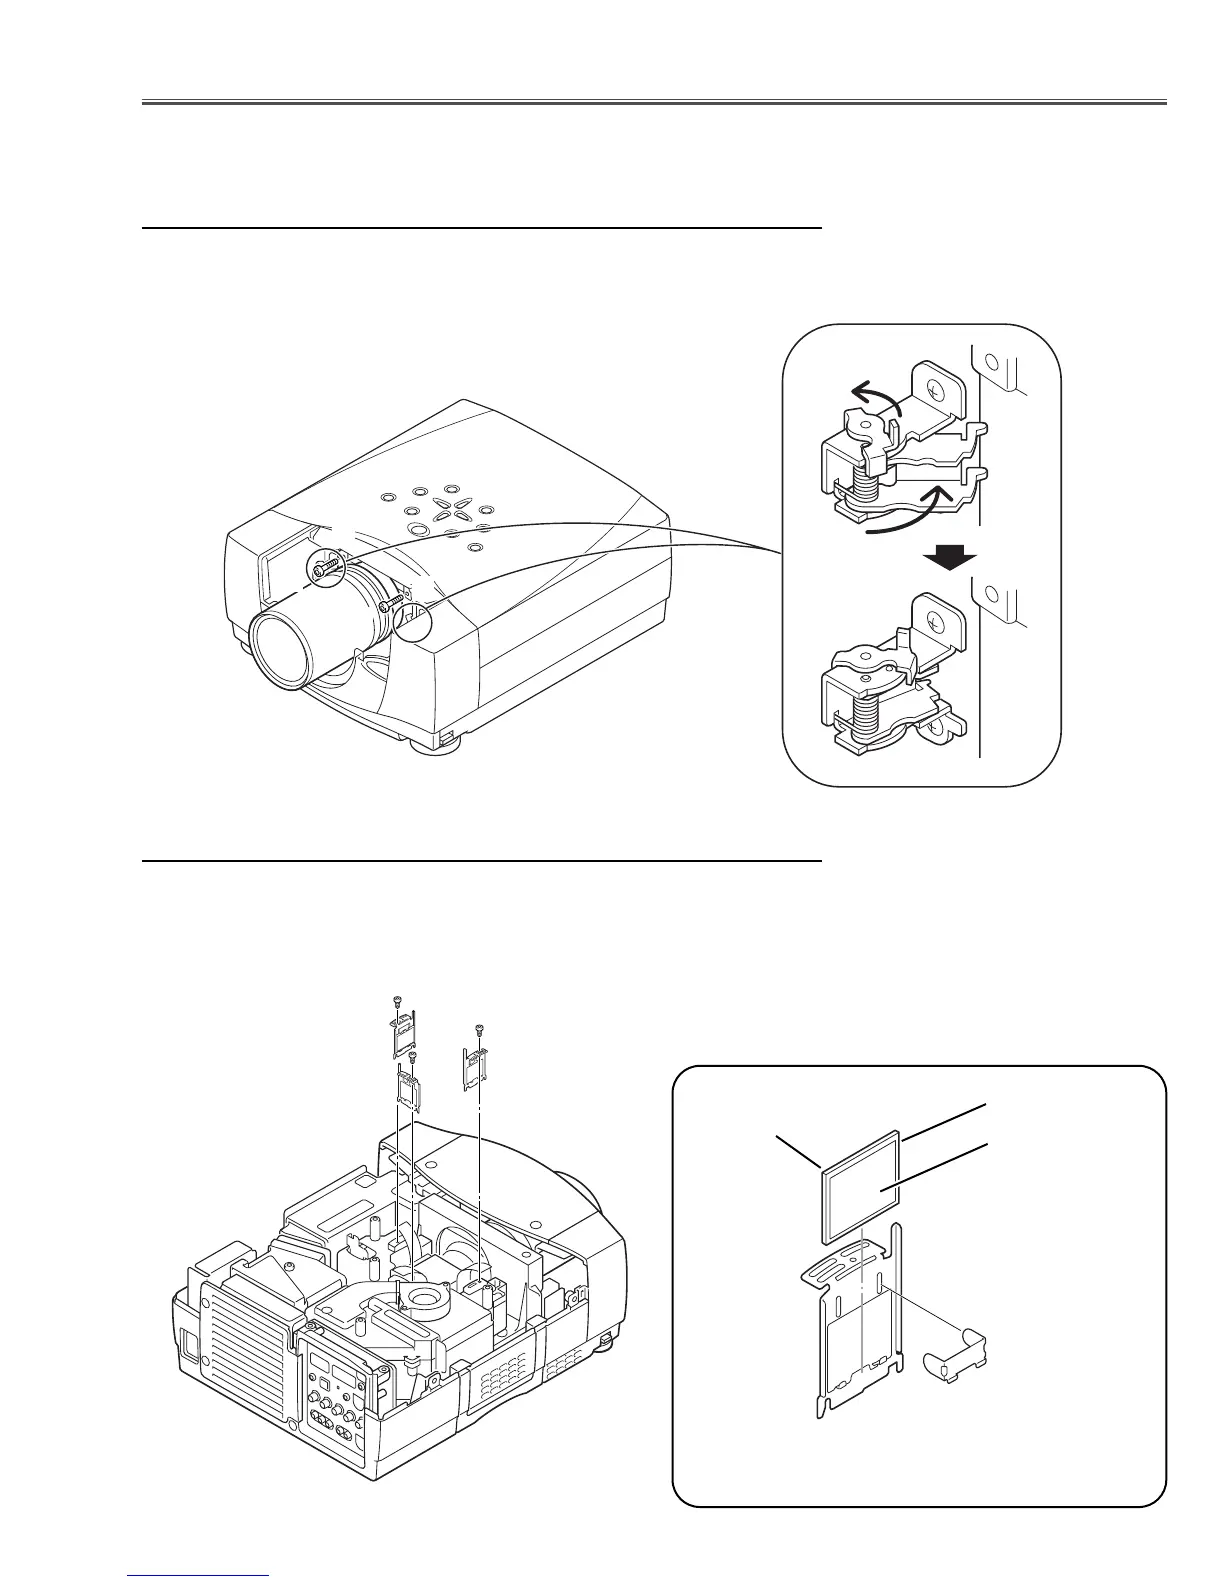
2 Loosen 2 screws A with 2.5mm hex wrench.
3 Unhook 2 hooks B on the both side of the lens and remove the
Projection Lens ass’y off.
Fig.1
■ Optical Parts Disassemblies
Before taking this procedure, remove Cabinet Top and Main Board following to the “Mechanical Disassemblies”.
Disassembly requires a 2.0mm or 2.5mm hex wrench and a slot screwdriver.
Projection Lens removal
Fig.1-2
1 Remove each hex screw and pull the Polarized Glass-In ass’y upward.
2 Remove a stopper and take the glass off upward.
Polarized Glass-In removal
Fig.2-1
Fig.2-2
A
A
B
B
Stopper
polarized glass
* Glass should be placed as the
printed marker comes to the
upper left corner.
Phase Sheet
Part No. is printed on
upper side.
 Loading...