A
Fig.2-1
A
- 12 -
Optical Parts Disassemblies
Before taking this procedure, remove Cabinet Top and Main Board following to the “Mechanical Disassemblies”.
Disassembly requires a 2.0mm or 2.5mm hex wrench and a slot screwdriver.
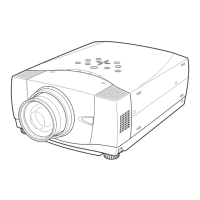
Lens attachment
Fig.1-2
B
B
B
B
1 Shift the Projection lens to the low end by the LENS SHIFT function.
2 Remove Cabinet Front-Top following to the chapter “Mechanical
Disassemblies”.
3 Slide the lens lock lever A on the projector to "UNLOCK"(UPPER) posi-
tion and remove the Projection Lens ass’y off.
Note : When making unlocking, attach your hand to prevent the lens fall.
4 Disconnect the connector and remove 4 screws B and take the
Projection lens from the lens attachment.
Projection Lens removal
Connector
1 Remove 2 hex screws A and pull the Relay Lens ass’y upward.
2 Remove 2 screws B to take the Lens off from the holder.
Note:
There is no mounting direction of the lens.
Fig.2-2
B
B
Holder
Relay Lens
Relay Lens disassembly
Fig.1-
1
A
Hex wrench
 Loading...