7
5
8
6
15
The Sapling Company, Inc.
1633 Republic Road
Huntingdon Valley, PA 19006
USA
P. (+1) 215.322.6063
F. (+1) 215.322.8498
www.sapling-inc.com
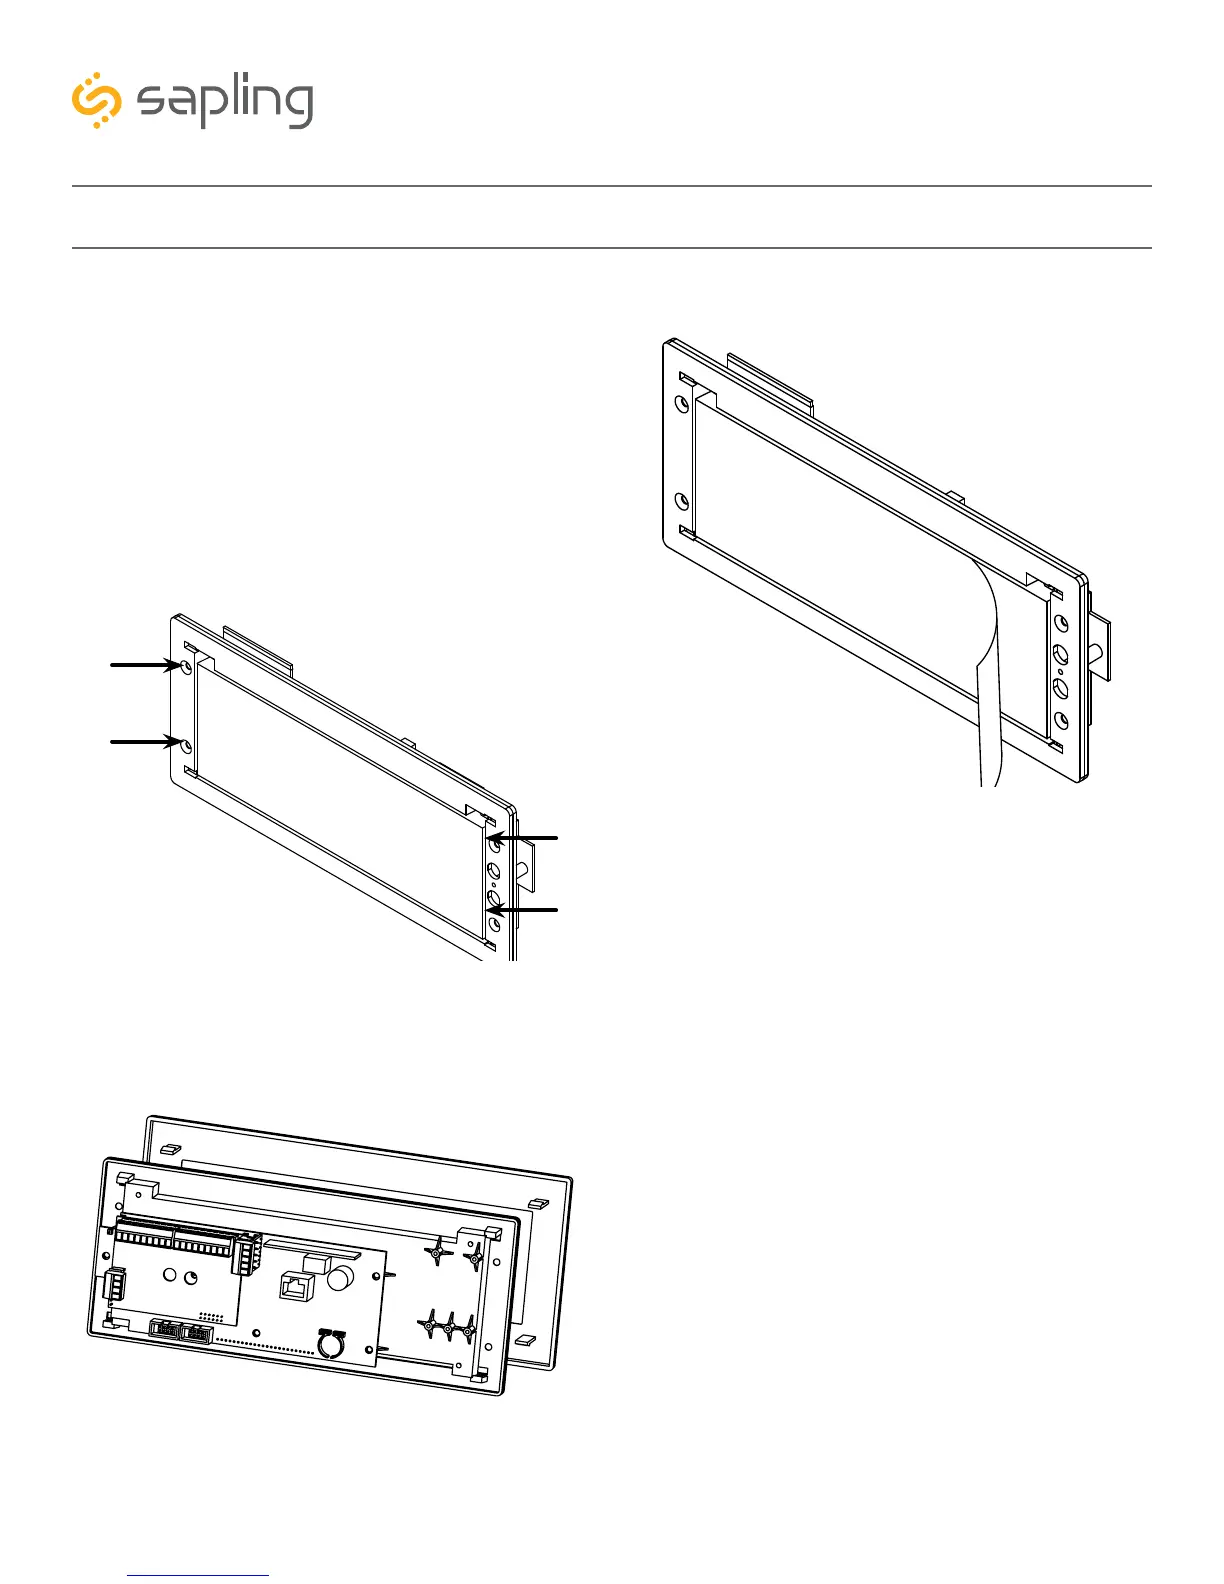
Flush Mount Installation
5) Use the 6-32x1/2 screws to attach the display
board to the housing. One of these screws should
be used along with the grounding wire, hex nut,
and washer to help ground the housing.
NOTE: For 2.5” Digit clocks, the holes for the
screws will be on the left and right inner surfaces of
the housing. For 4.0” Digit Clocks, the holes will be
on the top and bottom surfaces.
6) Remove the plastic cover from the display board
8) Power the clock if you have not already done
so. After testing the LED segments and presenting
some diagnostic information, the clock will display
the time based off if its internal quartz oscillator. It
will correct itself to show synchronized time as soon
as it receives data from an NTP server.
7) Place the filter over the display board by lining up
the tabs with the holes. You should hear a snapping
noise as the latches drop into place