M
Matthew OchoaSep 9, 2025
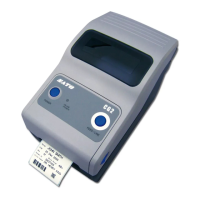
What to do if my SATO CG412TT Printer is not dispensing linerless labels?
- JjermainesmithSep 10, 2025
If your SATO Printer is not dispensing linerless labels: Set Linerless (Non sepa) unit correctly Clean the Linerless platen roller.