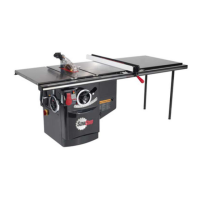
18 SawStop 10” Contractor Saw
Assembling Your Saw
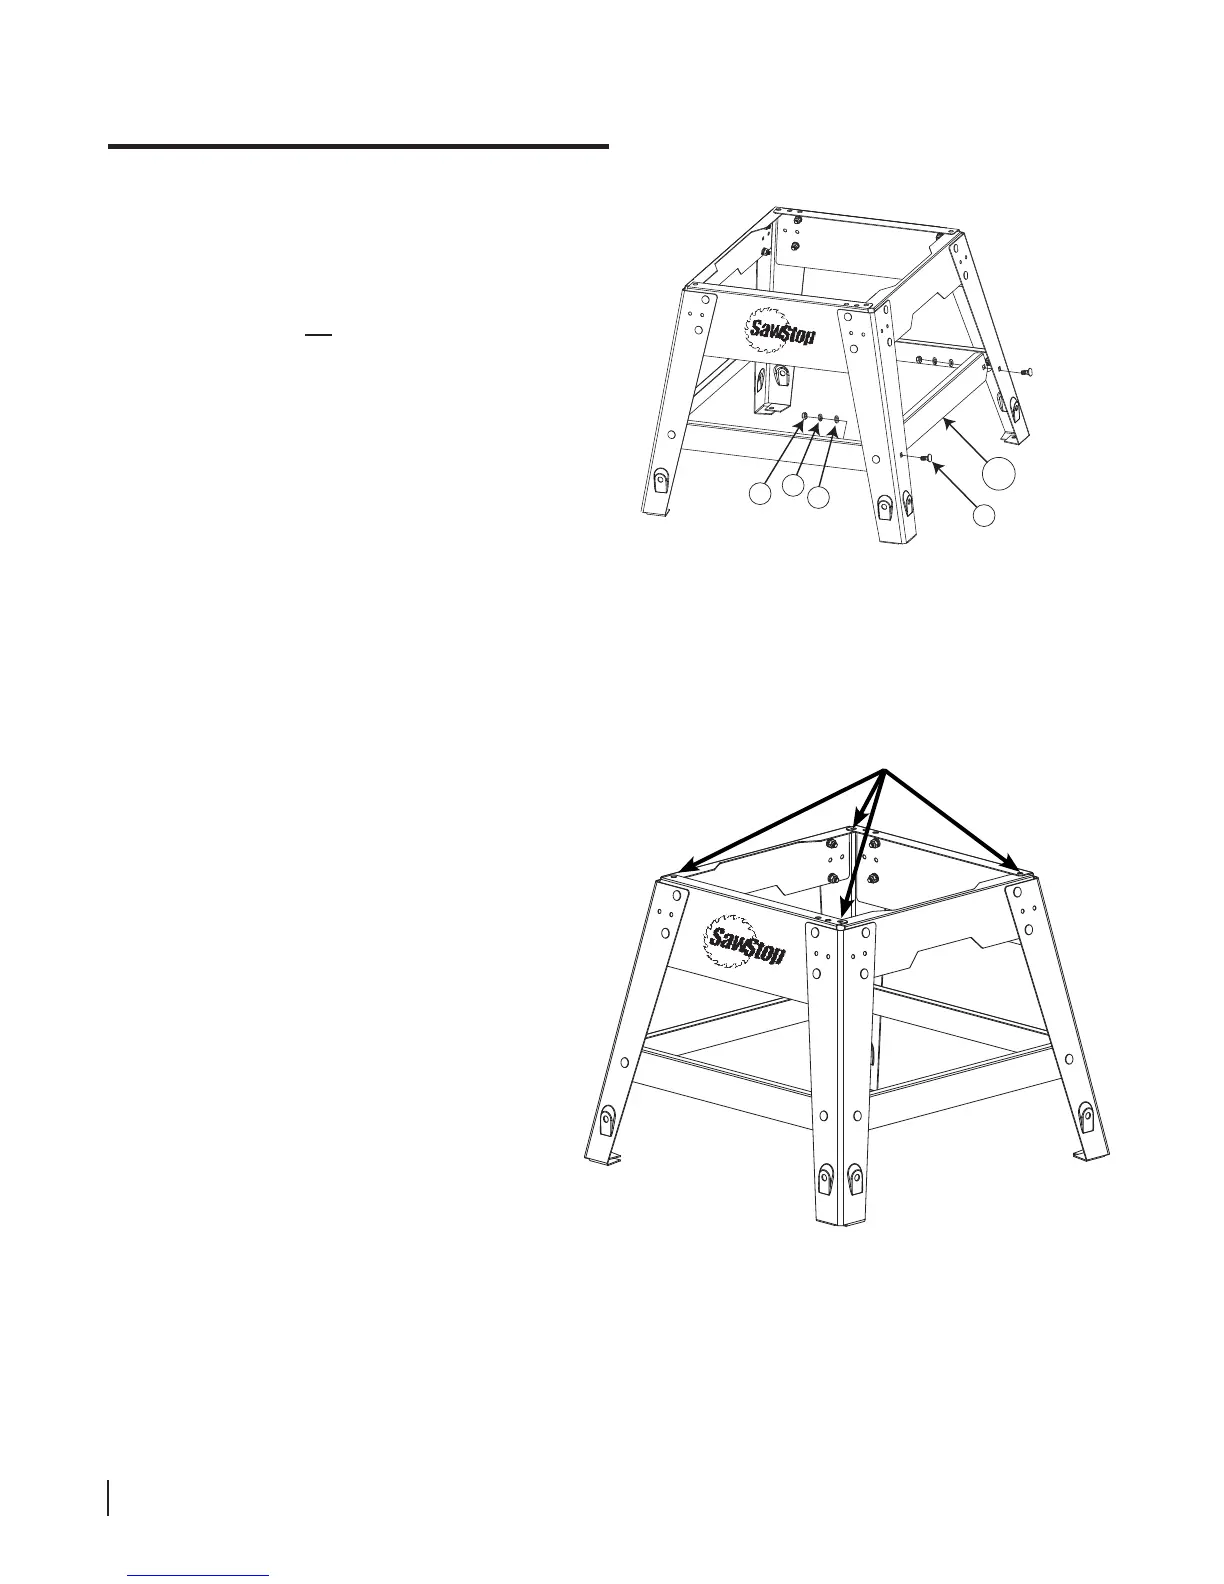
8. The front, rear and side panels have anges
that overlap to dene mounting holes through
which you will bolt the saw to the stand.
There is one hole in each corner of the stand
(see Fig. 8). Adjust the panels until the holes
align and then tighten all of the nuts in the
stand using a 13 mm wrench.
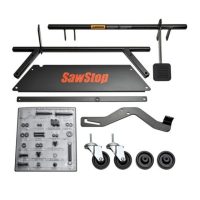
7. Attach one long bracket marked F between the legs
on the right side of the stand (see Fig. 7). Make
sure the legs are in front of the brackets. Use two
M8 x 20 carriage bolts, two M8 washers, two M8
lock washers, and two M8 hex nuts to attach the
long bracket. Do not fully tighten the nuts. Repeat
this process to attach the remaining long bracket
between the legs on the left side of the stand.
Fig. 7
Fig. 8
4
3
2
1
F
mounting holes
 Loading...