32
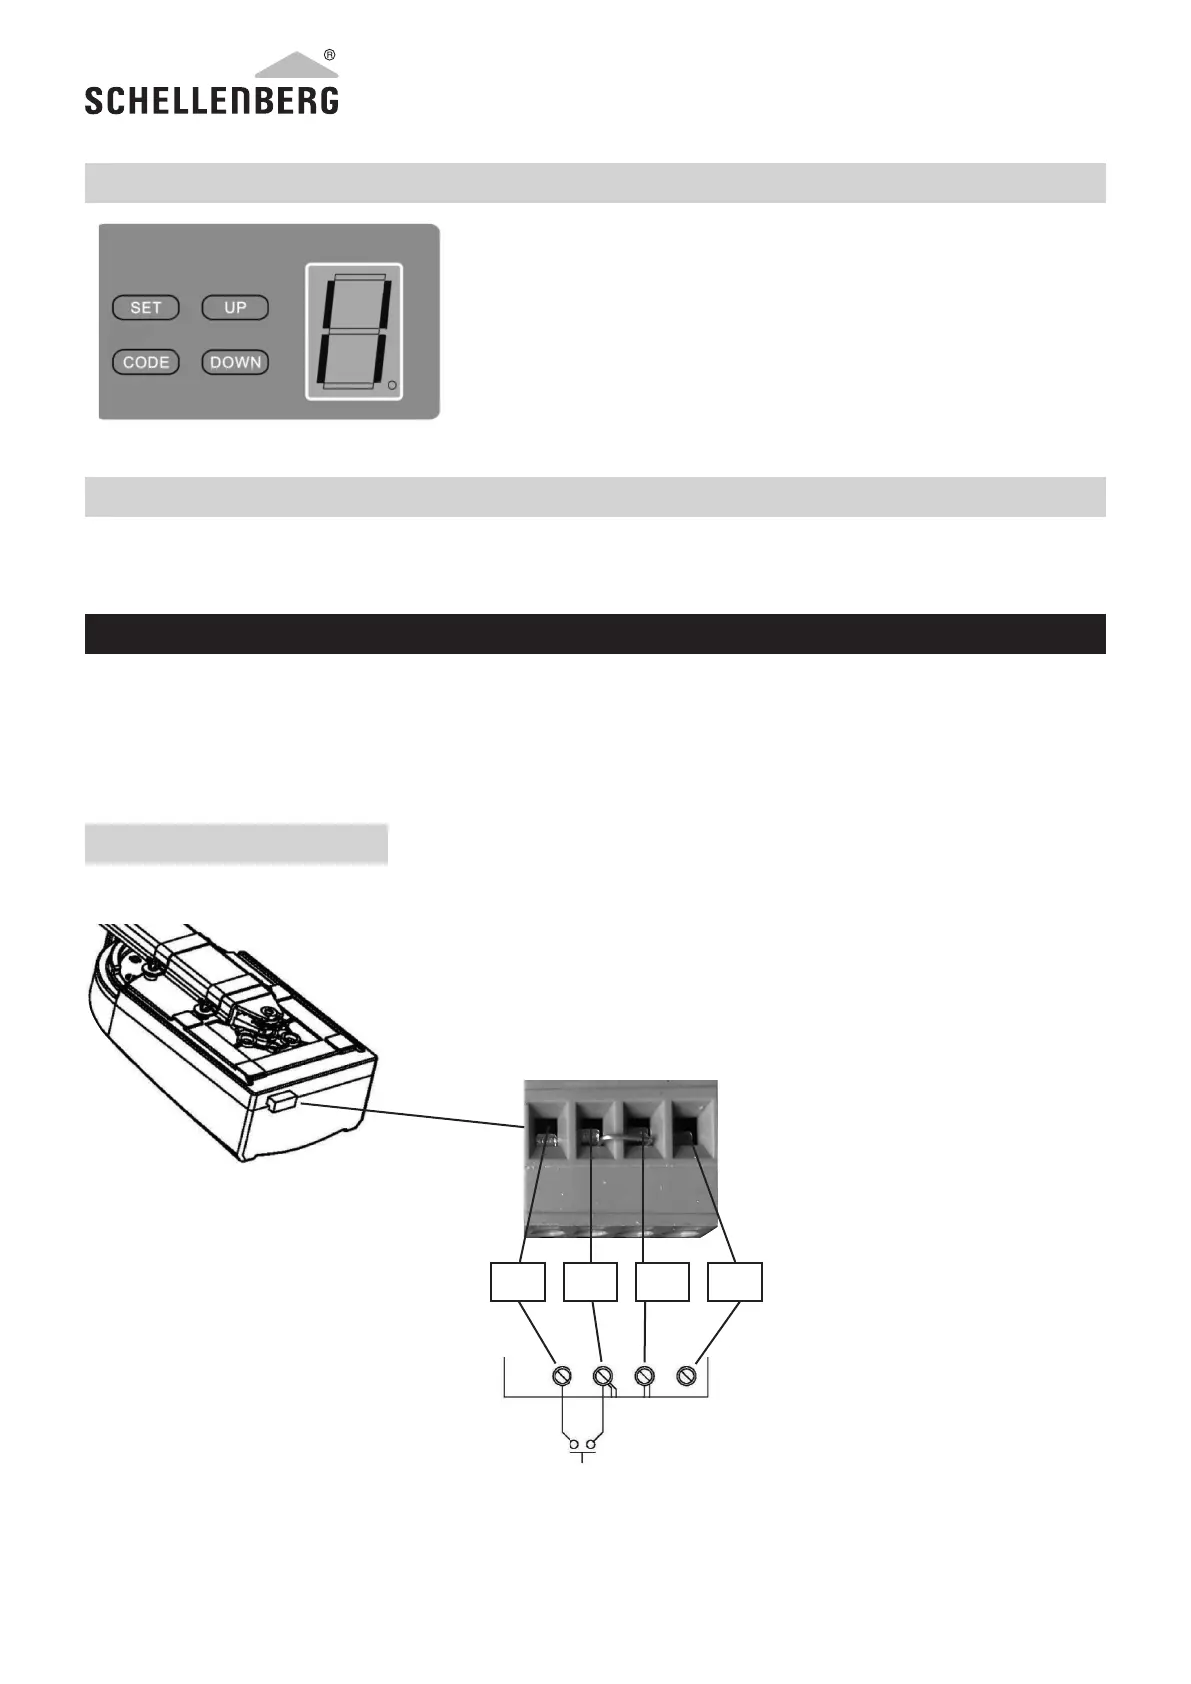
SETTING THE LIGHT BARRIER
CONNECTION OF A WALL SWITCH
1. In order to connect a further wall switch, please refer to the con-
nection diagram (Fig. 11).
2. In order to connect a light barrier, please refer to the connection
diagram (Fig. 12).
Press the DOWN button until the LED shows “II”. Press the UP button to
activate the light barrier function. The LED shows “H”. To deactivate, press
the DOWN button. The LED shows „II“. To conrm, press the SET button.
Connect the light barrier as described in Figure 12.
Important: If you are not using a light barrier, the light barrier function
absolutely must be switched o. Otherwise, the door drive will not
function.
Connect the optional wall switch to the door drive (Fig. 11).
F OTHER FEATURES AND APPLICATIONS
Fig. 11
Weitere Funktionen und Anwendungen
1. Einen weiteren Wandtaster anschließen
Verwenden Sie Anschluss-Schema (Fig. 11)
2. Anschluss Lichtschranke
Verwenden Sie das Anschluss-Schema Fig. 12.
Fig. 11
Anschluss Lichtschranke
Fig. 12
13
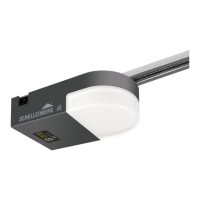
Torantrieb
Wandtaster Kontakt
PB GND PE +24 V
Wall switch contact