49
FR
RÉGLAGE DE LA BARRIÈRE LUMINEUSE
RACCORDEMENT D‘UN SUPPORT MURAL
1. Raccorder un autre interrupteur mural. Utiliser le schéma de
raccordement (g. 11).
2. Raccordement barrière lumineuse. Utiliser le schéma de
raccordement (g. 12).
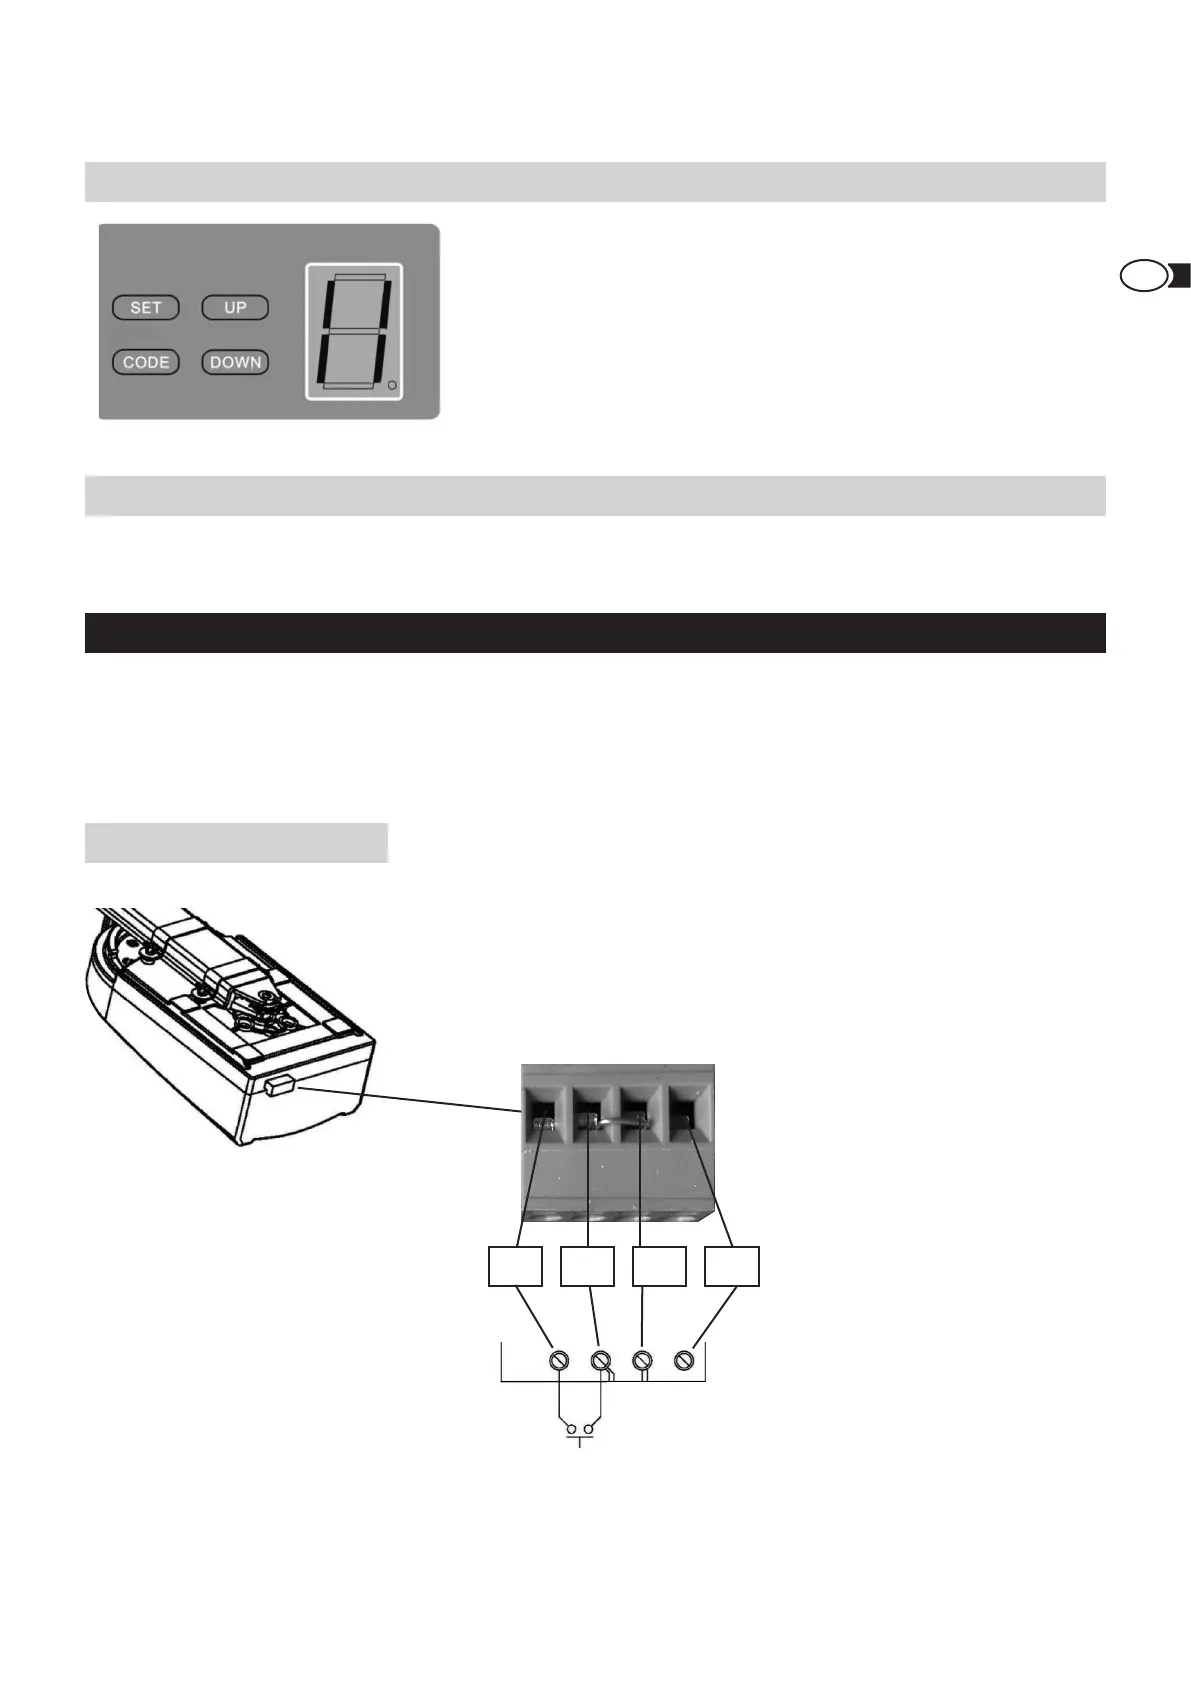
Appuyer sur la touche DOWN jusqu‘à ce que la DEL ache « II ». Appuyer
sur la touche UP an d‘activer la fonction de la barrière lumineuse. La DEL
ache « H ». Pour désactiver, appuyer sur la touche DOWN. La DEL ache
« II ». Pour valider, appuyer sur la touche SET. Raccorder la barrière lumi-
neuse comme décrit dans la g. 12.
Important : si vous n‘utilisez pas de barrière lumineuse, la fonction de
la barrière lumineuse doit absolument être désactivée. Sinon, votre
motorisation de porte ne fonctionne pas.
Raccorder l‘interrupteur mural optionnel à la motorisation de porte (g. 11).
F AUTRES FONCTIONS ET UTILISATIONS
Fig. 11
Weitere Funktionen und Anwendungen
1. Einen weiteren Wandtaster anschließen
Verwenden Sie Anschluss-Schema (Fig. 11)
2. Anschluss Lichtschranke
Verwenden Sie das Anschluss-Schema Fig. 12.
Fig. 11
Anschluss Lichtschranke
Fig. 12
13
Torantrieb
Wandtaster Kontakt
PB GND PE +24 V
Interrupteur mural contact