Page 4.10
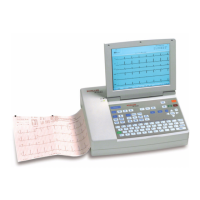
SCHILLER AT-2plus 6-Channel ECG Unit
SERVICE HANDBOOK Issue d May 2002
Chapter 4
Module Removal and Replacement
Printer Tray Assembly and Thermal printer
Prerequisite
• The Warnings and Cautions at the beginning of the Chapter must be observed.
• The Top Assembly must be removed as detailed previously. All external cable assemblies
must be disconnected.
Tools
• Cross-bladed screwdriver
• Flat-bladed screwdriver
• Flat ended pliers
Part Numbers
The part numbers for the Thermal Printer Assembly, the print head and the motor are given in
Chapter 6.
CAUTION
THE THERMAL PRINTER CONTENTS IS STATIC SENSITIVE; OBSERVE ANTISTATIC
PRECAUTIONS
Printer/Paper tray Assembly Removal
1. Remove the following connectors from the Main board MK 14-10 :
• data connector to the thermal printer
• paper mark connector
• printer motor connecter
• earth connector
2. Unscrew the six retaining screws and remove the complete paper tray/printer assembly.
Thermal Printer Removal
1. Unscrew the four retaining screws securing the printer in position.
CAUTION
THE PRINTER IS TENSIONED WITH TWO SPRINGS UNDER THE RETAINING BAR.
TAKE GREAT CARE WHEN REMOVING THE FOUR SCREWS NOT TO LOOSE THE
SPRINGS.
2. Gently remove the printer taking care to retain the two tensioning springs.